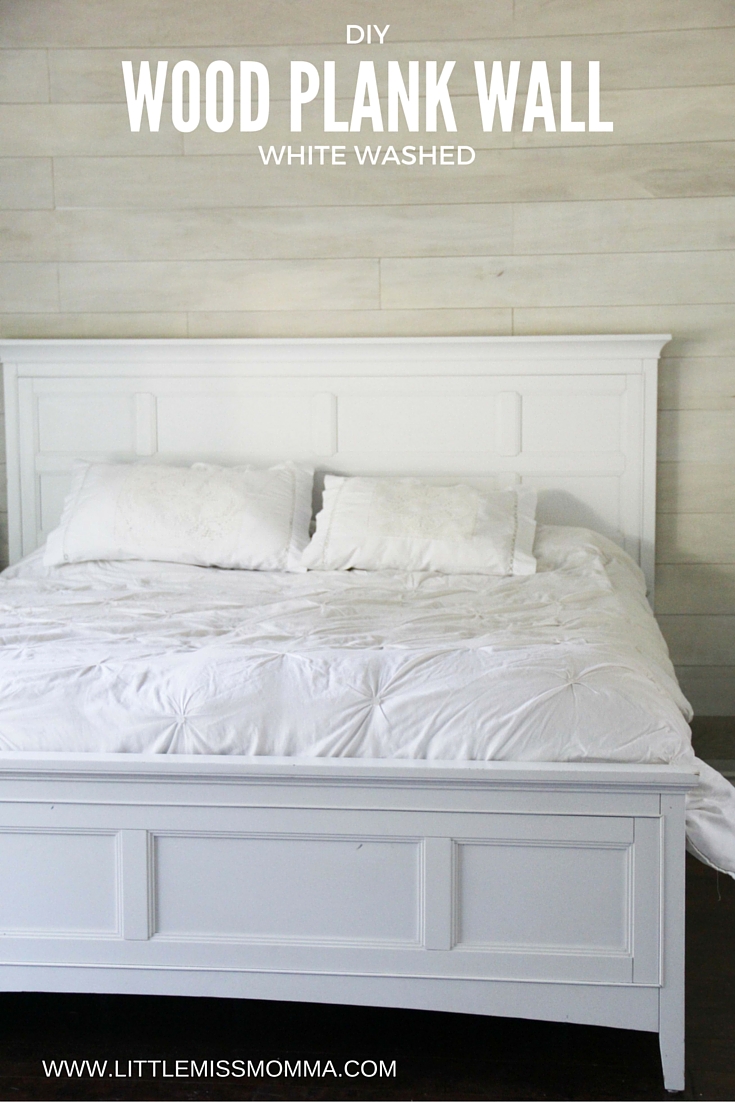
I have been dreaming of a wood planked wall in our bedroom for years. The mold saga seemed like a great excuse for us to give it a whirl, since our house was already in shambles and we had nothing to lose. When it comes to power tools and home improvement projects, we are about the least qualified couple ever to be trusted with such machinery. But we did it you guys! And it was surprisingly easy! If we can do it, you can do it!
I’ve seen so many ways to do this project on Pinterest. House of Smith’s tutorial was the most helpful for us–check it our here. We were looking for the easiest and most affordable option. Wood can get pricey, especially when covering an entire wall or room. But there is no need to buy fancy or expensive wood to get the look you are hoping for with this wall. We used paint ready plywood sheets cut into 6 inch planks. Home Depot (and most other hardware stores) will cut straight lines for you for only $0.25 per cut. We had them cut the plywood sheets into the 6 inch planks for us. Then we brought home the planks and cut them into different lengths using our friends chop saw so they were staggered when we put them up on the wall. The important thing to remember here is PAINT READY plywood–this way the wood is smooth and there is no need to sand the face.
Hanging the planks was the trickiest part and definitely a two person job. It is VERY important that your very first row is perfectly level. If the first row is off even a little bit it will effect every row after it. Start from the top of the wall. We have vaulted ceilings so we started at the top of the wall where a plank could go the full length of the wall. I would hold up a plank with the level on top while Ben would tweak the plank until it was just right and then use a staple/nail gun to nail into place. When starting the next row we placed a nickel between each row so the gap was small and even all the way across. Even though the top row was perfectly level, we still used the level on EVERY single board we put up because none of the boards was absolutely, perfectly straight and we often needed to adjust the board to make it look even. The beauty of this project is that it doesn’t have to be perfect to still look awesome. Some of the little mistakes give the wall it’s charm and even look on purpose.
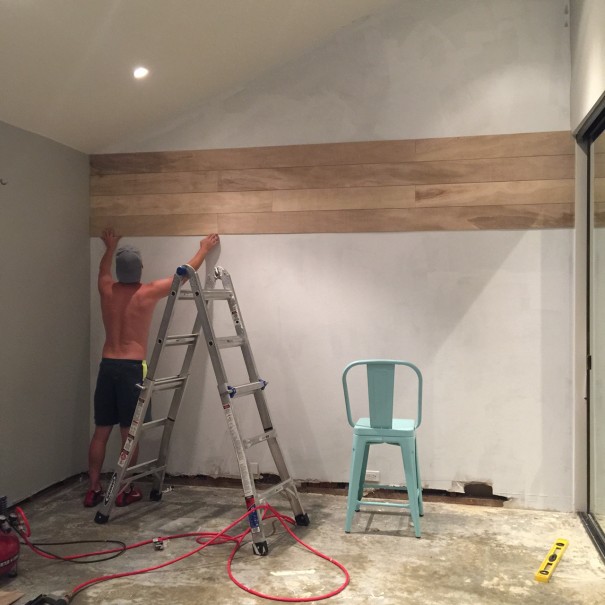
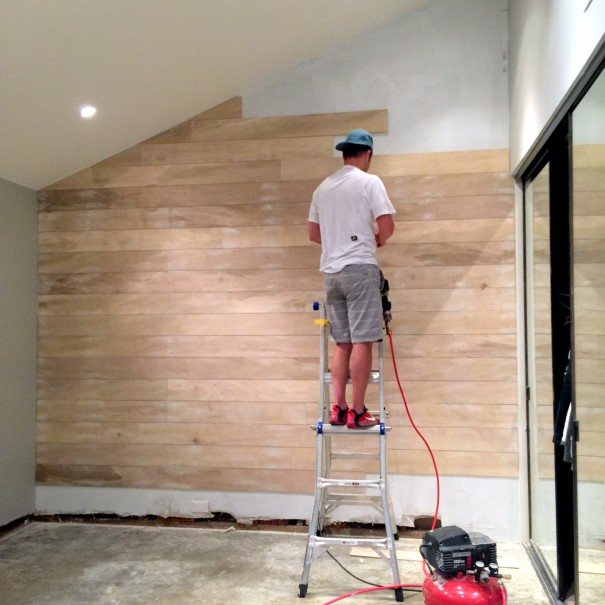
While Ben finished cutting the planks, I began patching all the nail holes with quick dry spackle. I waited a but for it to dry completely and then I sanded off any excess.
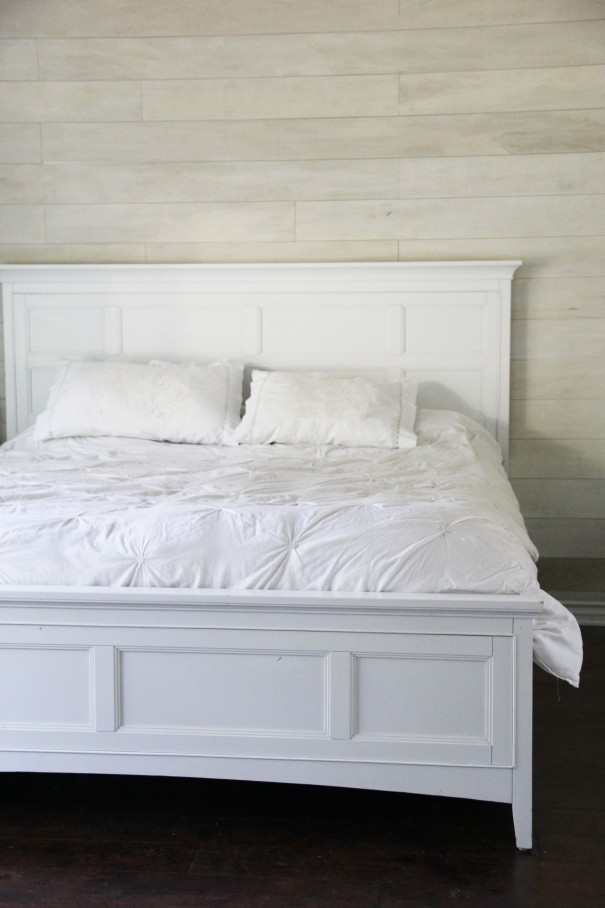
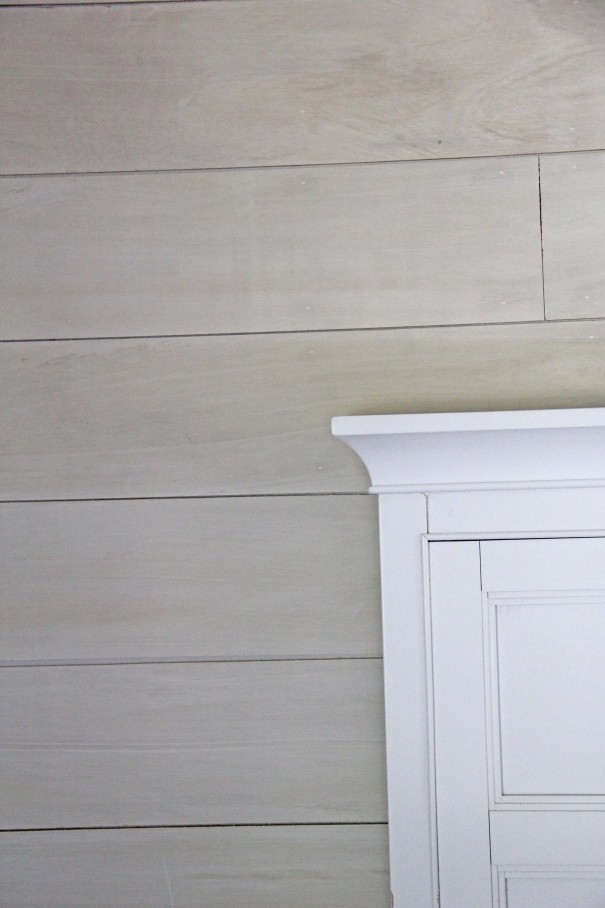
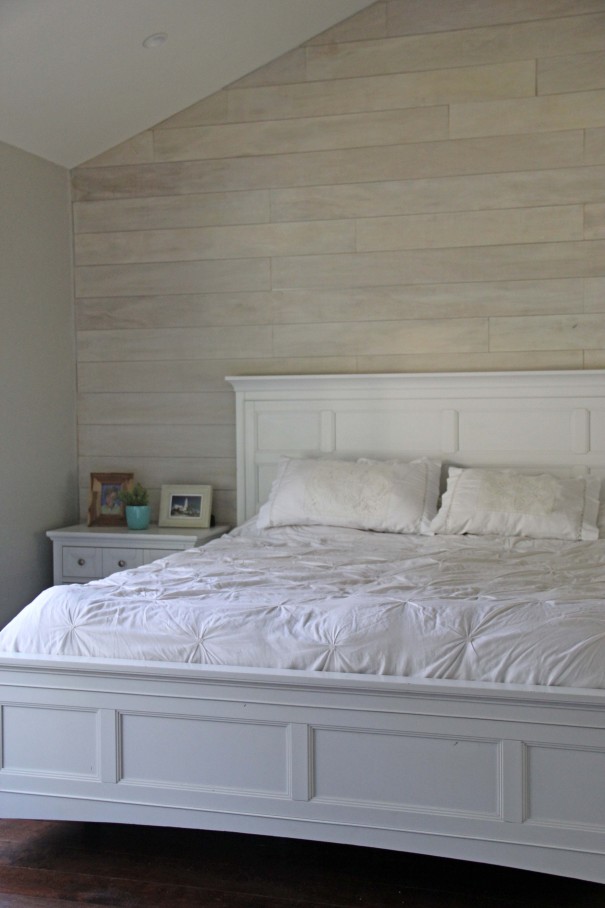
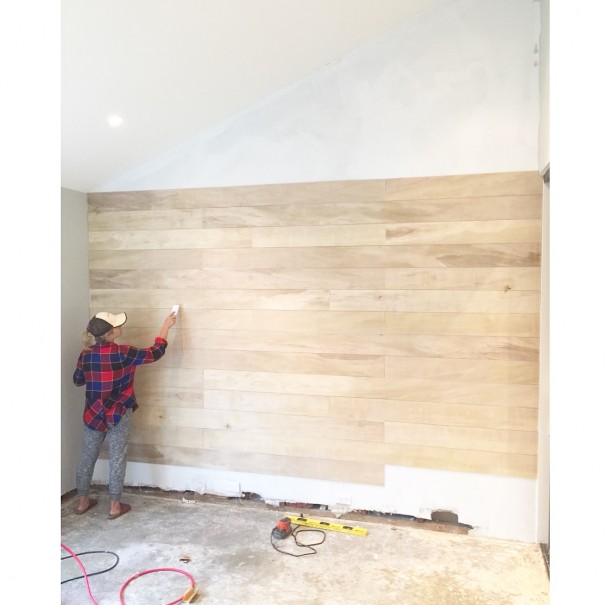
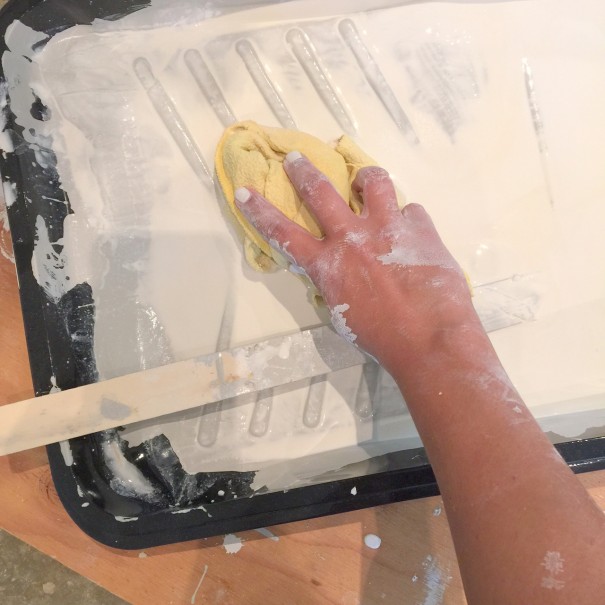
 Originally I had intended to paint the entire wall a solid, bright white. But as we were hanging the planks, we began to fall in love with the texture and grains in the wood. So I decided to give white washing a try. I used approximately 1/3 paint to 2/3 water and then I dipped an old rag in it and began wiping the watered down paint onto the planks with the grain of the wood. If the color comes on too thick all you have to do is add some water to your rag and wipe it over the dark spots to lighten it. I am obsessed with how the “white wash” look turned out.
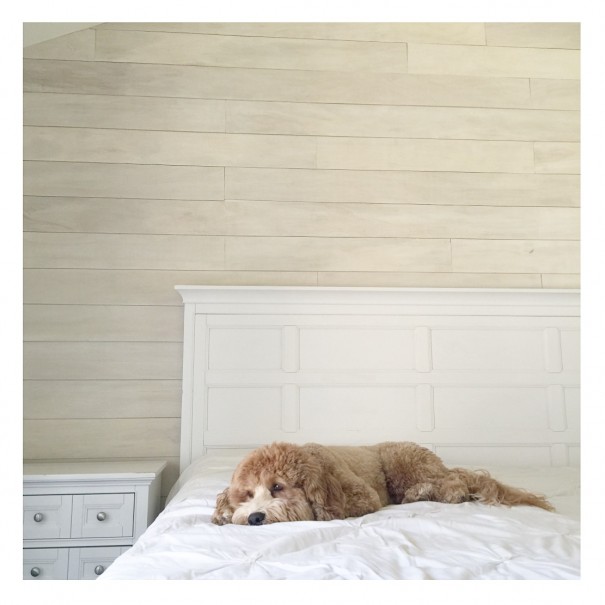
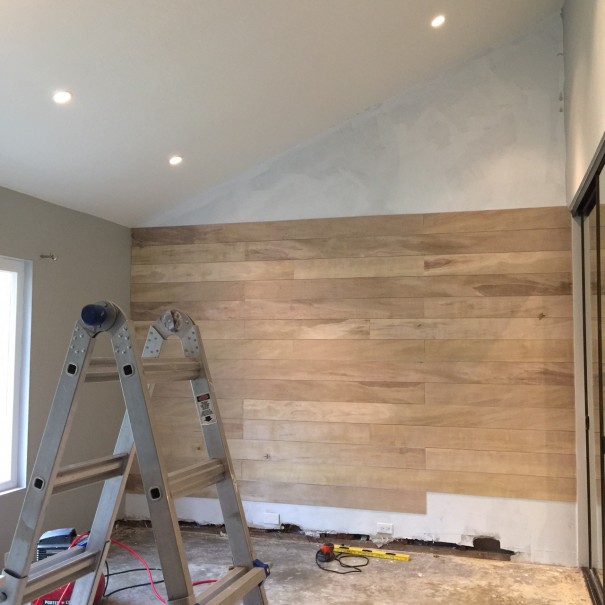
This photo shows the bottom half painted with a white wash finish and the top is the wood still plain.
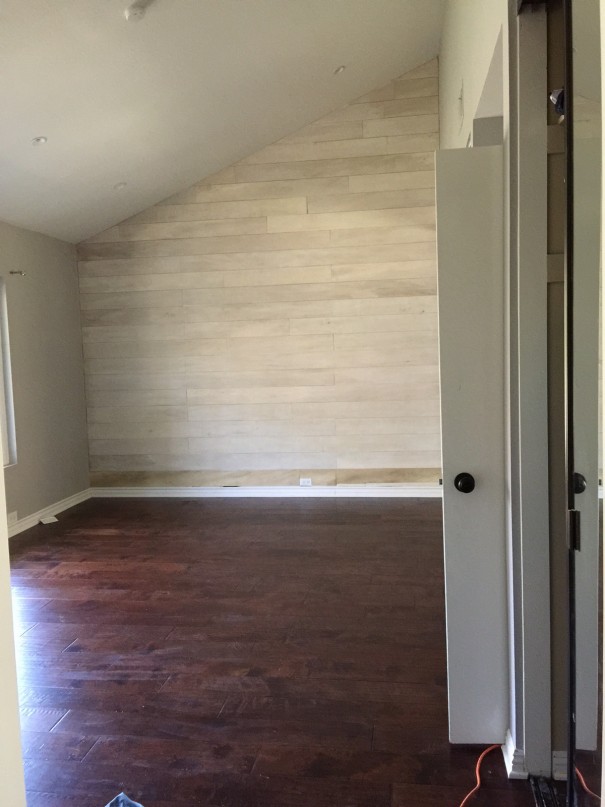
That bottom plank isn’t painted yet because we put it up on another day (that’s why it’s so much darker).
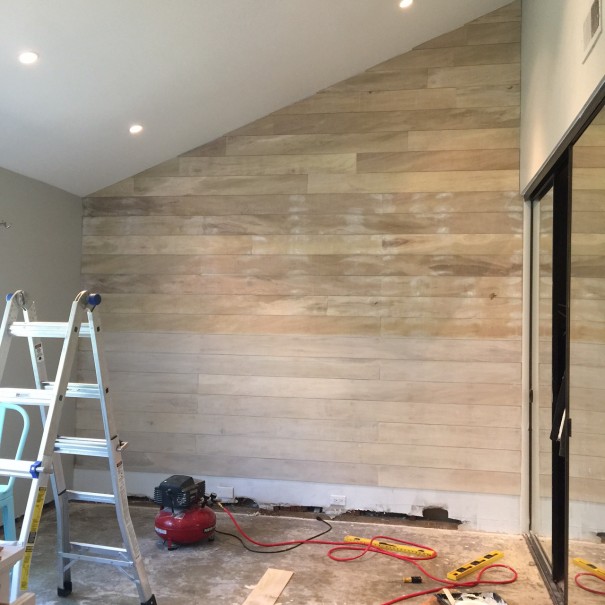
I love how bright and beachy it looks now. It really gives the room the added texture it needed.
Stay tuned for my next post–how I’m decorating our room for the fall season.
Check out some of our other fun fail proof DIY’s:
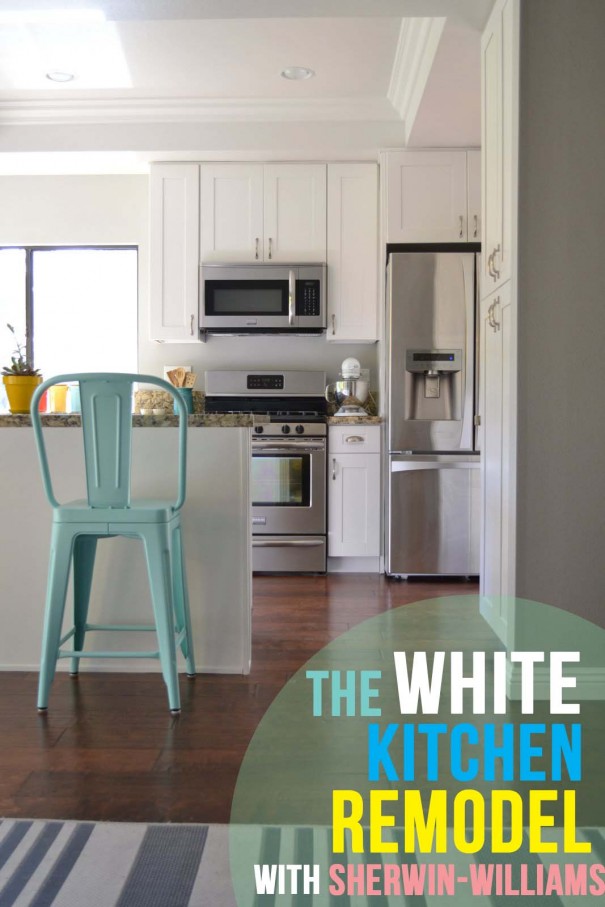
Kitchen Remodel with Paint