


Silhouette Cameo discount code provided below.

For a very limited time, Silhouette is offering an amazing bundle at a big discount.
The discount gets you 1 CAMEO, 1 Silhouette scraper, 1 Silhouette hook, 1 Silhouette spatula, and 1 $25 download card for the Silhouette Online Store for $269.99
If you already have a CAMEO, this code can get you a bundle with 1 Silhouette scraper, 1 Silhouette hook, 1 Silhouette spatula, and 1 $25 download card for $29.99!
Offer valid through August 22, 2012.
**GO TO THIS LINK TO USE THE DISCOUNT**
And now, on to the tutorial for this fun DIY Home Sweet Home front door sign.

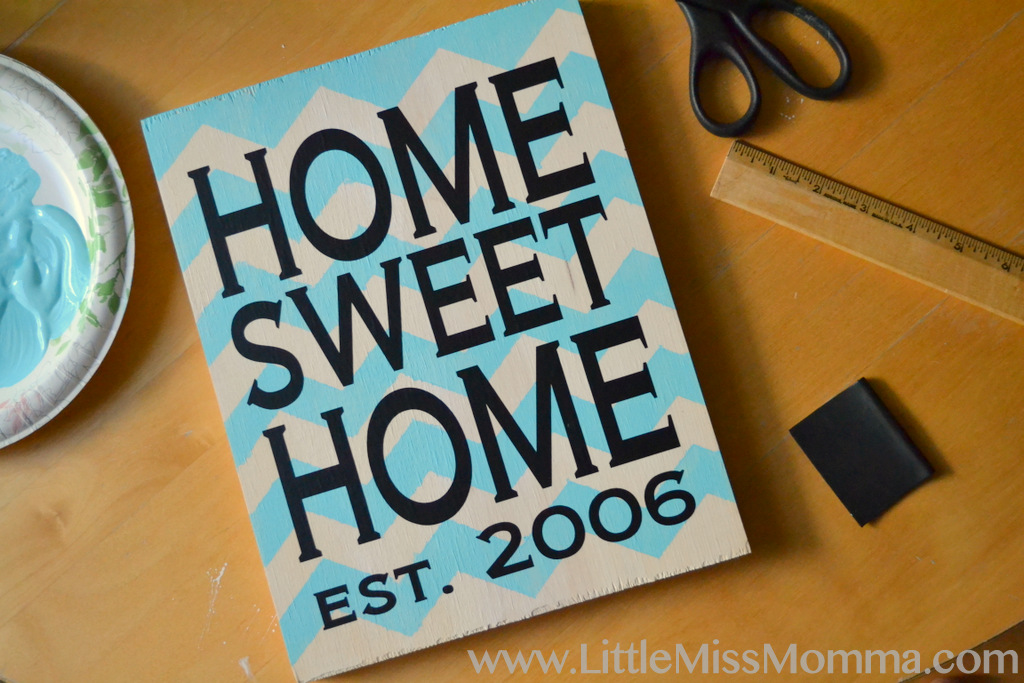
Silhouette Premium Vinyl and transfer paper (12 inches wide)
9 x 12 wooden board
Acrylic paint in your colors of choice
Paint brush, scraper, ruler, scissors

(My craft room Owl came c/o I Sew Lucky)
Here are the paint colors I selected. I used to Martha Stewart chalkboard paint only because I liked the color and I already had it at home. However, I would suggest using a non-chalkboard paint for this project. First, I watered down the white acrylic paint and applied a single coat to the front and sides of the wooden board. I watered it down because I wanted to give it a white-wash look, and I wanted to still be able to see the grains in the wood.


While the white paint dried, I created my stencil and vinyl decal.

Using the software provided with your Silhouette, select your favorite font and design your sign. Be sure to be aware of how many inches your typography ends up being so that it fits on your board. I made my typography 8 x 10 so that it fit perfectly on the 9 x 12 board.

Using the Silhouette software again, create a second decal, this time using the chevron graphic that you can download for $0.99 in their store. I made the stencil larger than my board so that the graphic went over the edge. Once the stencil is cut, carefully peel it from the paper backing and line it up on your board. This was the trickiest part of the project for me because it was tough to get the lines straight. I went row by row and used a ruler to check that my chevrons were lining up.

Once you have the vinyl stencil in place, be sure to press it down firmly so there are no air bubbles or creases where paint can leak in.


Paint a very thin layer of the robins egg blue paint over the stencil. Again, I watered it down a tiny bit to give it a more beachy look. If you use too much paint over the stencil, it is more likely to run outside the lines and get goopy.
 Wait for the paint to dry and then carefully peel back the chevron stencil.

Next, follow the instructions on the vinyl packaging and apply the transfer paper to your vinyl decal.
Place the decal centered over your board and press down firmly. Smooth out all the bubbles, then peel away the transfer paper to reveal your brand new DIY Home Sweet Home sign.

I think these signs would make the perfect wedding or anniversary gift!