






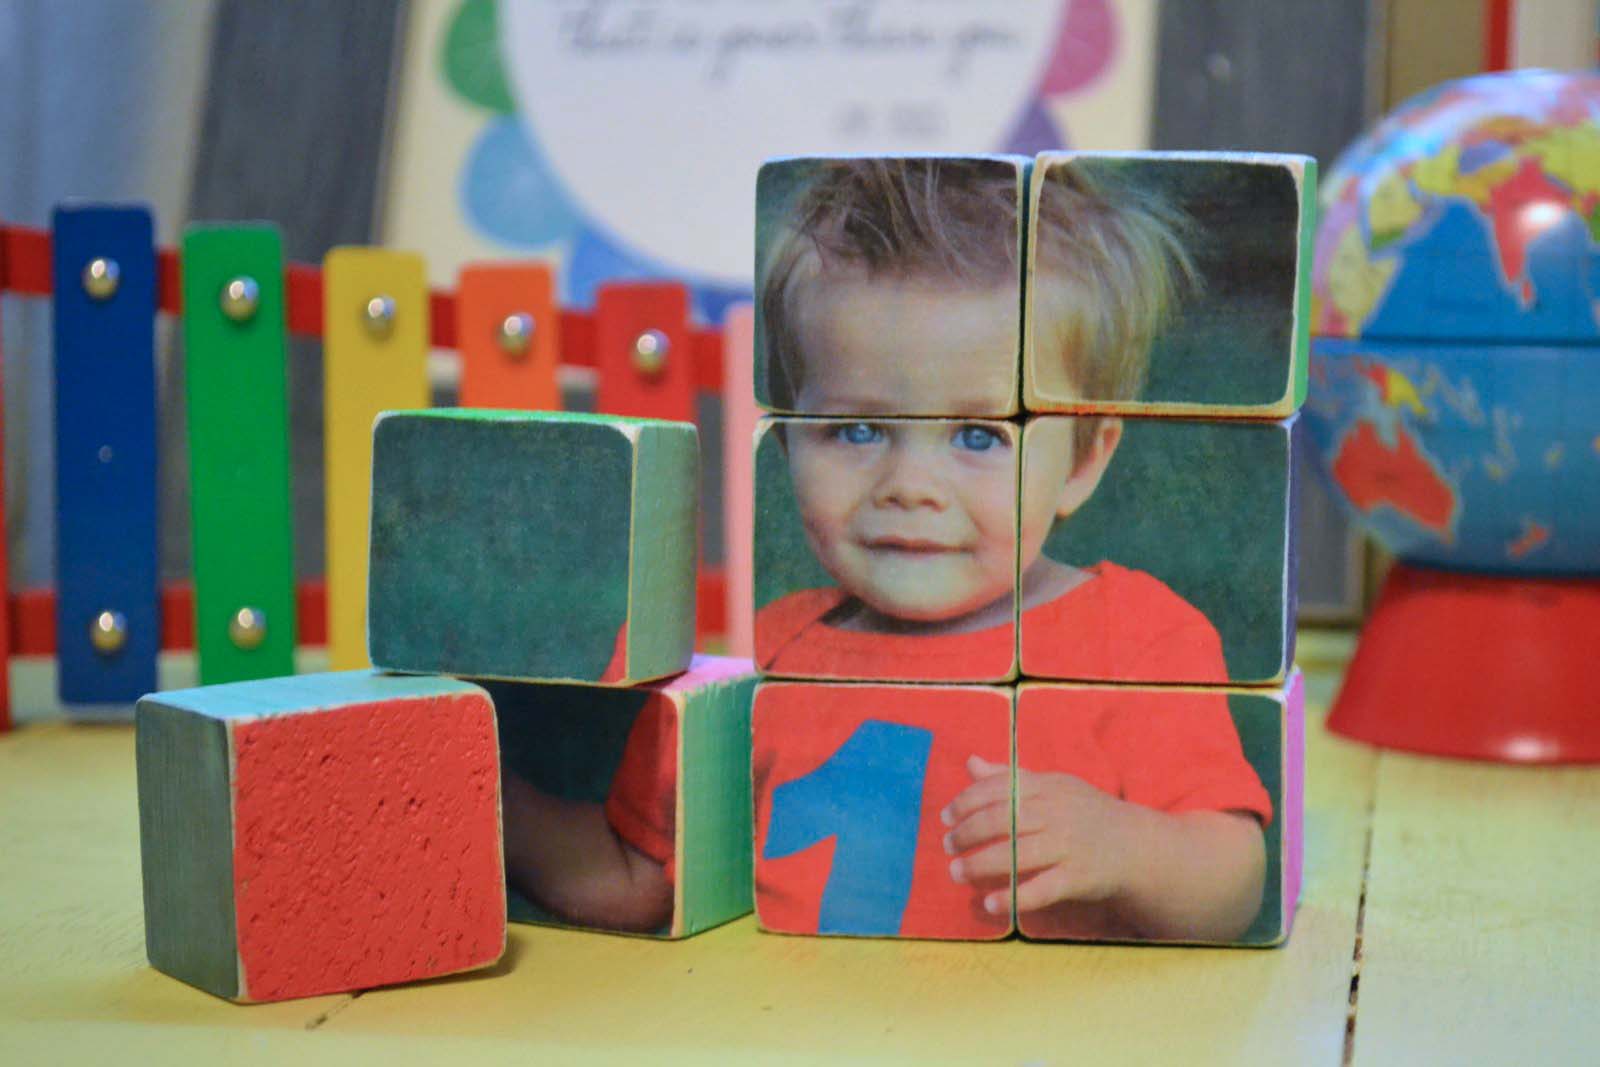
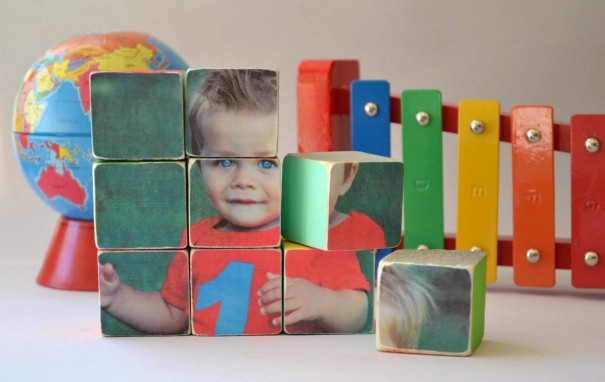
I have had this project on my “excited-to-do” list for quite some time now. And I must say, after completing this photo block puzzle, I want to make a bunch more. These would be so cute as holiday gifts for all the littles in your life. Not to mention, they are incredibly easy to make and super cheap.
Materials I Used:
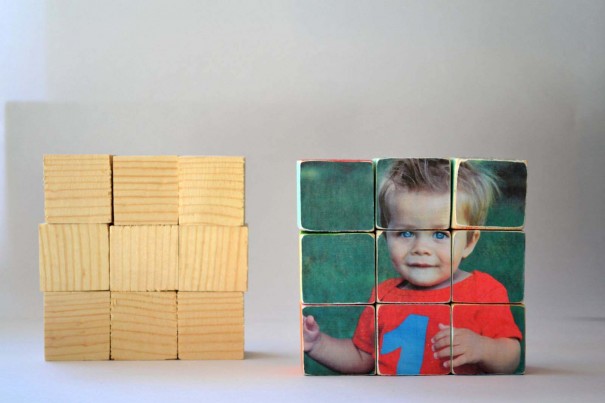
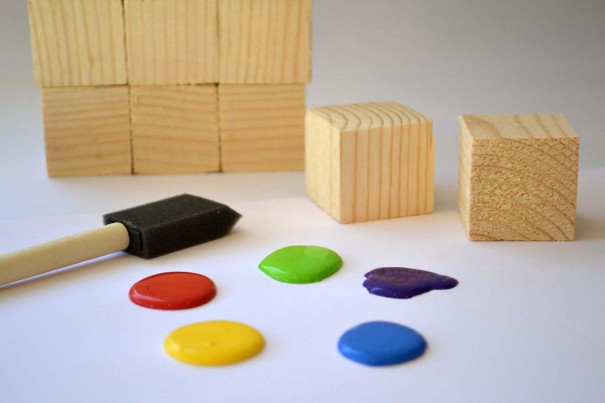
- 1.5 inch wooden cubes (quantity 9): Every craft store I visited was sold out of their unfinished wooden blocks (normally $1 each). So I ended up going to a hardware store and picked up an 8 foot post. Most hardwood stores will cut down the wood for you for an additional cost (usually $0.25 per cut). I had him cut down the entire post because I have fun plans for a few more “blocks” projects. Keep in mind that some of the edges will be a bit rough and you may need to sand them down a bit. I paid under $5 for over 60 blocks–bargain (they ended up giving me a discount for the cuts this time).
- Matte photo paper: I selected matte photo paper as opposed to glossy because it is easier to work with when using Mod Podge.
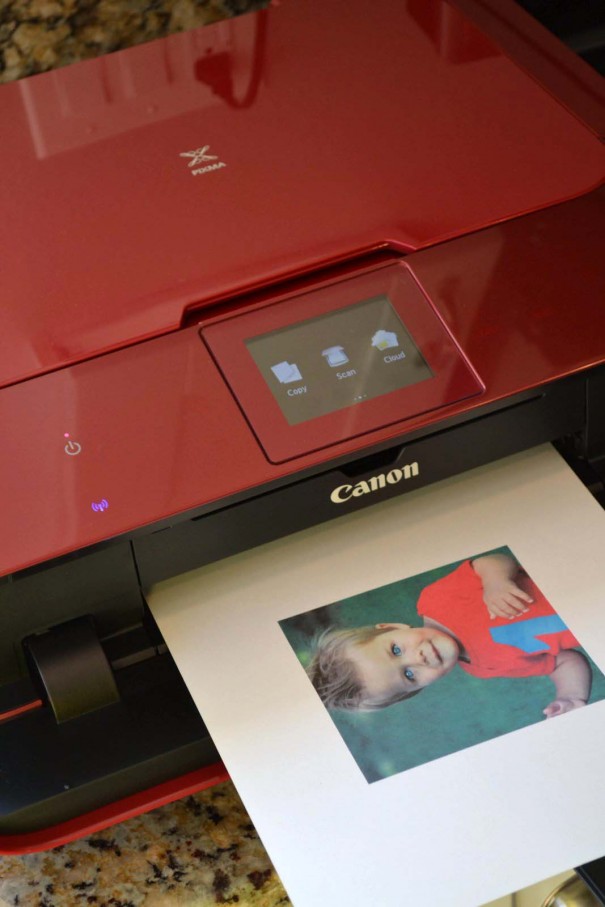
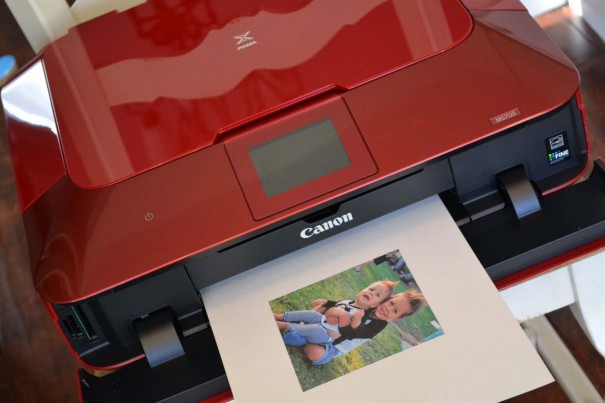
- Canon PIXMA MG7120, printer (link to be included): I love having this wireless printer on hand for all those times I want to quickly print a photo from my computer or phone for a DIY project or gift. Next up is printing all my favorite pictures for a new family album project.
- Mod Podge: I selected the matte finish because I didn’t want a hi-gloss look. Be sure to bring a 40% OFF coupon when you go to Michaels or Jo-Anns.
- Acrylic paint: I stuck with mostly primary and secondary colors for this project (and silver), but the possibilities are endless. Martha Stewart has some of my favorite acrylic paint colors.
- Foam brushes: I used foam brushes rather than paint brushes. I also used a foam brush to apply the mod podge. They are super easy to clean or you could just as easily throw them out afterward.
- Sand paper, paper cutter, pencil.
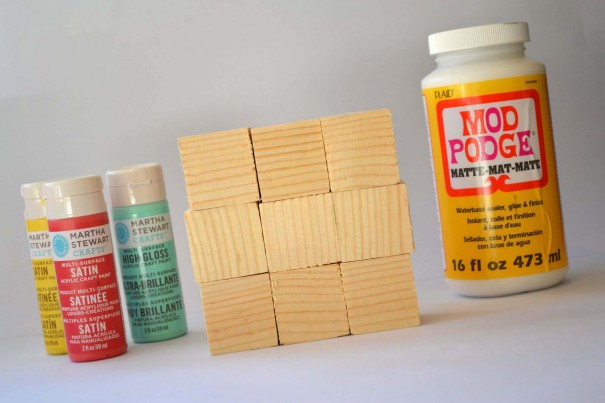
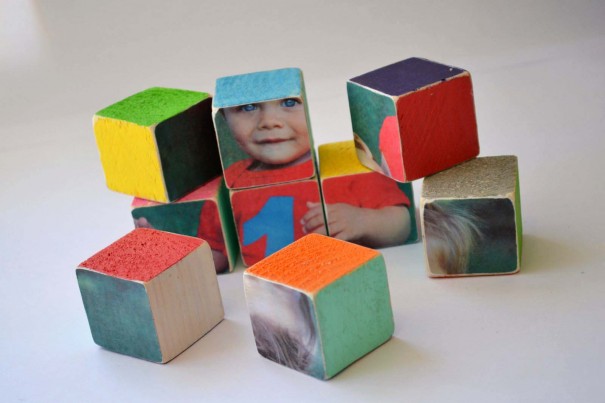
First, I painted all the blocks. I painted the face of each block a different color so that they ended up being mulit-colored. I didn’t bother to paint the faces where I would be putting the photo pieces.
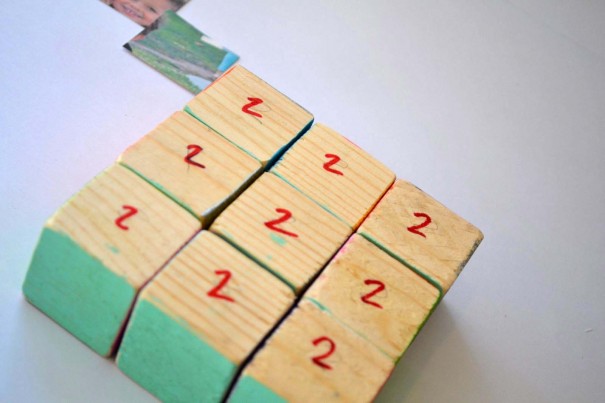
QUICK TIP: I found it helpful to number the block sides before I began painting. For example, I knew I was going to be applying 2 photos to the blocks and I didn’t want to confuse anything–so I numbered the face of one side of all the blocks with a “1” for the first photo and the other side with a “2” for the second photo. Then I knew to leave those sides blank when painting. This also helped me keep track of where I was placing the different colors so that I could be sure I didn’t put two of the same color next to each other.
While the paint dried, I cropped my selected photos to 4.5 x 4.5 in Photo Shop Elements. These are the exact dimensions of the 9 blocks–a perfect square. Then I printed the photos on matte photo paper using my Canon PIXMA.
After the paint is completely dry, I sandpapered the edges to create a distressed look.
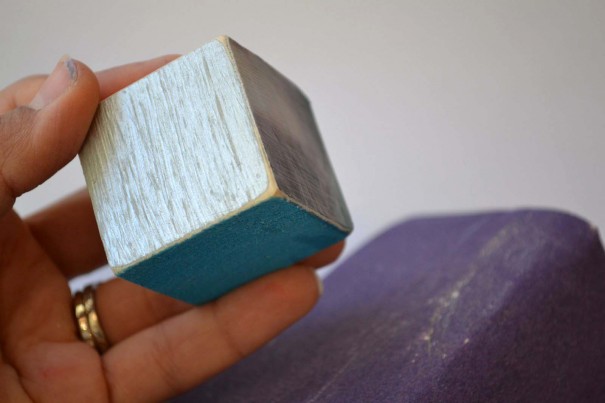
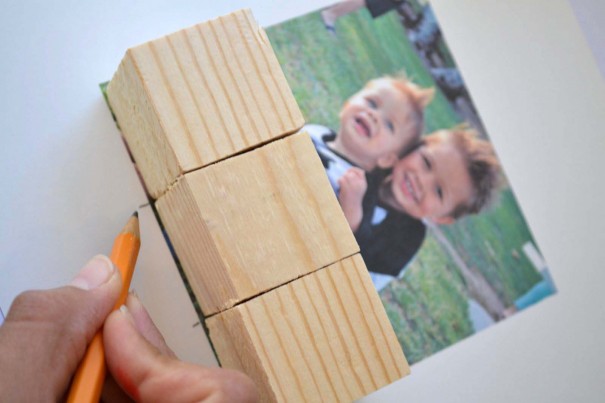
Next, I lined the blocks on top of the photo as they would appear once applied. Rather than measure with a ruler, I simply penciled where the cuts needed to be made.
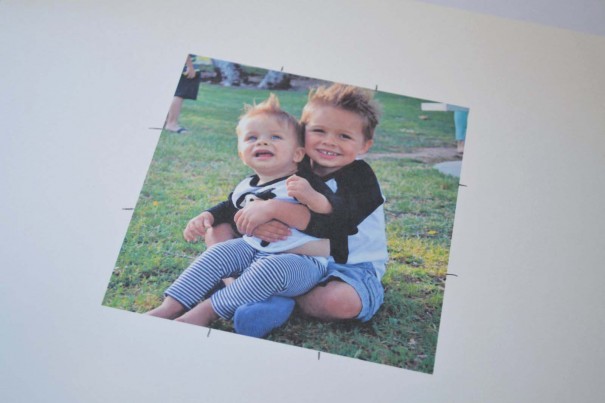
Then I used a paper cutter to ensure I had the cleanest cut lines possible.
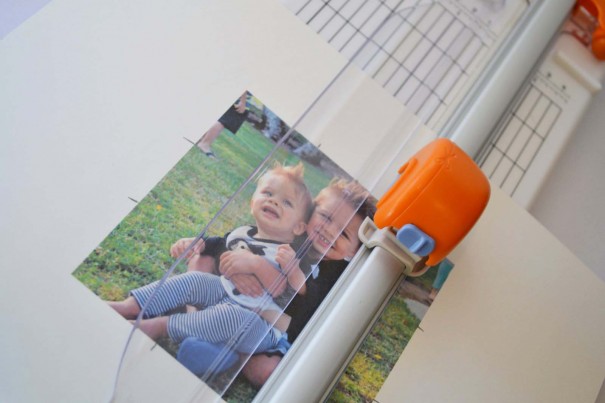
Notice how all of my paper is not cut perfectly to match the size of the blocks. This is totally fine. We will take care of the excess paper in a future step.
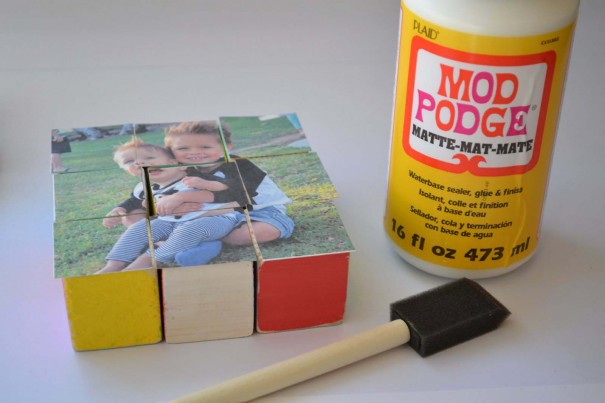
Next I applied a THIN layer of mod podge to the block and then put the photo piece on top. If you use too much mod podge the paper will rip and/or bubble. I completed this step with the remaining photo pieces.
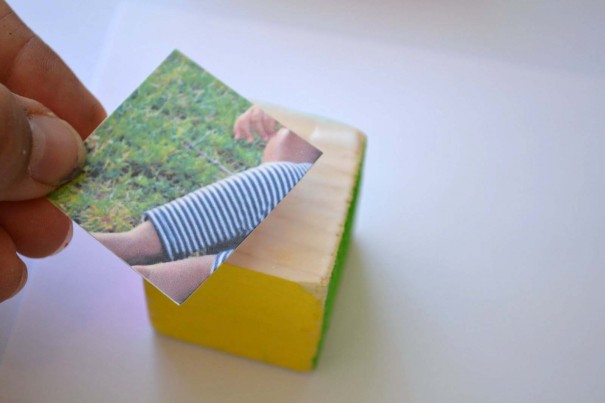
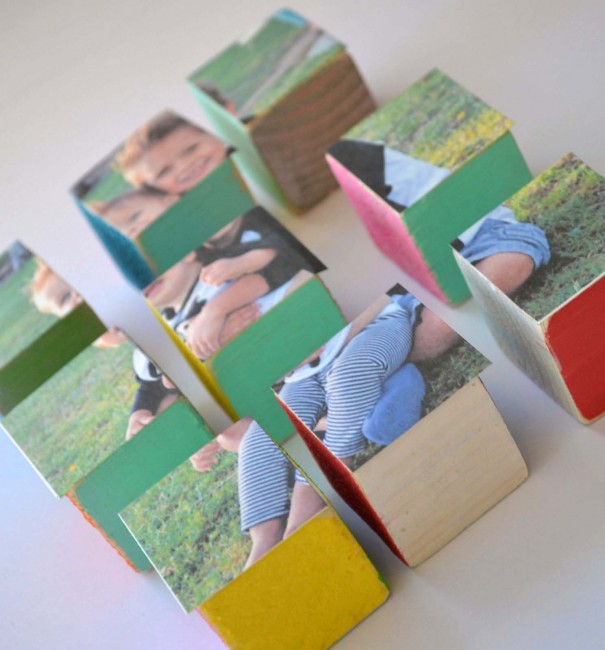
I waited for the mod podge to be completely dry and then I sand papered the edges of the photo until the excess paper came off. I also like the rustic/distressed look this gives the edges of the photo. To keep the paper from lifting, sand in a side-to-side motion rather than up-and-down.
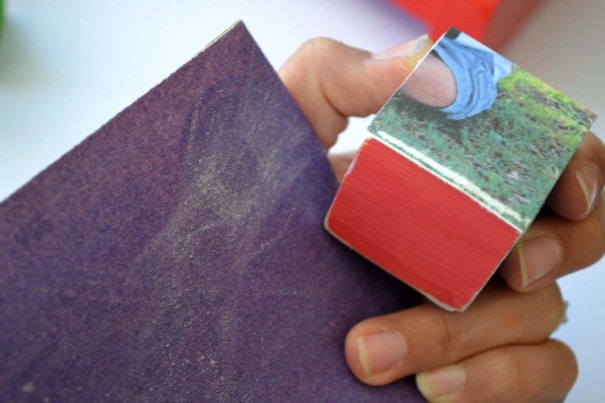
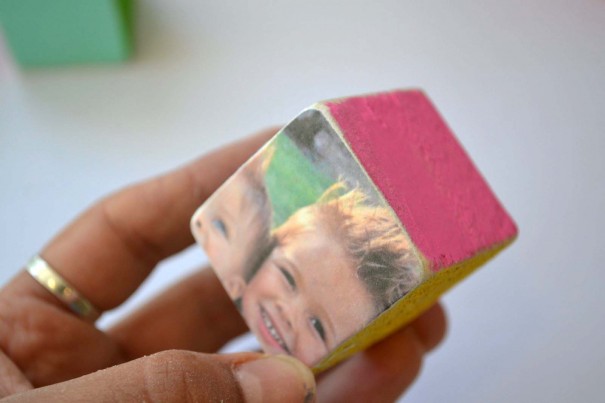
Last, I applied a thin layer of mod podge on the front of the photo. This helps to seal and protect the photo.
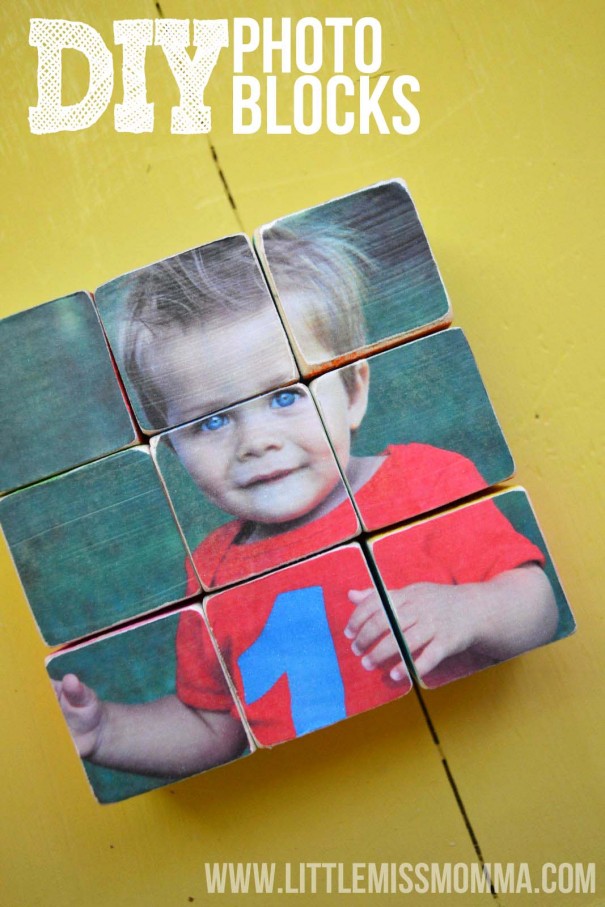
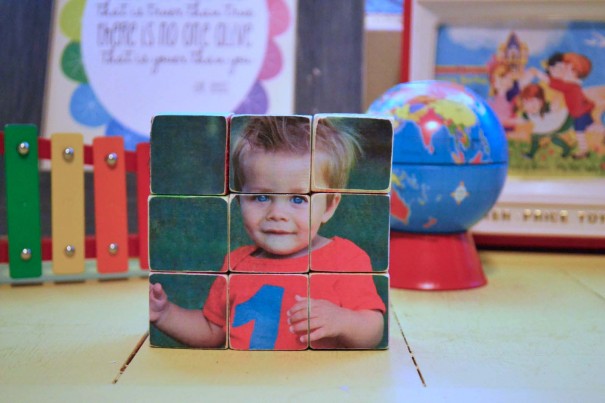
And there you have it–your very own photo block puzzle!
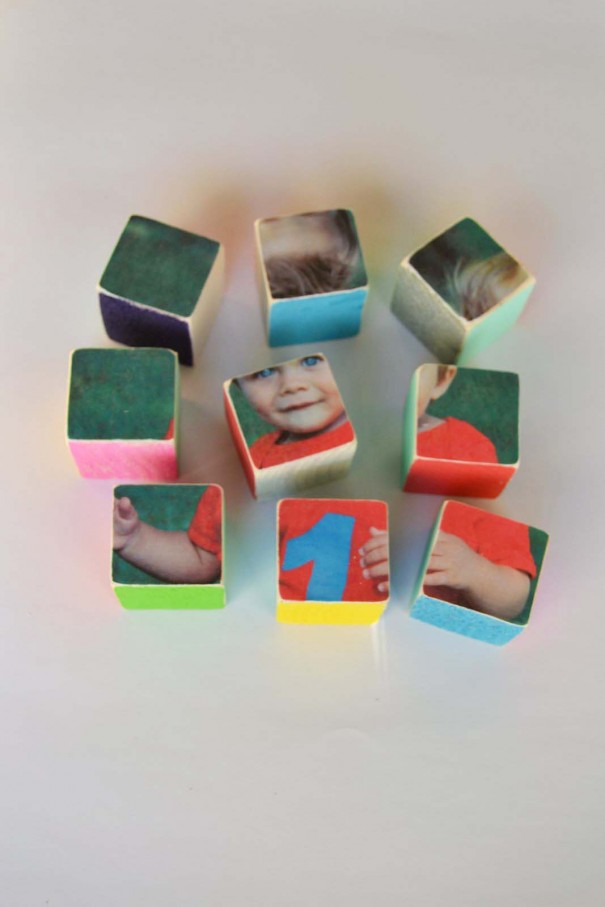
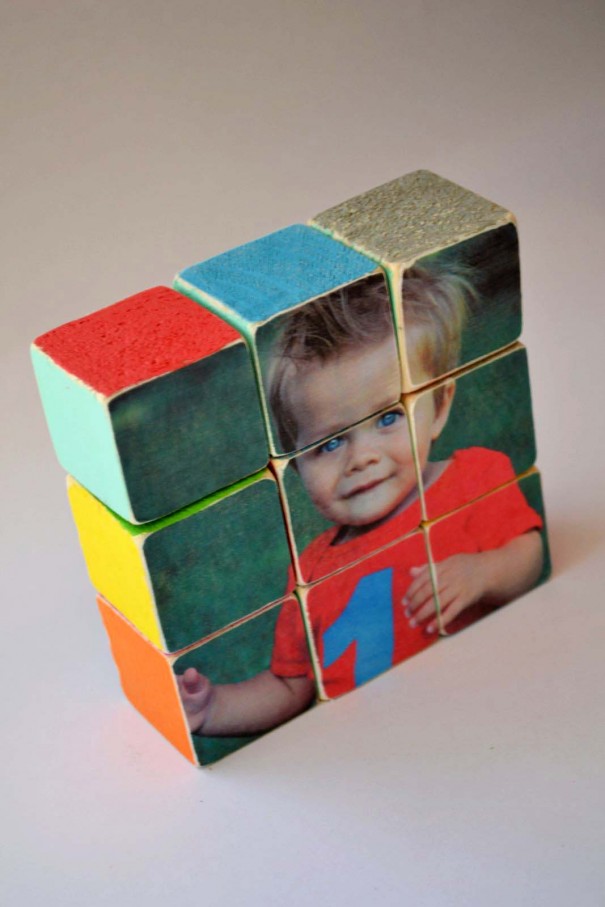
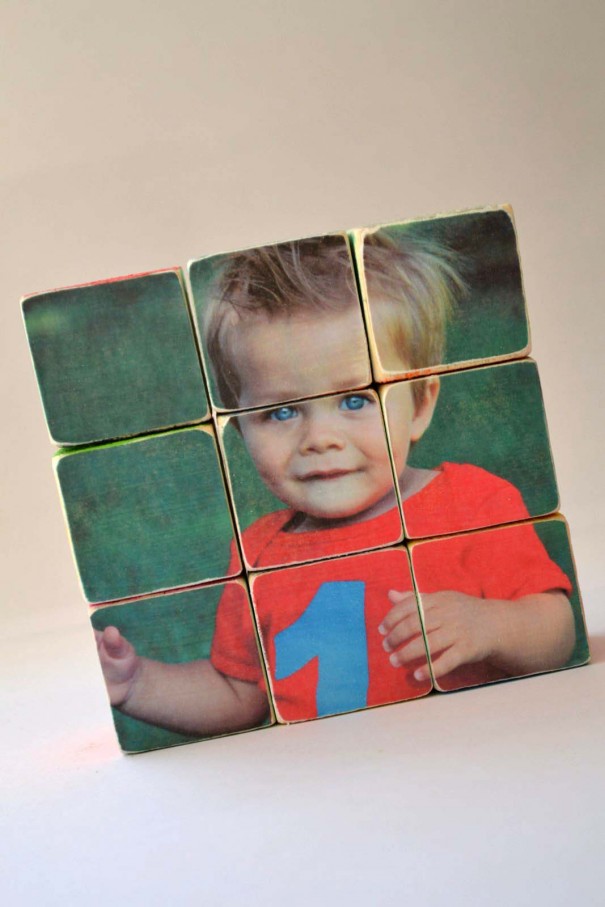
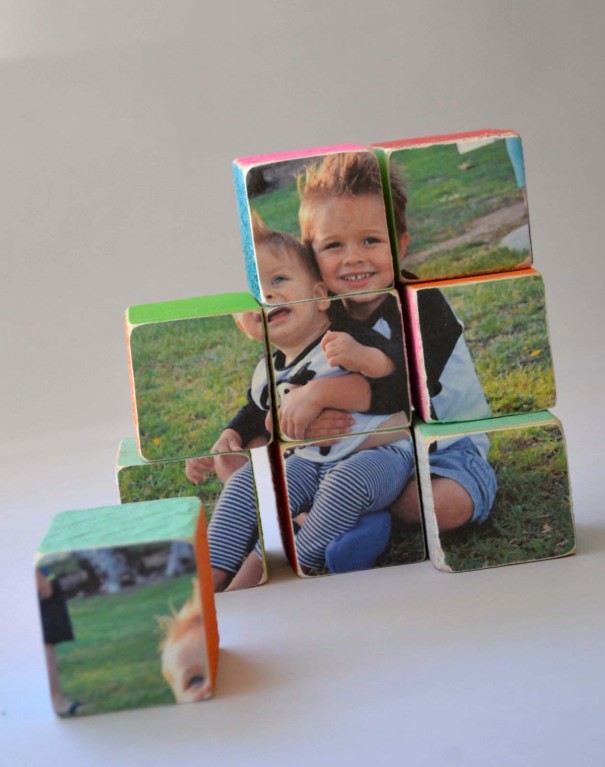
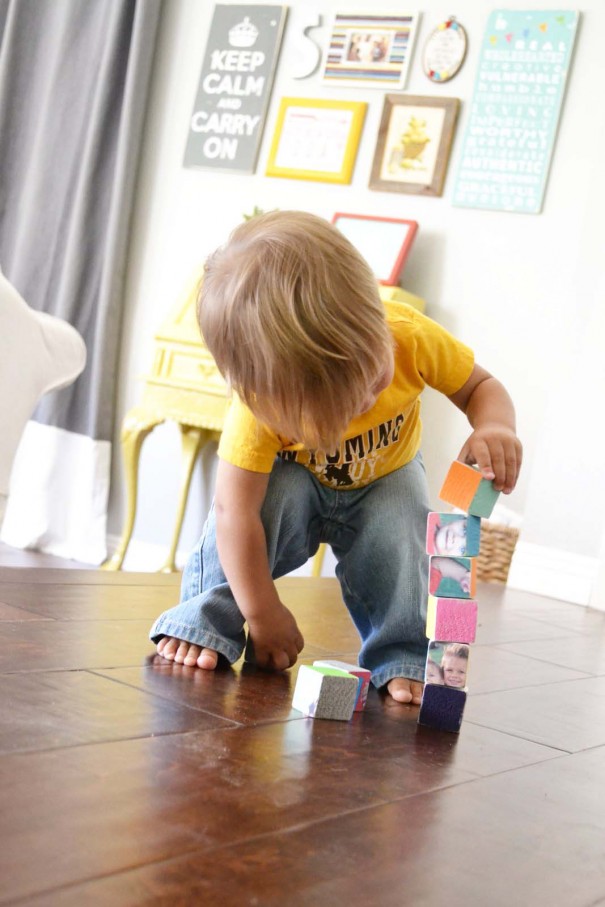
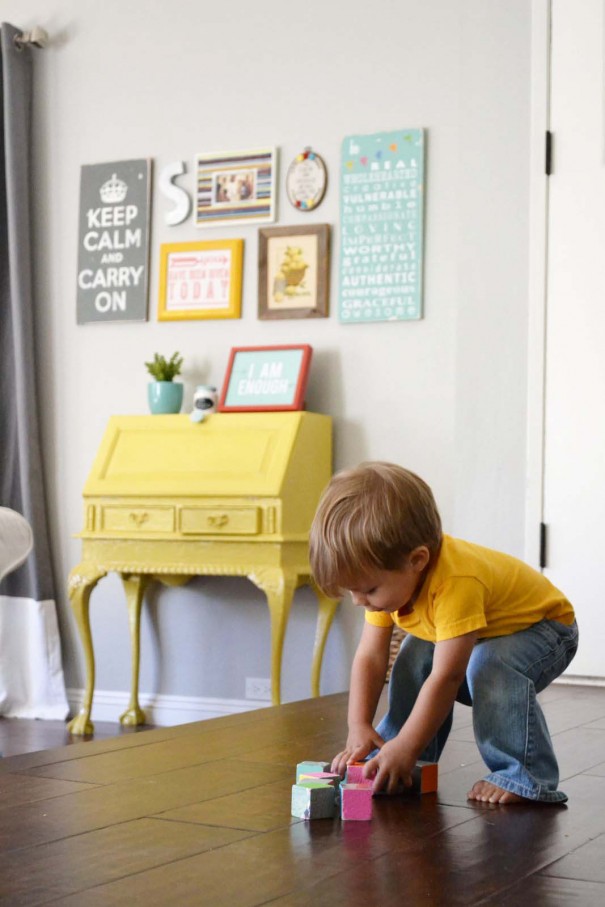
Sawyer got a kick out of seeing his own face on the blocks.
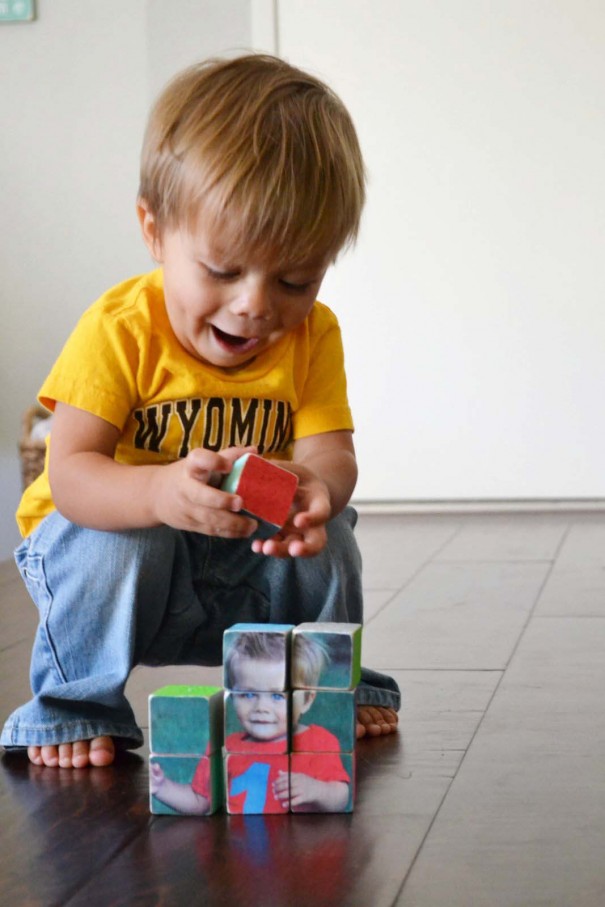
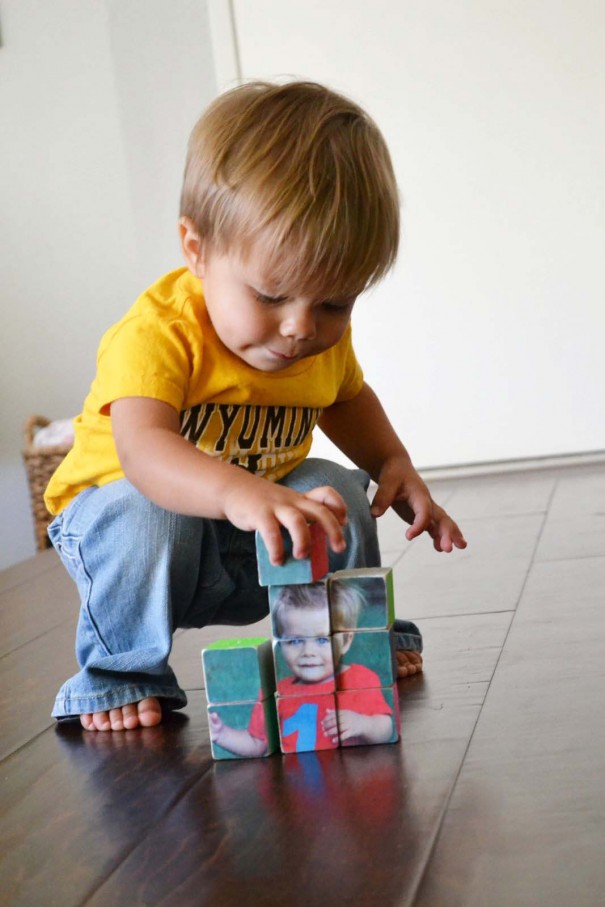
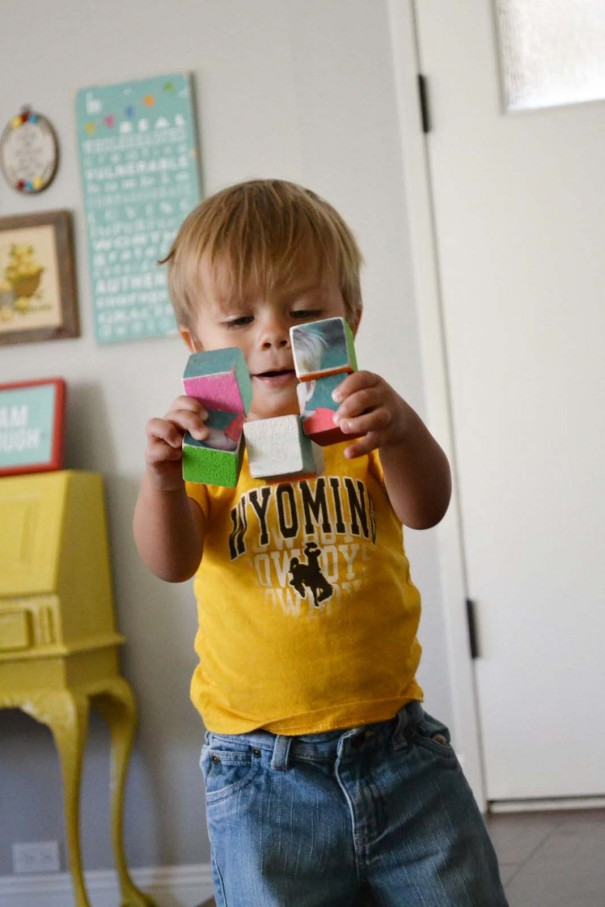

Presented by Canon PIXMA Wireless All-in-One Printers. PIXMA Printing Solutions (PPS) lets you print photos or documents directly from select popular online Cloud services.
Thank you for supporting the sponsors that support our family.

