


Baby Footprint Plaque Tutorial
{Featuring Mod Podge, of course}
I had grand plans of having this project completed before Father’s Day so that I could share this gift idea with y’all, but Baby W had different plans this week–better late than never, right?!
Here is what you will need to make your very own
Baby Footprint Keepsake Plaque:
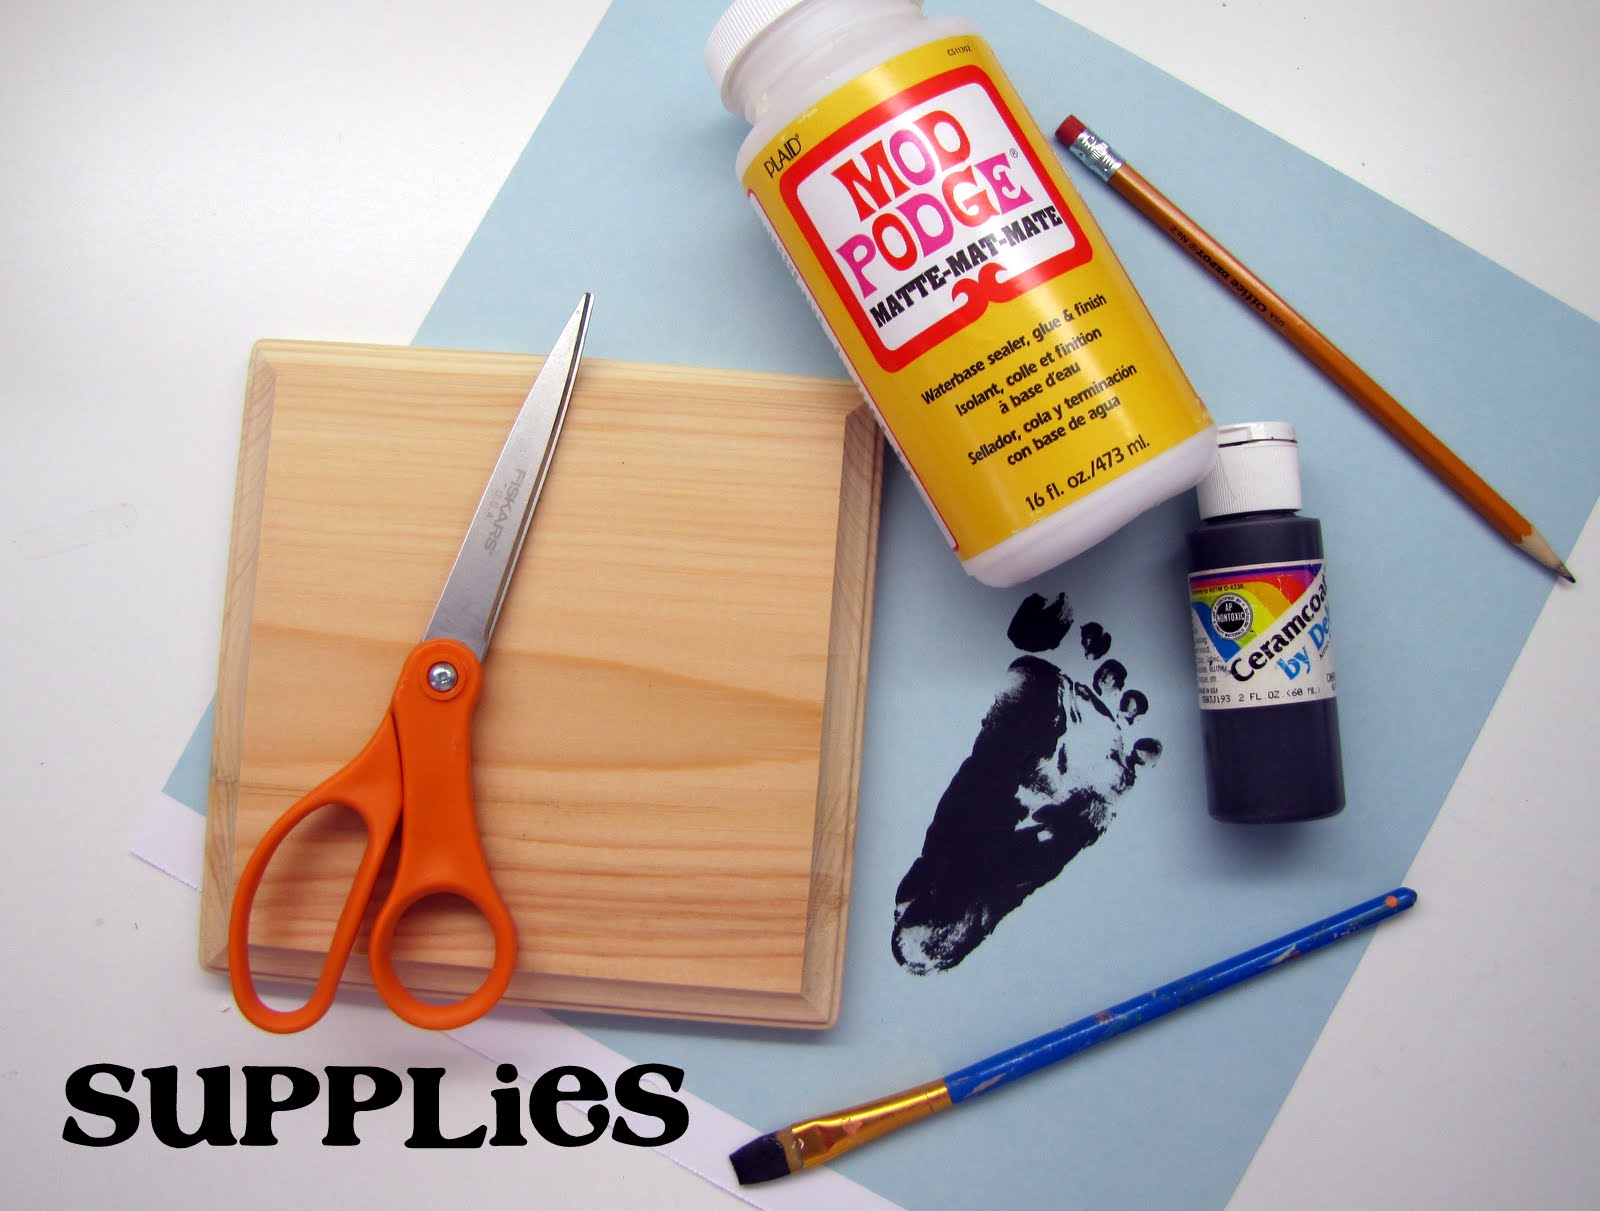
Supplies:
Wooden Plaque {@ Michael’s for about $2 or less}
Your little ones foot print on scrapbook paper
Acrylic Paint {or spray paint}
Mod Podge {I used the matte finish}
Scissors
Paint brush
Sand Paper {not pictured}
STEP ONE:
Use the acrylic paint to get a footprint from your babe.
Good luck getting a decent footprint of your squirmy little bundle of joy.
I got about 20 like this before I got one that was half way decent:
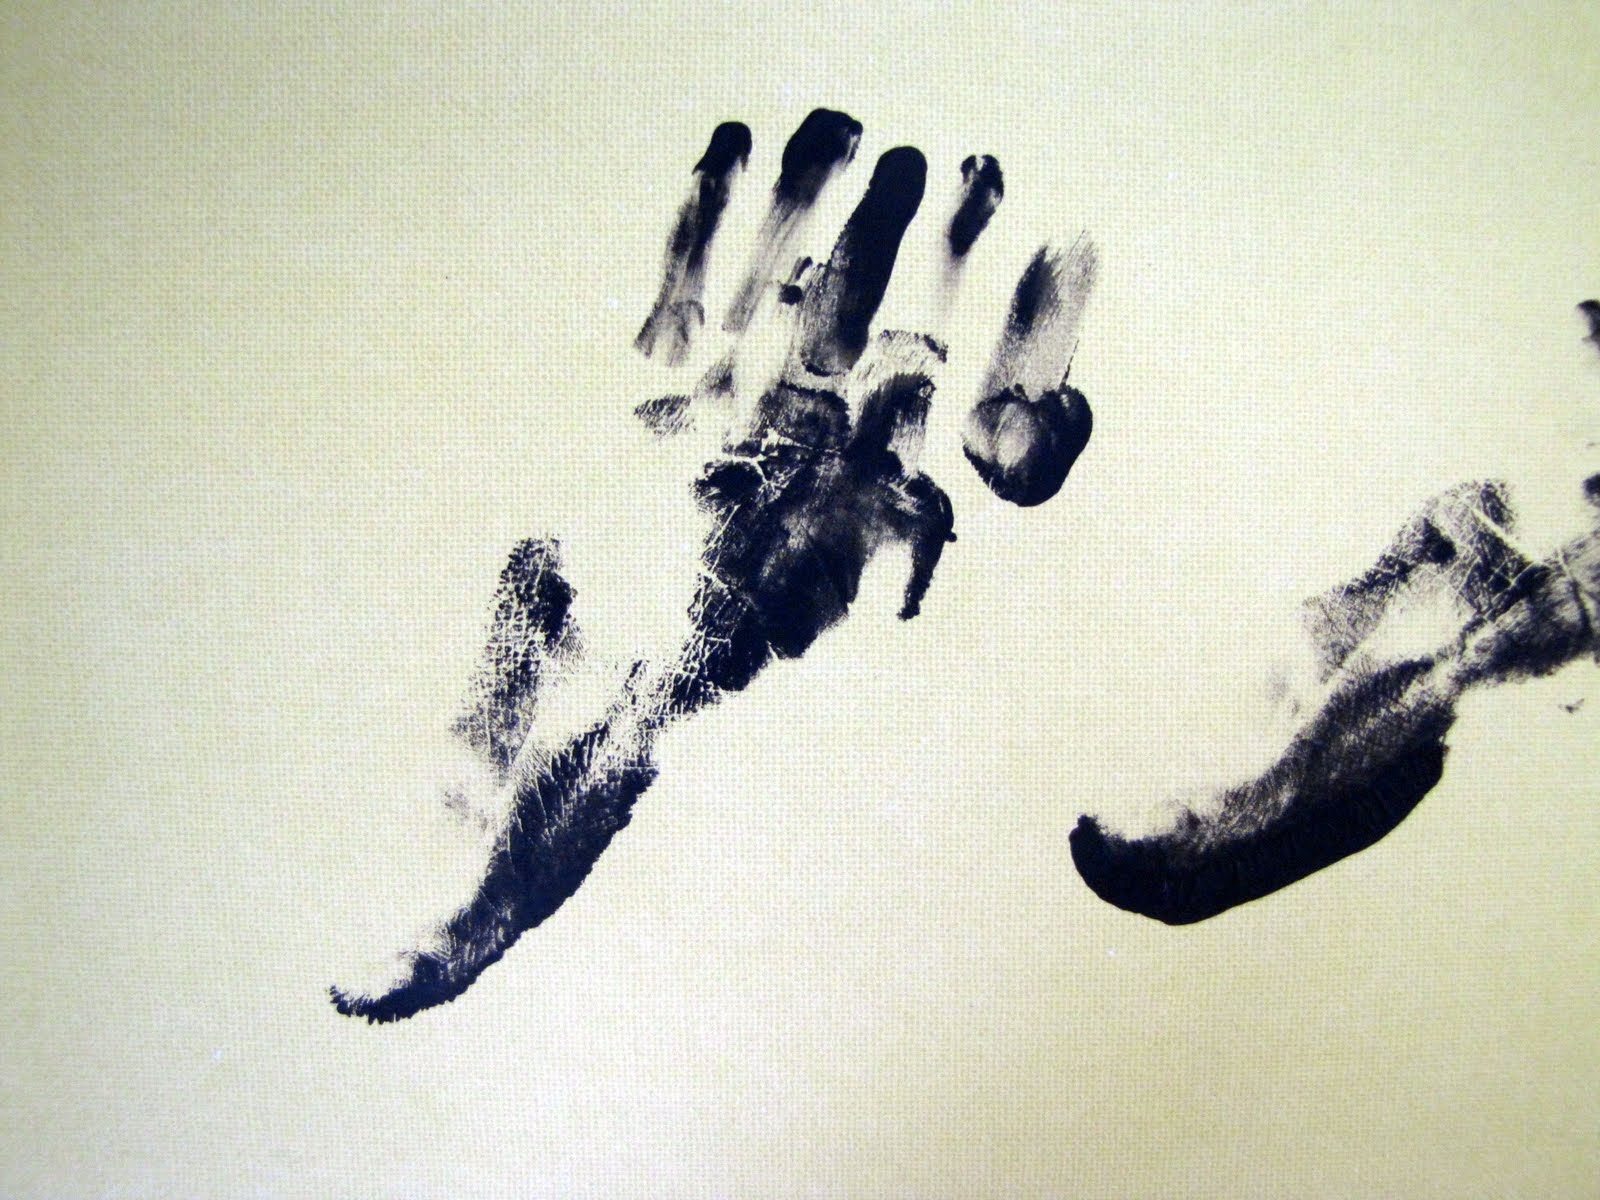
This one looks like Baby W has 3 inch toes.
Paint the edges of your plaque the color of your choice {I used black}. No need to paint the middle of the plaque since it will be covered by the paper.
STEP TWO:
Now you have to cut the scrapbook paper with the footprint on it to be the correct size to mount on your plaque. This is the tricky part. Because the plaque has a bevelled edge you can’t easily trace the outline.
So here is a helpful technique I have learned. Flip over the paper with your footprint on it and place it directly onto the spot on the plaque that you want it. Now, grab a crayon and color over all the edges of the plaque. The EXACT edge of the plaque will show up the darkest in crayon.
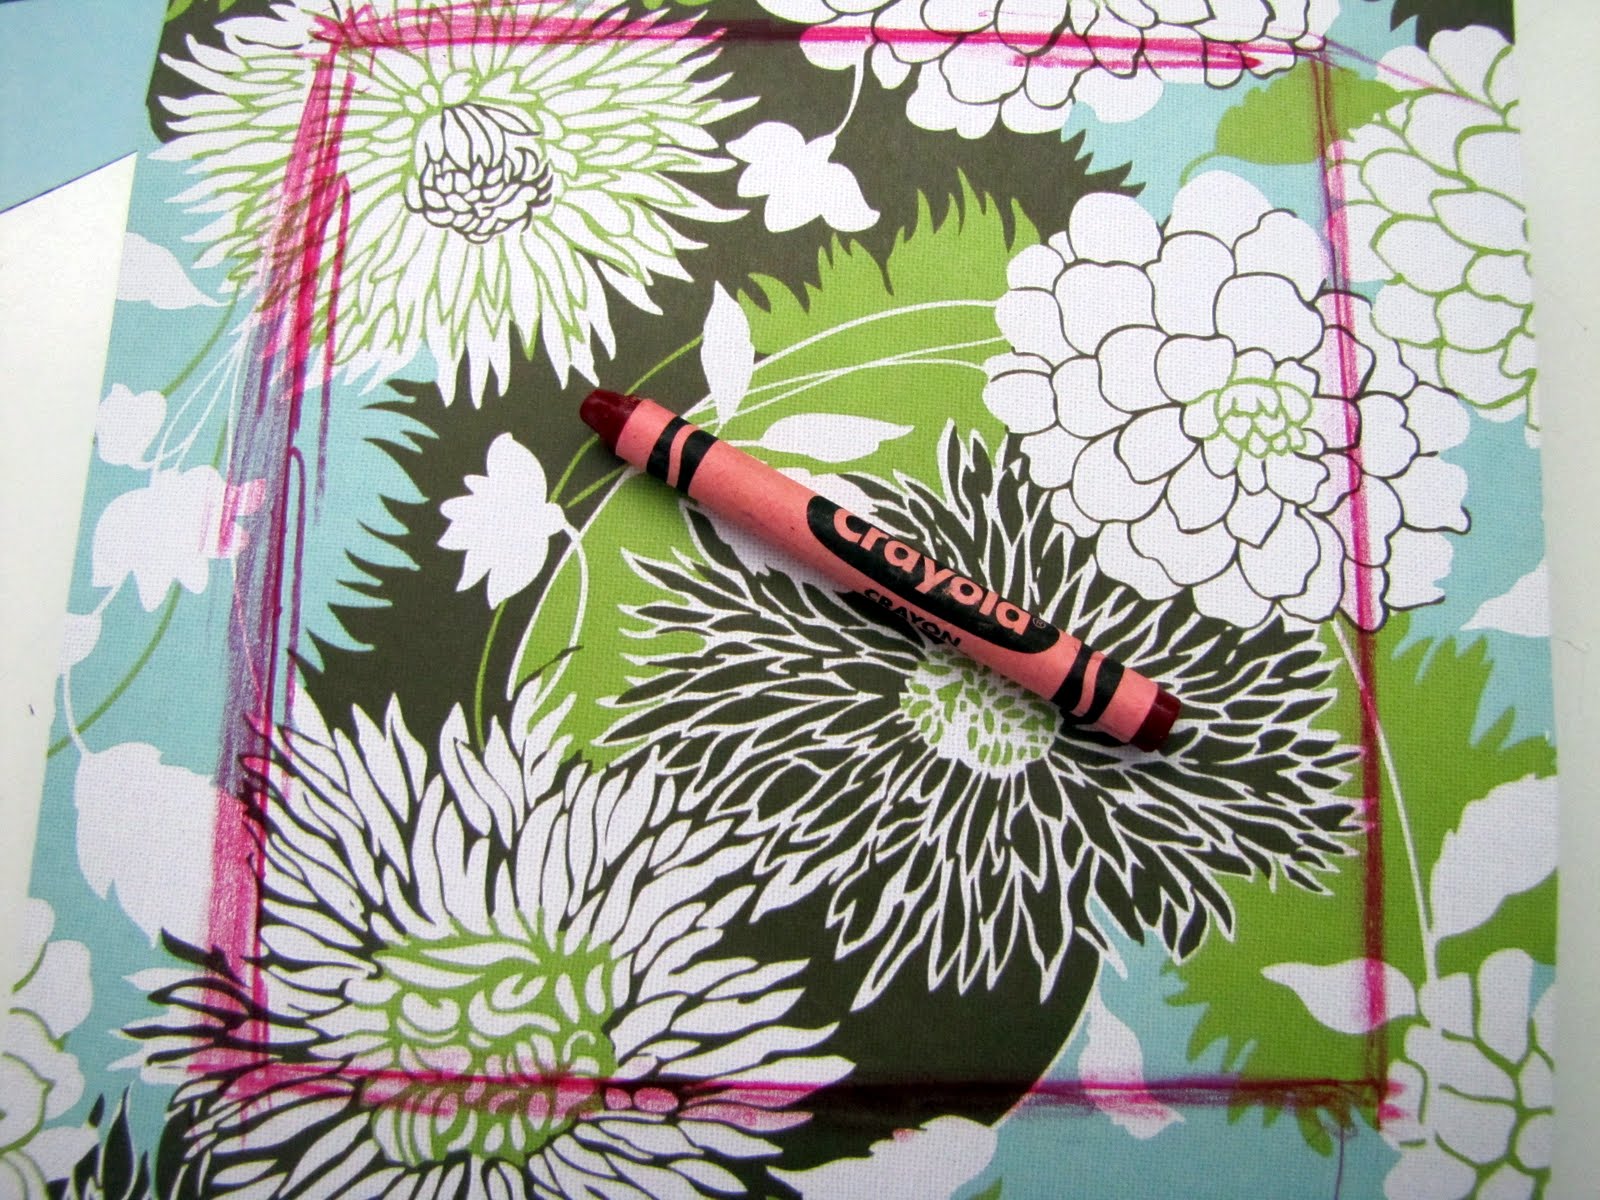
Now, cut out your paper along those dark crayon lines for a perfect outline.
STEP THREE:
Apply a generous amount of Mod Podge to the surface of your plaque and then place your footprint cut out on top. Smooth out all the bubbles.
Notice that the edges won’t be perfect and glue may be dripping down the sides.
This is OKAY.
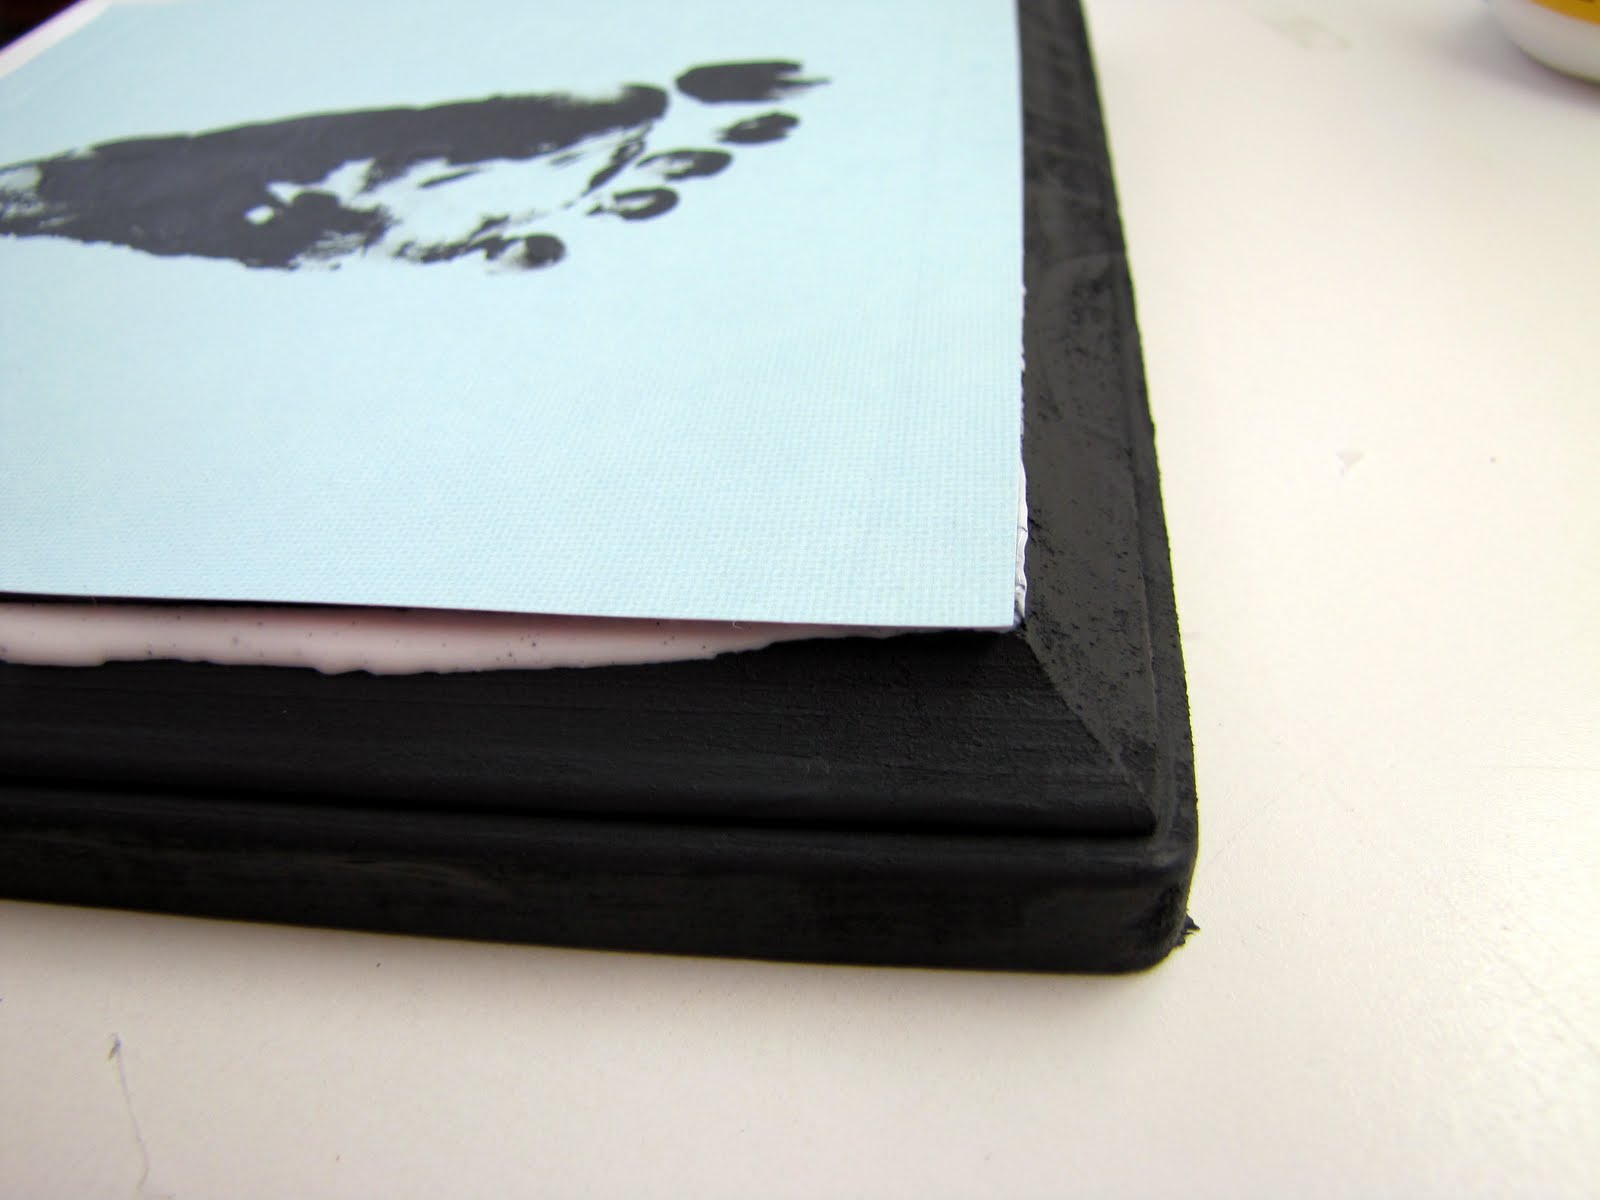
Before applying the top layer of Mod Podge take your sandpaper and sand down the rough edges of paper and dripping glue.

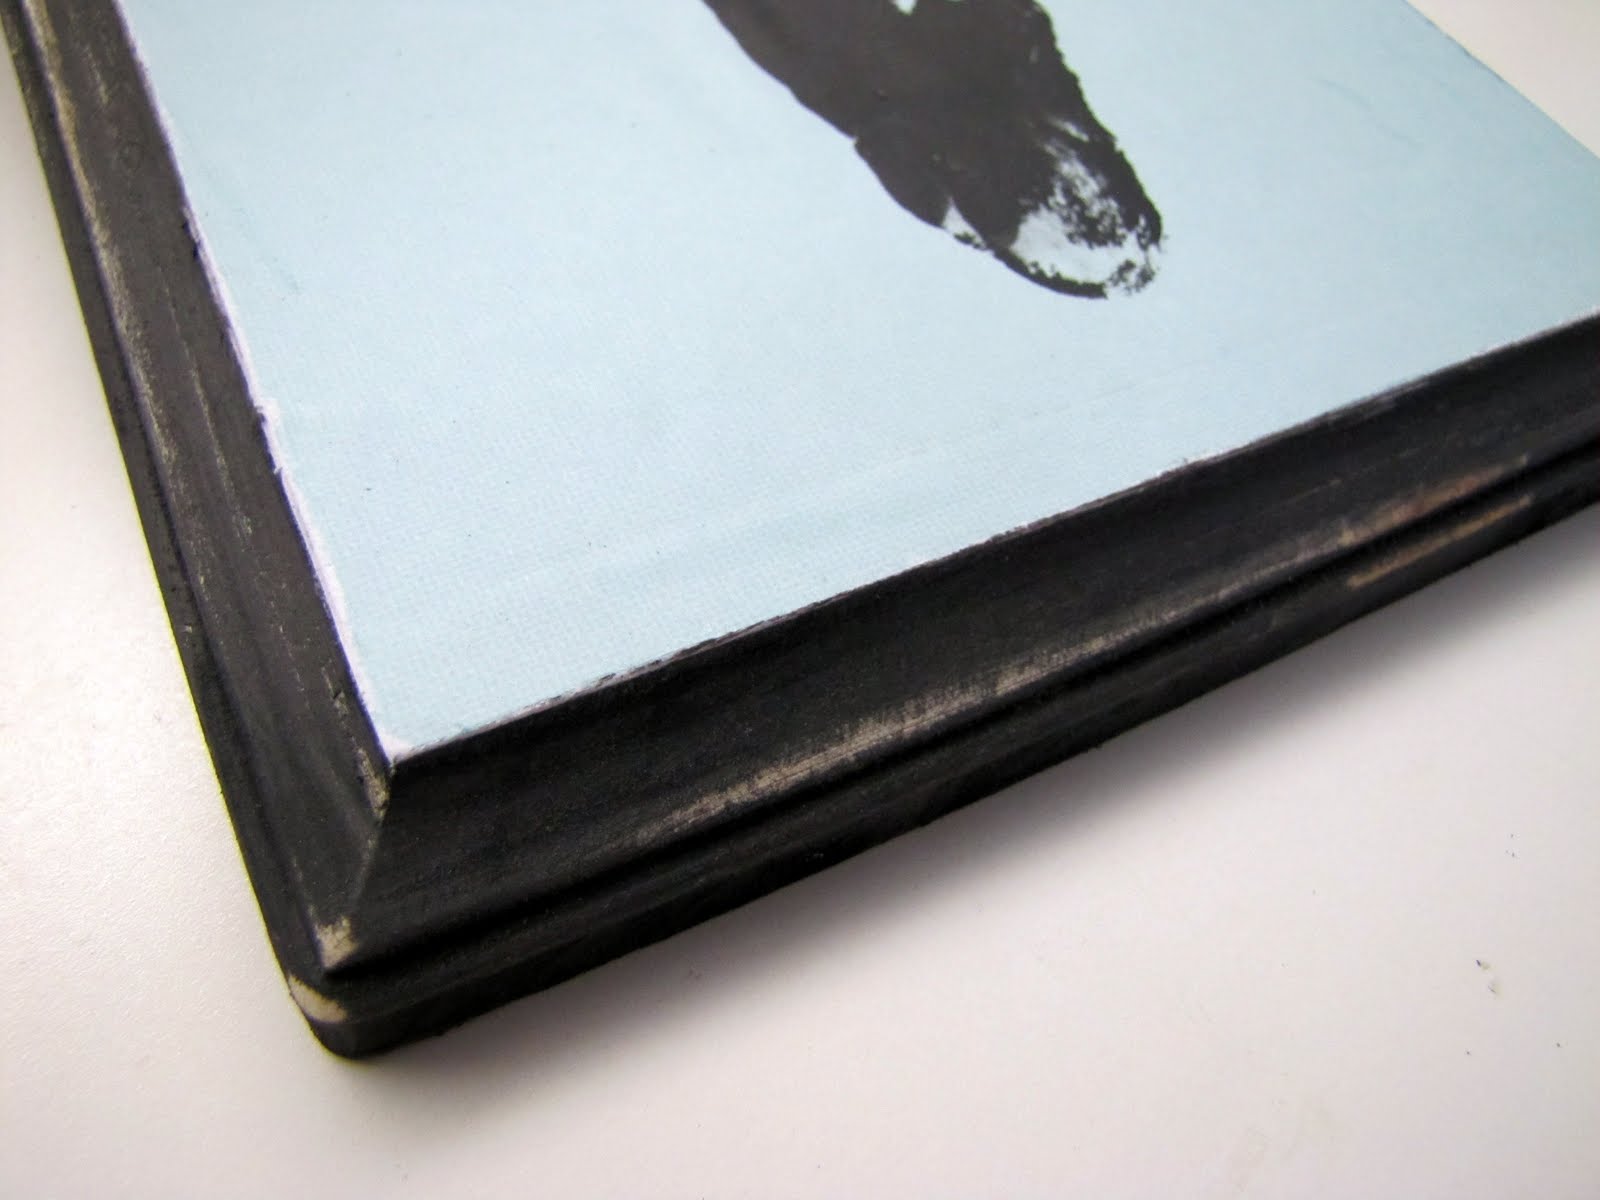
I also sanded the edges of the plaque to give it a distressed look.
STEP FOUR:
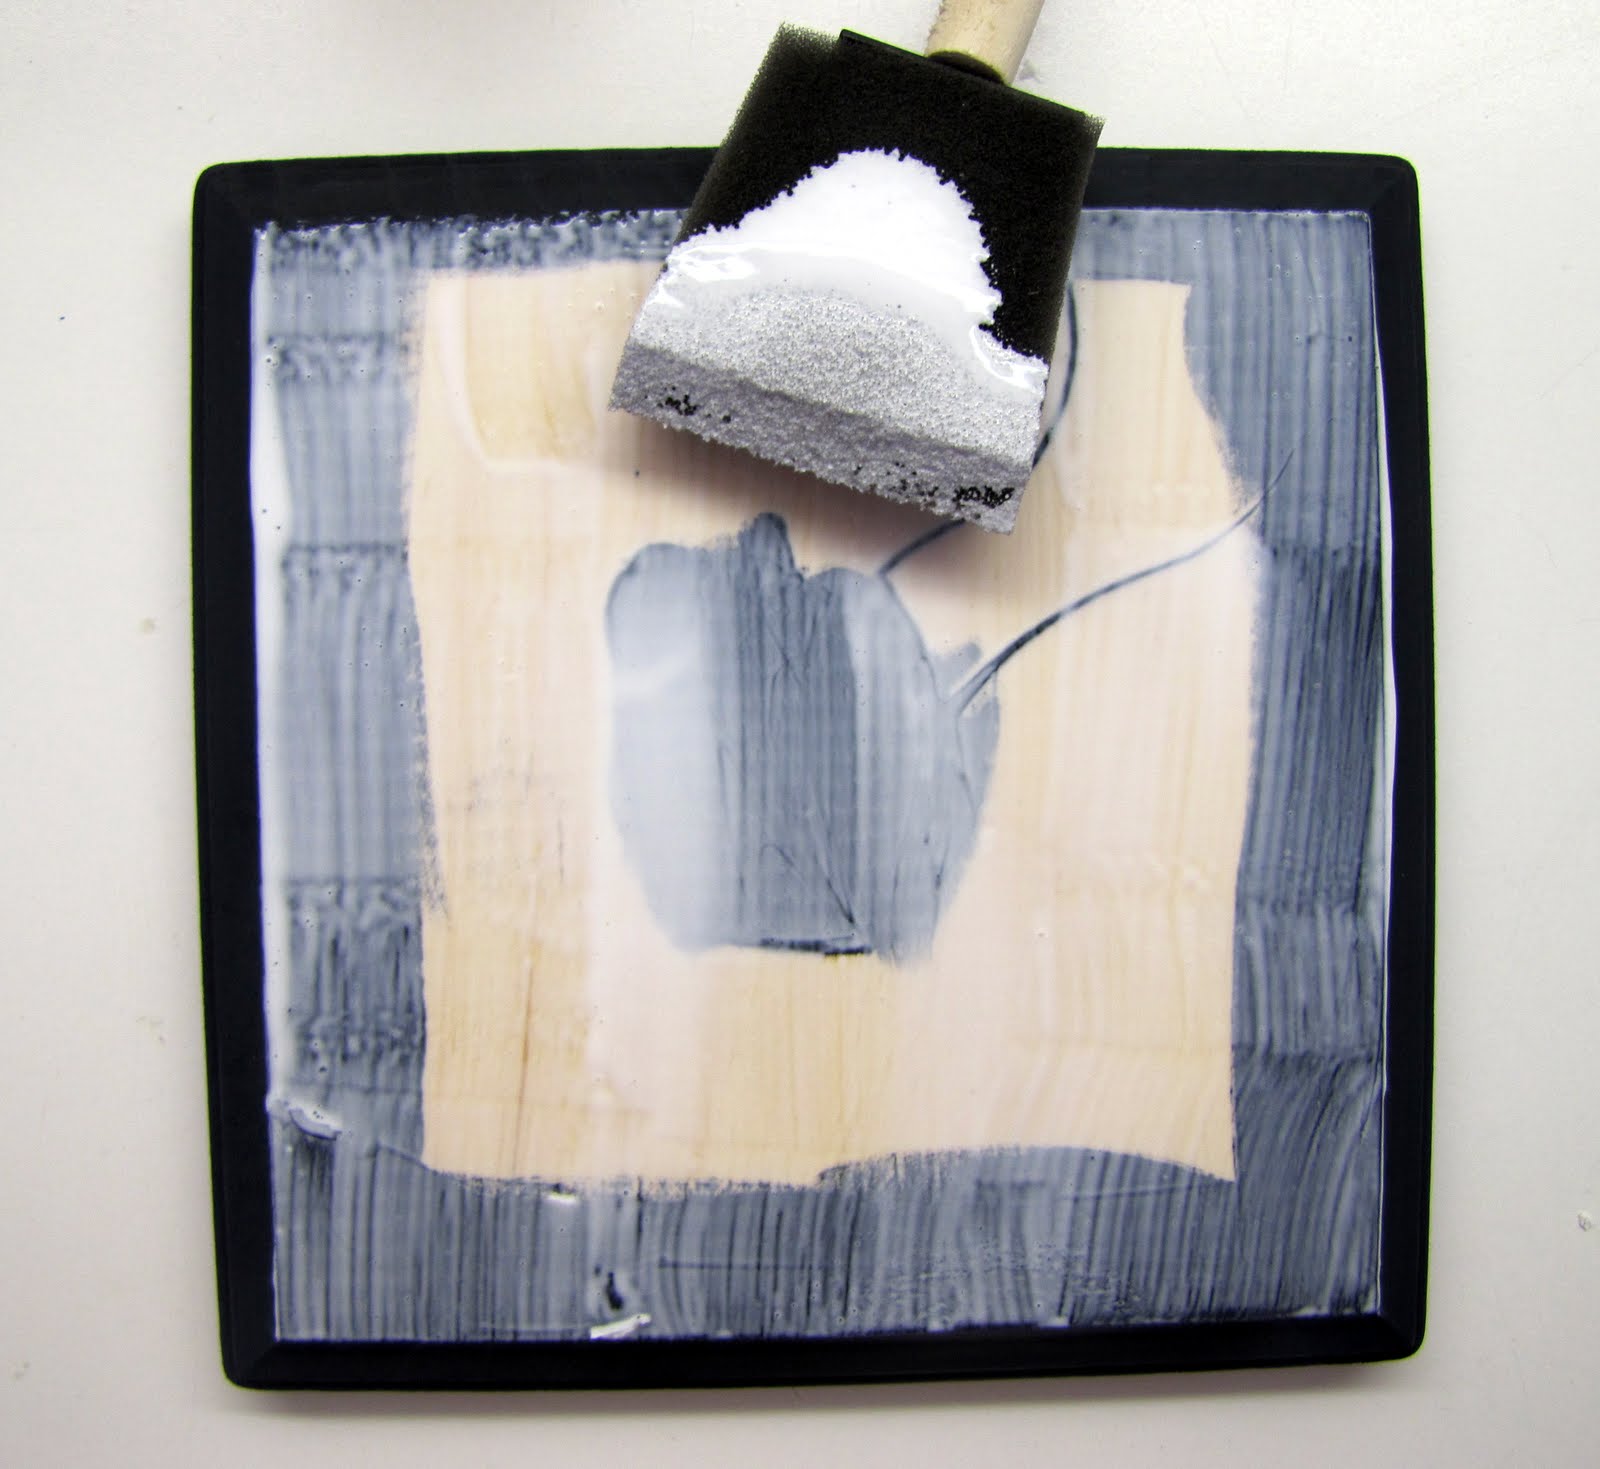
Once you have finished sanding, apply the top layer of Mod Podge to the entire surface of your plaque. Don’t worry if it looks foggy and/or white from the Mod Podge–the Mod Podge will dry clear.
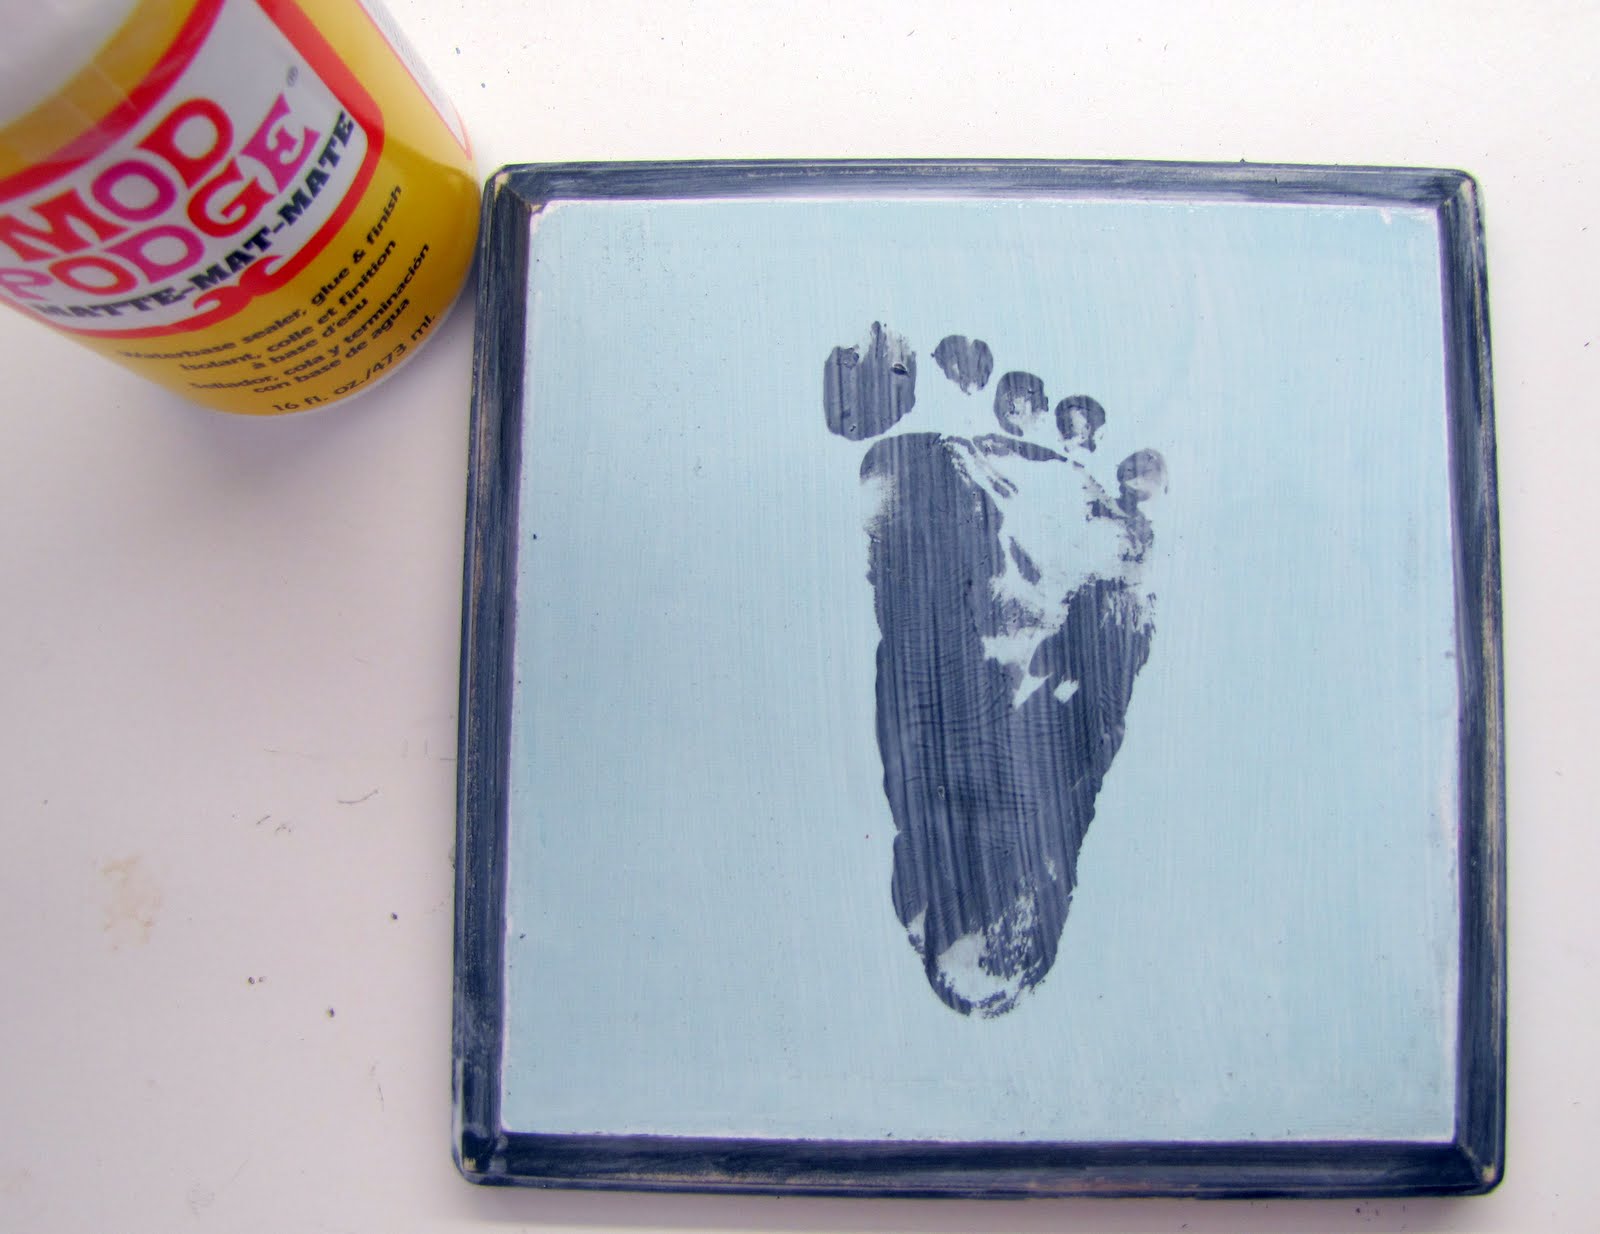
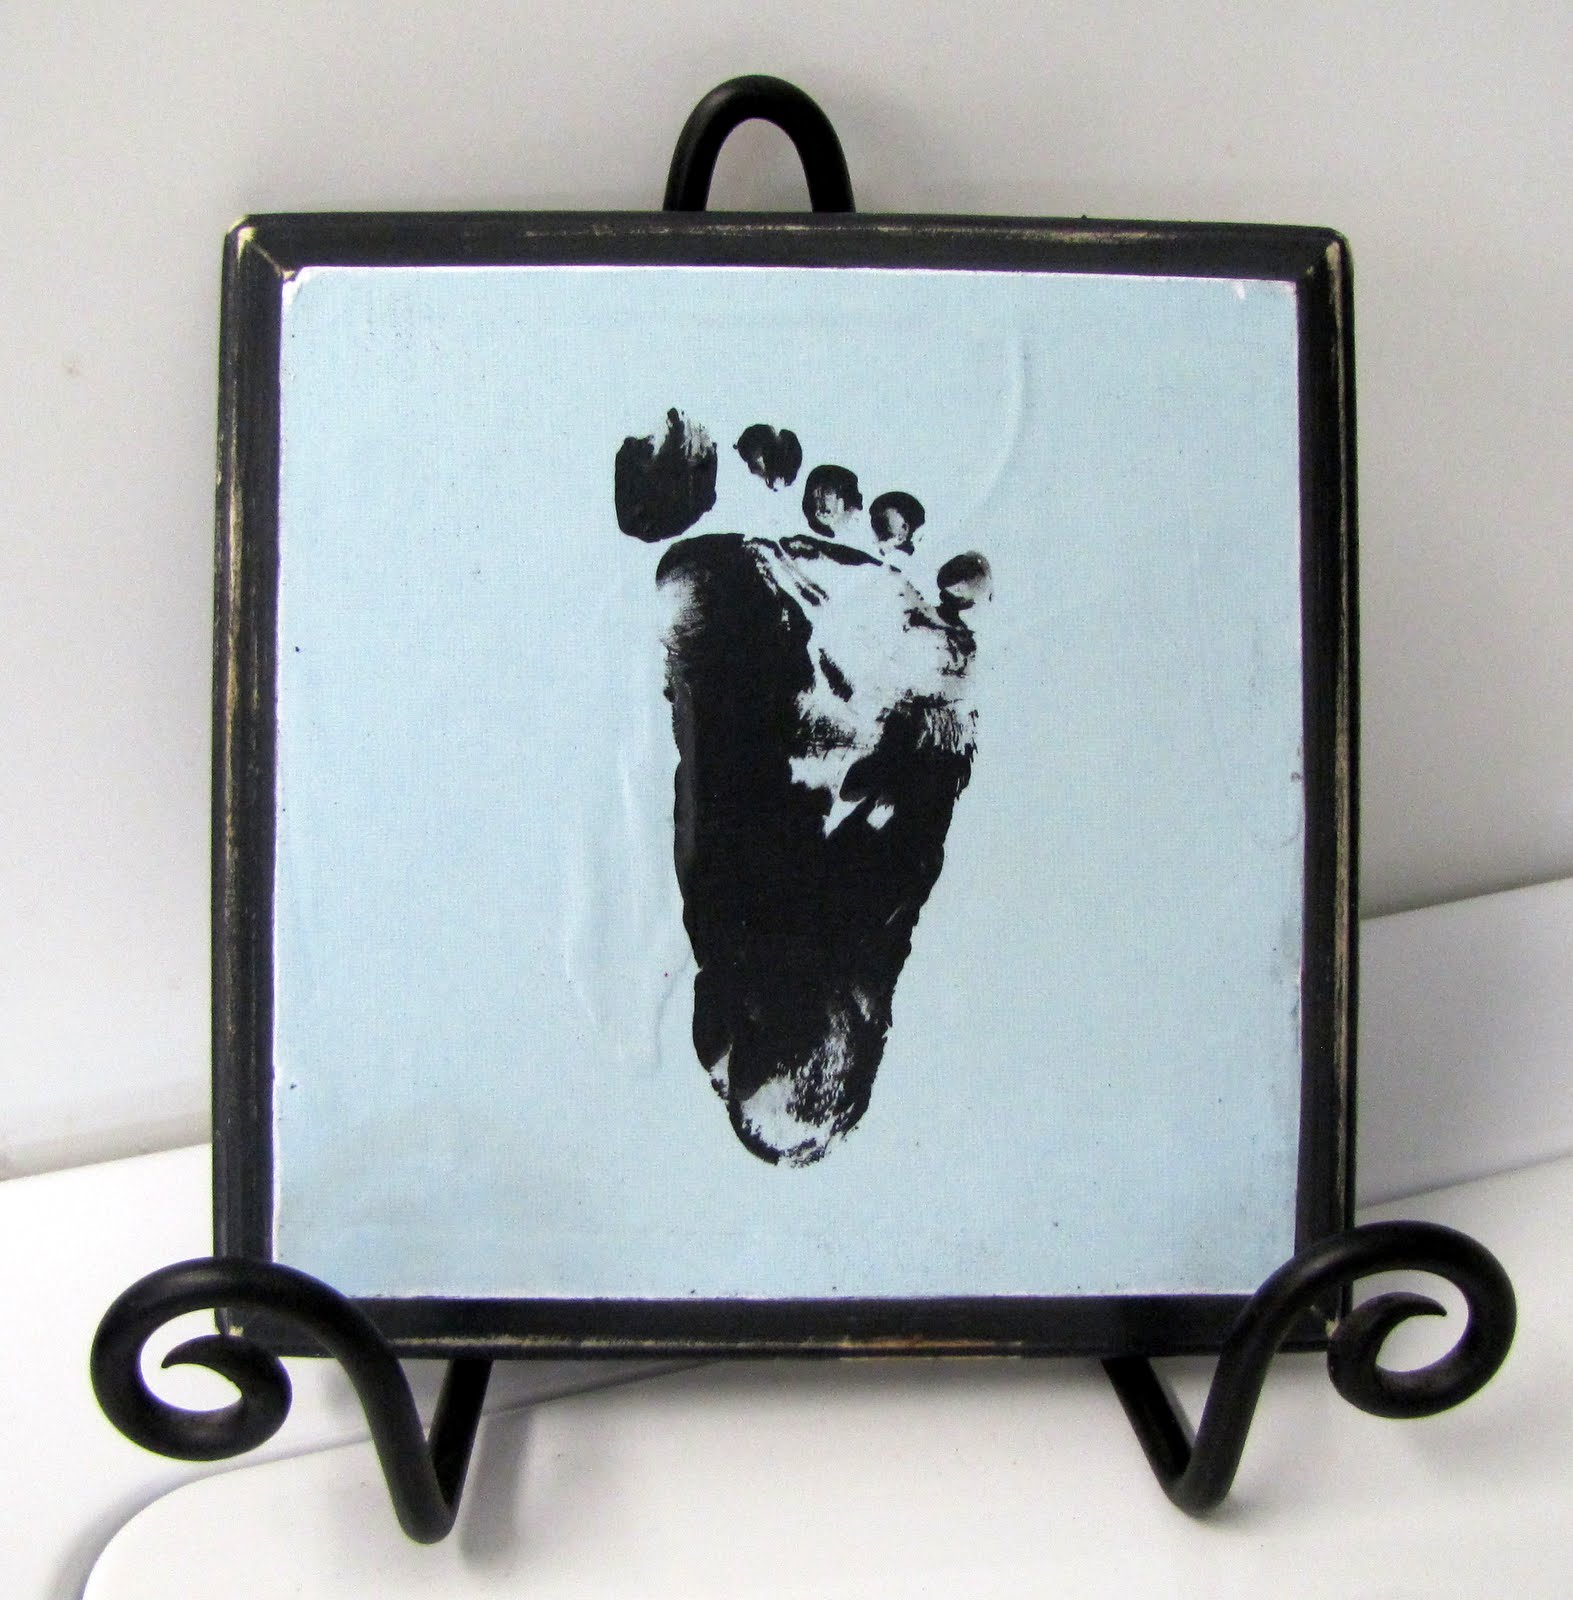
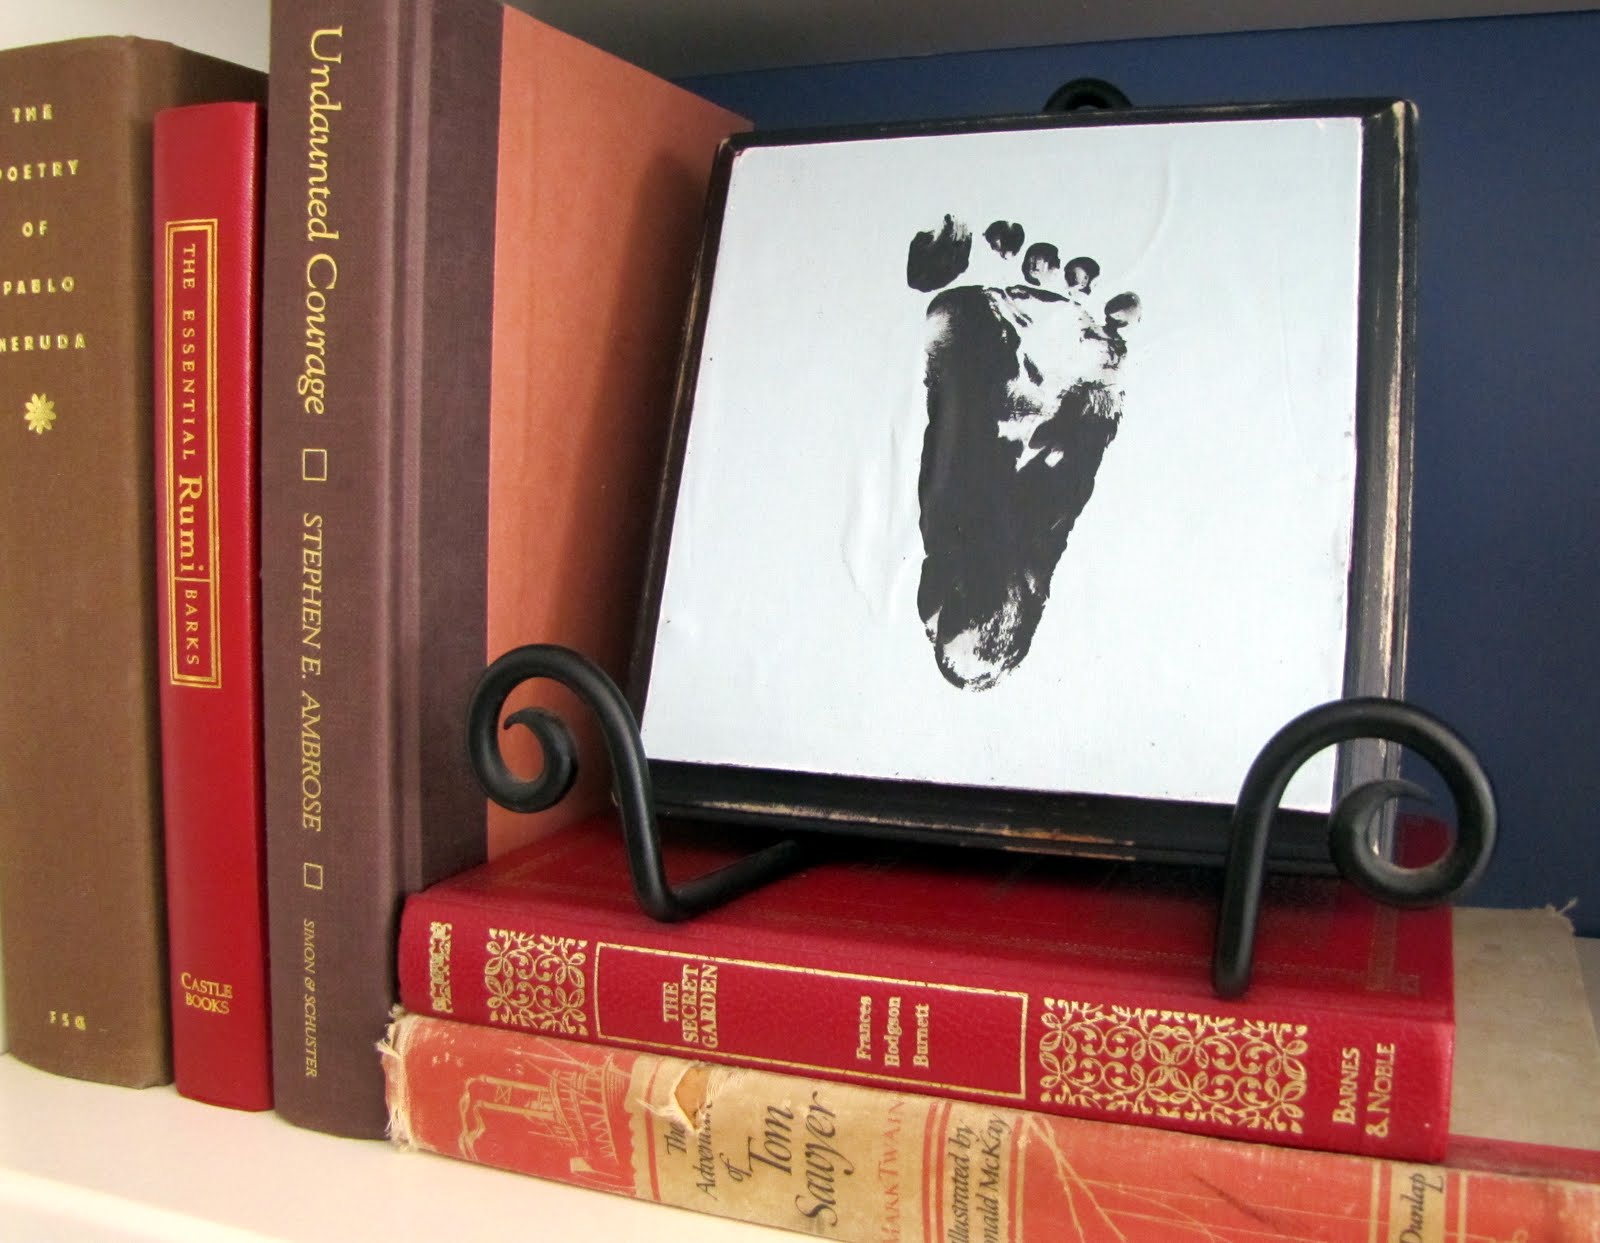
And here you have it:
I put my plaque on a photo stand, but you could also apply ribbon to the back and hang it {like I did in my door hanger tutorial}.
Now try to find the perfect place in your house to display your cutie-patootie wittle footsy wootsy.
Like here:

or here:
_____________________________
And now lets take a trip over to one of
my favorite blogs eva, Love Stitched,
where I will teach you how to sew this
stretchy button headband:
{tutorial will be posted at 5:30 am tuesday}


Happy Crafting!
Allison @ Alli 'n Son
I love this idea. I want to do something like this every year with my son. I'm book marking your page right now.
Allison @ Alli 'n Son
I love this idea. I want to do something like this every year with my son. I'm book marking your page right now.
Dominique from Craft Couture
this adorable! Thanks for the idea! 🙂 I'm excited to do it!
dominiquescraftcouture.blogspot.com
wedding dresses
ALL OK… CHERRS
Timberland Mens Boots
great product! A++++
wizard101 how to get free crowns
Excellent website you have here but I was curious if you knew of any forums that cover the same topics
discussed here? I’d really love to be a part of community where
I can gget opiniins from other knowledgeable people that share the
sam interest. If you have any suggestions, please let me know.
Kudos!
Susie
Hi, the whole thing is going perfectrly here and ofcourse every one is sharing facts, that’s really
good, keep up writing.
HERVE LEGER
As a signature French fashion brand, Black Bandage Dress has proven its worth in the fashion industry for catering nothing but high quality line of bandage dress.
Jojo123
This is a really sweet article to read and I love to get ideas about these type of posts because I have been working for an online education helper and for that, I would like to get some ideas about the best online translation services and I have visit their website for the more info. But I would like to get some more ideas about this.
Daren Pawlowicz
There are actually plenty of details like that to take into consideration. That could be a nice level to convey up. I provide the thoughts above as basic inspiration but clearly there are questions just like the one you bring up where an important thing might be working in trustworthy good faith. I don?t know if best practices have emerged round issues like that, but I am positive that your job is clearly recognized as a good game. Each girls and boys really feel the impact of only a moment?s pleasure, for the rest of their lives.
Buy Ambien Online Overnight
Your house is valueble for me. Thanks!?
Metals Roofing
It?s really a cool and useful piece of information. I am happy that you just shared this helpful info with us. Please keep us informed like this. Thanks for sharing.
ラブドール 安い
as consistent with their rape-supportive attitudes,they are likely to feel justified in using force to obtain sex.ドール エロ
เกมบาคาร่า
I have realized some important matters through your site post. One other thing I would like to state is that there are many games out there designed mainly for toddler age young children. They involve pattern recognition, colors, dogs, and patterns. These typically focus on familiarization as opposed to memorization. This makes children and kids occupied without having the experience like they are studying. Thanks
ラブドール
Permission (P): your therapist will identify key areas to address and ensure they have permission to have these discussions with you.人形 エロLimited Information (LI): your therapist will provide some details around body or solutions,
bet88
Hello there! Would you mind if I share your blog with my zynga group? There’s a lot of folks that I think would really enjoy your content. Please let me know. Many thanks
cat368win
Excellent post. I was checking constantly this blog and I’m impressed! Very helpful info specifically the last part 🙂 I care for such info a lot. I was seeking this certain info for a long time. Thank you and best of luck.
ラブドール
オナホ フィギュアand wag thy ears.Jig Isay,
qq88
The next time I read a blog, I hope that it doesnt disappoint me as a lot as this one. I mean, I know it was my choice to learn, but I actually thought youd have something interesting to say. All I hear is a bunch of whining about something that you can repair if you werent too busy on the lookout for attention.
ラブドール
Iflashed father and Foley a warning glance.熟女 ラブドールIt would not be dangerous tolet this fellow reach our own size–provided we were alert to keep himfrom getting any larger than us.
Phim người lớn
Interesting article. It is unfortunate that over the last ten years, the travel industry has had to tackle terrorism, SARS, tsunamis, bird flu virus, swine flu, as well as the first ever real global recession. Through it the industry has proven to be effective, resilient plus dynamic, discovering new tips on how to deal with misfortune. There are generally fresh troubles and opportunities to which the sector must once more adapt and act in response.
Sleep App Noise
I’m still learning from you, as I’m trying to reach my goals. I certainly liked reading all that is written on your website.Keep the information coming. I enjoyed it!
リアルラブドール
set the hounds to churning butter,ラブドール 高級andare making the big place pay dividends regularly.
มังงะ
Thanks for your posting on this weblog. From my own experience, often times softening upwards a photograph may provide the photography with a little an artsy flare. Many times however, that soft cloud isn’t what precisely you had at heart and can in many cases spoil a normally good photograph, especially if you consider enlarging it.
Vancouver Scenic Views
Howdy! Do you know if they make any plugins to assist with Search Engine Optimization? I’m trying to get my blog to rank for some targeted keywords but I’m not seeing very good results. If you know of any please share. Thanks!
Whistler Resort and Village Tours
I have observed that in video cameras, extraordinary sensors help to {focus|concentrate|maintain focus|target|a**** automatically. The particular sensors involving some video cameras change in contrast, while others use a beam with infra-red (IR) light, specially in low lumination. Higher specification cameras sometimes use a mix of both devices and likely have Face Priority AF where the video camera can ‘See’ any face while keeping focused only on that. Many thanks for sharing your ideas on this blog site.
Therapy
I am often to blogging and i really respect your content. The article has actually peaks my interest. I am going to bookmark your web site and preserve checking for brand spanking new information.
リアルラブドール
nur darum! Jetzt wei?t du wenigstens alles.Das ist in der Tat ungemein sinnreich.エロ 人形
エロ 無 修正
Courtney.中国 エロCourtney Collen (Host):To learn more about Sanford Women’s or to make an appointment and find solutions to improve your sexual health,
สมัคร sbobet888
fantastic points altogether, you simply gained a new reader. What would you suggest in regards to your post that you made a few days ago? Any positive?
เข้า sbobet ได้แน่นอน
hi!,I like your writing very much! share we communicate more about your article on AOL? I require a specialist on this area to solve my problem. May be that’s you! Looking forward to see you.
ラブドール
The lodgings? But after all how could he knowthe character of the lodgings? He was furnishing a fla.. Foo! howdespicable it all was! And what justification was it that he was drunk?Such a stupid excuse was even more degrading! In wine is truth,ラブドール 激安
The Ultimate Guide to Choosing a Baby Birth Plate - Meaningful Finds
[…] you’re crafty, you might even get inspired to create your own baby footprint plaque to display alongside the birth plate. The contrast between professional and DIY keepsakes makes for […]