


Meet Maria–she’s the sweetest!
And today she is guest posting a fabulously adorable project that makes me wish I had a little girl to test out all the frilly crafty ideas I have swirling around in my head. And here’s Maria:
And today she is guest posting a fabulously adorable project that makes me wish I had a little girl to test out all the frilly crafty ideas I have swirling around in my head. And here’s Maria:
********************************************************************
Hello everyone! I can not express just how excited I am to be here guest blogging on Little Miss Momma!! If you know me at all you know that Ashley is one of my big bloggy crushes! haha, But who doesnt have a crush on her, right!? She is a huge inspiration to me as a woman and a Momma. And even though I don’t know her in real life I feel connected with her through her wonderful heartfelt posts, which have made me laugh, think, create, relate and on occasion brought me to tears!
Well enough of my gushing! I guess I should introduce myself. My name is Maria-Isabel and I blog over at Agape Love Designs. I am a 27 year old Christian wife to my best friend and blessed momma to 3 little cuties! My blog really shows off my love for all things artsy and crafty including photography, free printables, crafty tutorials, hair accessories, jewelry and so much more! Today I have a fun tutorial to share with you about how you can refashion a plain white t-shirt into a fashionable custom interchangeable over shirt!

I made this shirt for my little beauty, Kiah, but I also have one too!
Its great for girls of all ages!
Its great for girls of all ages!
Here are the Supplies needed:
~Plain White Shirt
~ Stencil of Choice
~ Black Lace
~ Colored Chalk
~ Scissors
~ Liquid Stitch

To get started lay your shirt down flat and arrange your stencil in the middle, or any place on the front of your shirt! Then use your colored chalk to color the stencil in.

I used chalk because it can easily be wiped/washed off. Marker or pen will stain.
Here is what it looked like after I took away the stencil.

Next take your scissors and start cutting out your stencil design!
This part can be kind of tedious, it takes some time, you must be careful not to cut the wrong parts.

Once its all cut out, flip it inside out and put a piece of cardboard or some sort of barrier between the front of the shirt and the back of the shirt. We are going to use the liquid stitch and we dont want to glue the front to the back! 🙂

Next you will need to cut out a piece of black lace big enough to cover your stencil.
I just used the actual stencil as a guideline on how big to cut it.
I just used the actual stencil as a guideline on how big to cut it.

After that grab your liquid stitch and start outlining all of the edges of your cutout with it.

Once you have outlined ALL of the stencil lines place the lace carefully over it. Make sure your t-shirt fabric stays flat as you put the lace over it… it tends to want to curl up! So just place the lace over it slowly, pressing firmly as you go.

Once the stencil design is fully covered, you can add a little glue to the edges of the lace to keep it secure in place on the shirt.

You can see in the picture below I lifted the shirt to see the front of it to make sure all the fabric was lined correctly and in place just right. If there are any mess ups.. just slide your hand in a fix them. If it looks just right, let the shirt down and let it dry for 24 hours before washing!

I waited about 25 minutes before I flipped the shirt right side out to check it out!
This is what it should look like from the front!

Now here is the fun part about this new shirt refashion…

Its interchangeable!!
It depends on what color shirt or tank you wear underneath it!

Wear a different color cami underneath it each time you wear it for a new look. 🙂

So fun right! 🙂 If you liked this tutorial, let me know what you think.
And if you make one yourself, I would LOVE to see YOUR version of it. 🙂
And if you make one yourself, I would LOVE to see YOUR version of it. 🙂
Email me a picture or link or even share a photo on my Facebook wall. 🙂
I do hope you all enjoyed my tutorial, and I hope you wont be a stranger, come by my place and say Hey!
I love to meet new people. ♥
I love to meet new people. ♥
Thank you SO much Ashley, for having me over, you are THEE Best!!
Much Love & Hugs,

*****************************************************************************
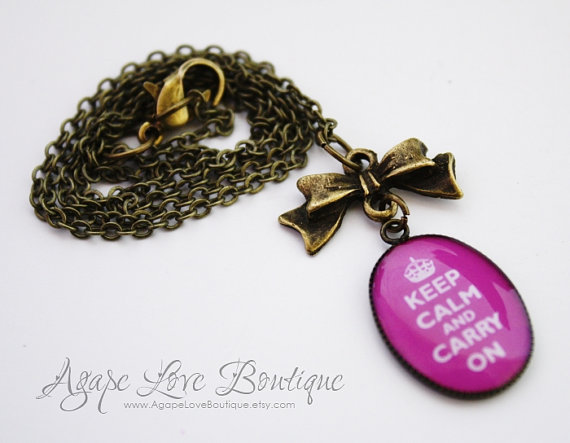
Be sure to check out Maria’s shop too!
It is adorable, and I have been eyeing this super fab necklace for a while now:
It is adorable, and I have been eyeing this super fab necklace for a while now: