




How to Create and Photograph a Blog Tutorial
{even if you’re not a photographer}
{and especially if you don’t own photo shop}
A few of you have sent me emails wondering if there are any secrets to the photos I take for my to tutorials. Are you ready for the truth?
Here it goes.
I have NO IDEA how to use my camera.
I don’t even know what kind of camera I own{sure I could walk over and pull it out of the closet to see what its called, but I’m all cozy on the couch right now, and for the purpose of this tutorial it doesn’t matter}.
I literally just point and shoot on “auto”.
And since I have no idea how to use my {or any} camera, I need to compensate in other ways. Here are my not so secret secrets to creating a pretty tutorial with decent photos:
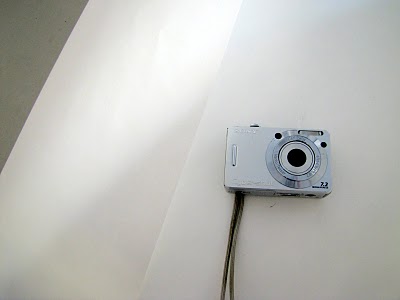
First, all you need is a camera {this is not the camera I use} and a large white poster board.

Now place all your tutorial supplies on the poster board in a pretty layout like this:

Isn’t that so pretty?!
Don’t be fooled though–this picture is the miracle of the poster board.
The poster board gives the illusion of a photo box or studio.
Zoom out and now you can see the disaster that is my garage–where this tutorial really took place:

Ahhh, not quite as pretty.
In order to make sure you can’t see my vacuum and 15 loads of laundry in the background, I use the hand not holding the camera to fold up the poster board as a backdrop for the photo.

Then I stand really really close to the object to take my picture. For some reason I like this better than zooming with my camera.
And here is how the unedited picture turned out.
Not half bad.
But still not all it could be.

This is where “editing for dummies” {aka editing for me) comes into play. If you haven’t already, head over to Picasa and download it immediately.
It’s free, it’s easy and it’s awesome!
Picasaprovides BASIC editing tools for your photos–not to mention it is owned by google, so as soon as you finish your editing you can automatically upload your pics to blogger with the click of a button–super convenient!
Picasa is also where I insert my cool fonts into photos.
Once you have downloaded Picasa and have selected the picture you wish to edit click on the button titled “I’m feeling lucky” and Picasa will automatically edit your photo for you–it’s true!
note: sometimes Picasa doesn’t edit a photo exactly how I want so I tweak the “highlight” and the “fill light” settings until I get the end result I am looking for. This will make more sense when you are in the program.
Photo BEFORE Picasa:
Same photo AFTER simple editing in Picasa:
BIG Difference!
And now for some more random tips:
I like to really crop my pictures so that they are zoomed in on the subject of the photo. For example, I needed to crop my thumb out of this picture and brighten it up with the “fill light” tool in Picasa.
Before:

After:

*I ALWAYS take my pictures during the day and INDOORS.
*I am sure to be in a VERY well-lit room, that is NATURALLY lit from outside.
*Make sure there is no outside glare or shadows in your photos.
*Early morning and late afternoon tend to be the best times to shoot at my house.
*I NEVER use artificial lighting–the pictures will just turn out yellow.
NOTE: I am NOT an expert and certainly NOT a photographer–so I know there are actual “professional” tips out there that are much better…but this is what works for me *smile*
{Hope this helps a few of you}
