How to Make a Feather Extension Headband
Feather extensions and earrings are all the rage right now {especially peacock feathers}. Very bohemian, very awesome. So rather than create earrings or a clip in extension, I thought about attaching the feathers to a subtle headband. And this is what I got.
DIY Feather Extension Headband

It seriously only took about 5 minutes to create.
Here’s how I did it:

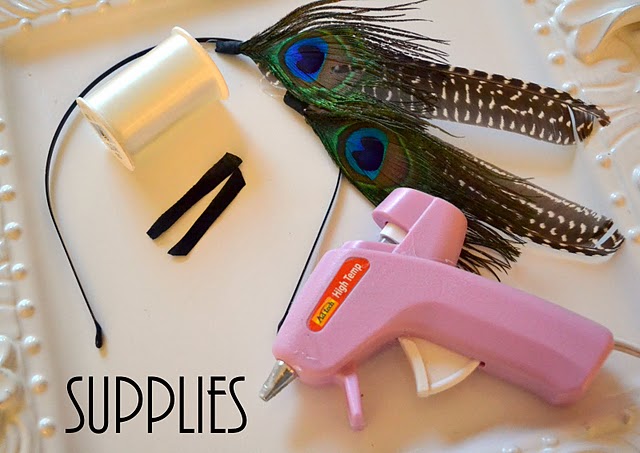
Supplies:
Blank headband
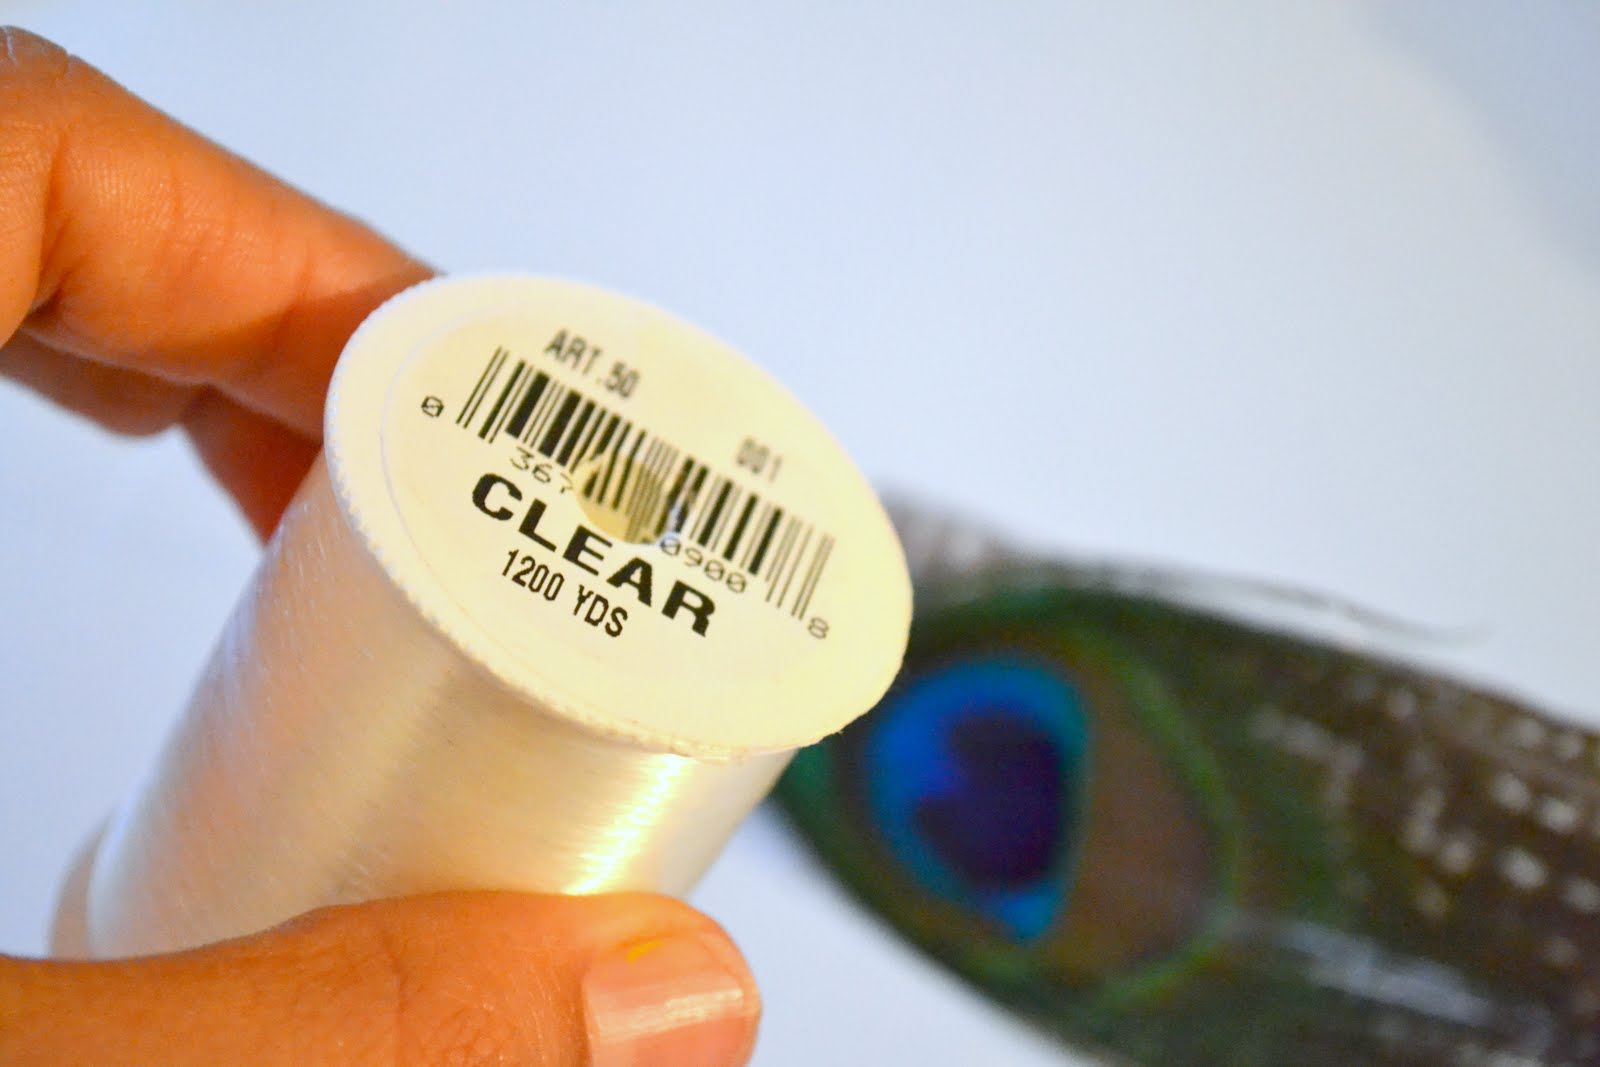
Clear thread
Hot glue gun
Two very small strips of fabric
Feathers of your choice
*I purchased my feathers at Joann’s and they were already finished on the ends with a clear thread loop. The brand is Touch of Nature.
First, take your clear thread and measure about four inches longer than you actually want your feathers to hang. For example, I wanted my feathers to hang about 2.5 inches from the base of my headband–so I cut the thread at 6.5 inches.
Find the loop part on the end of your feather.
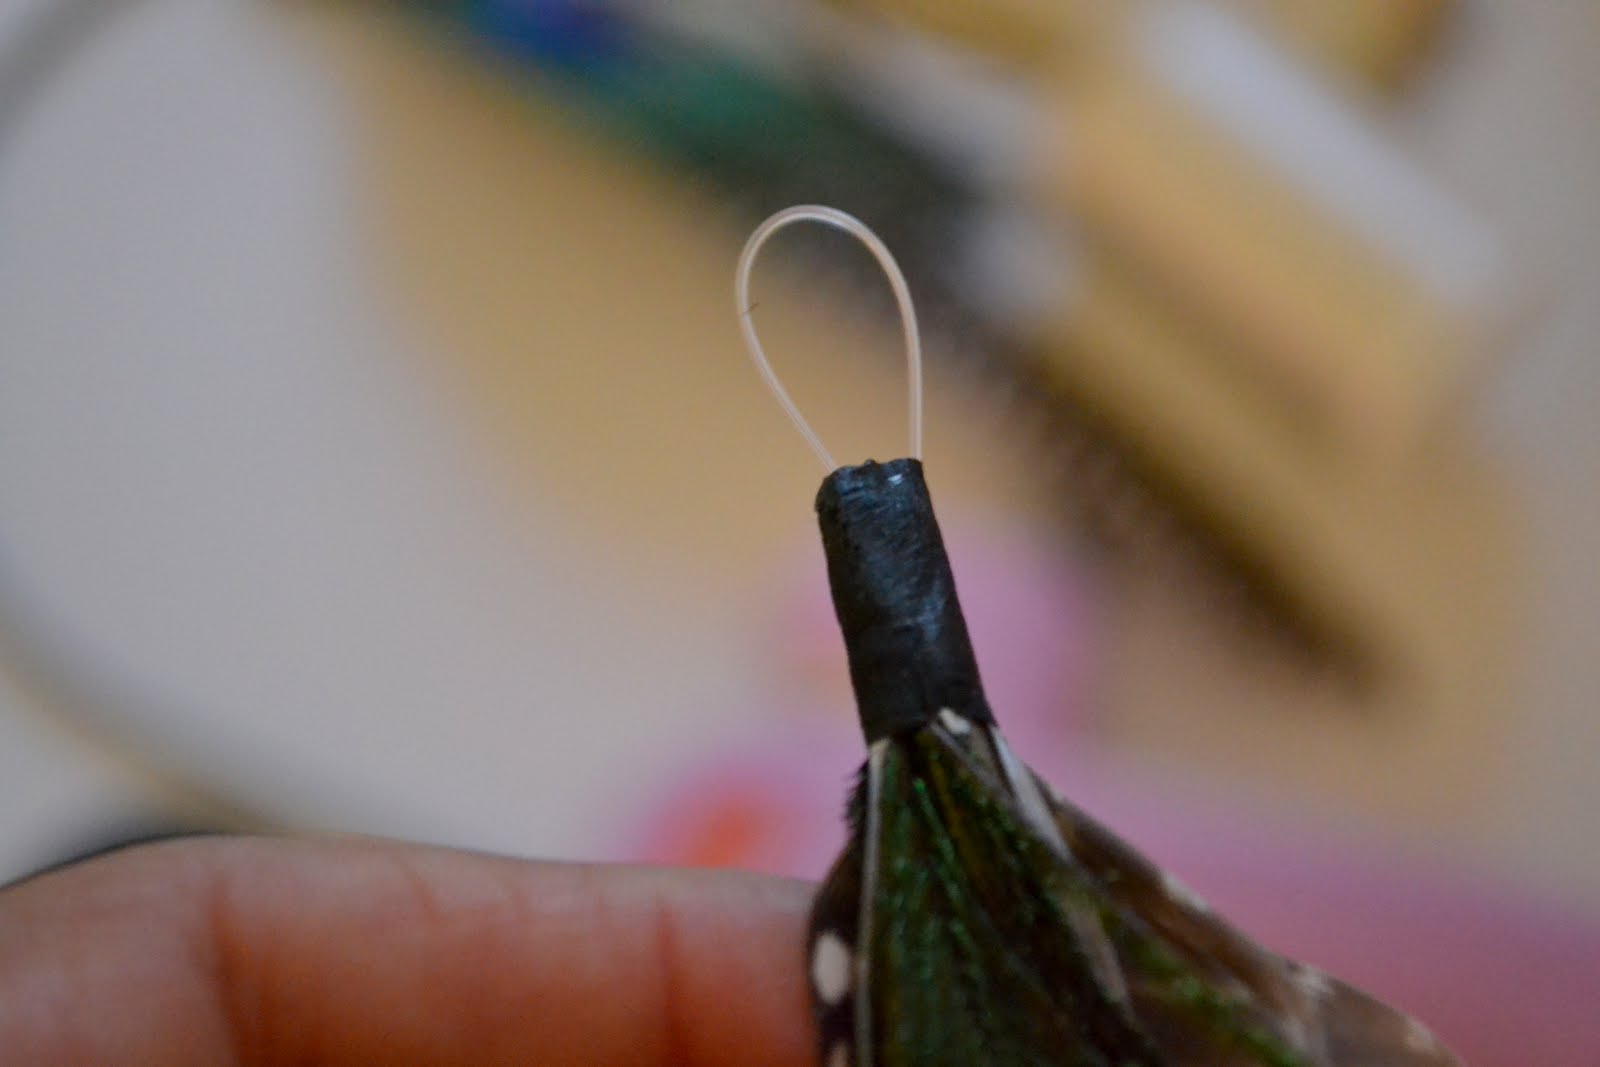
Tie your clear thread to the feather with a double knot. Repeat this same step with the second feather and the second peice of thread.

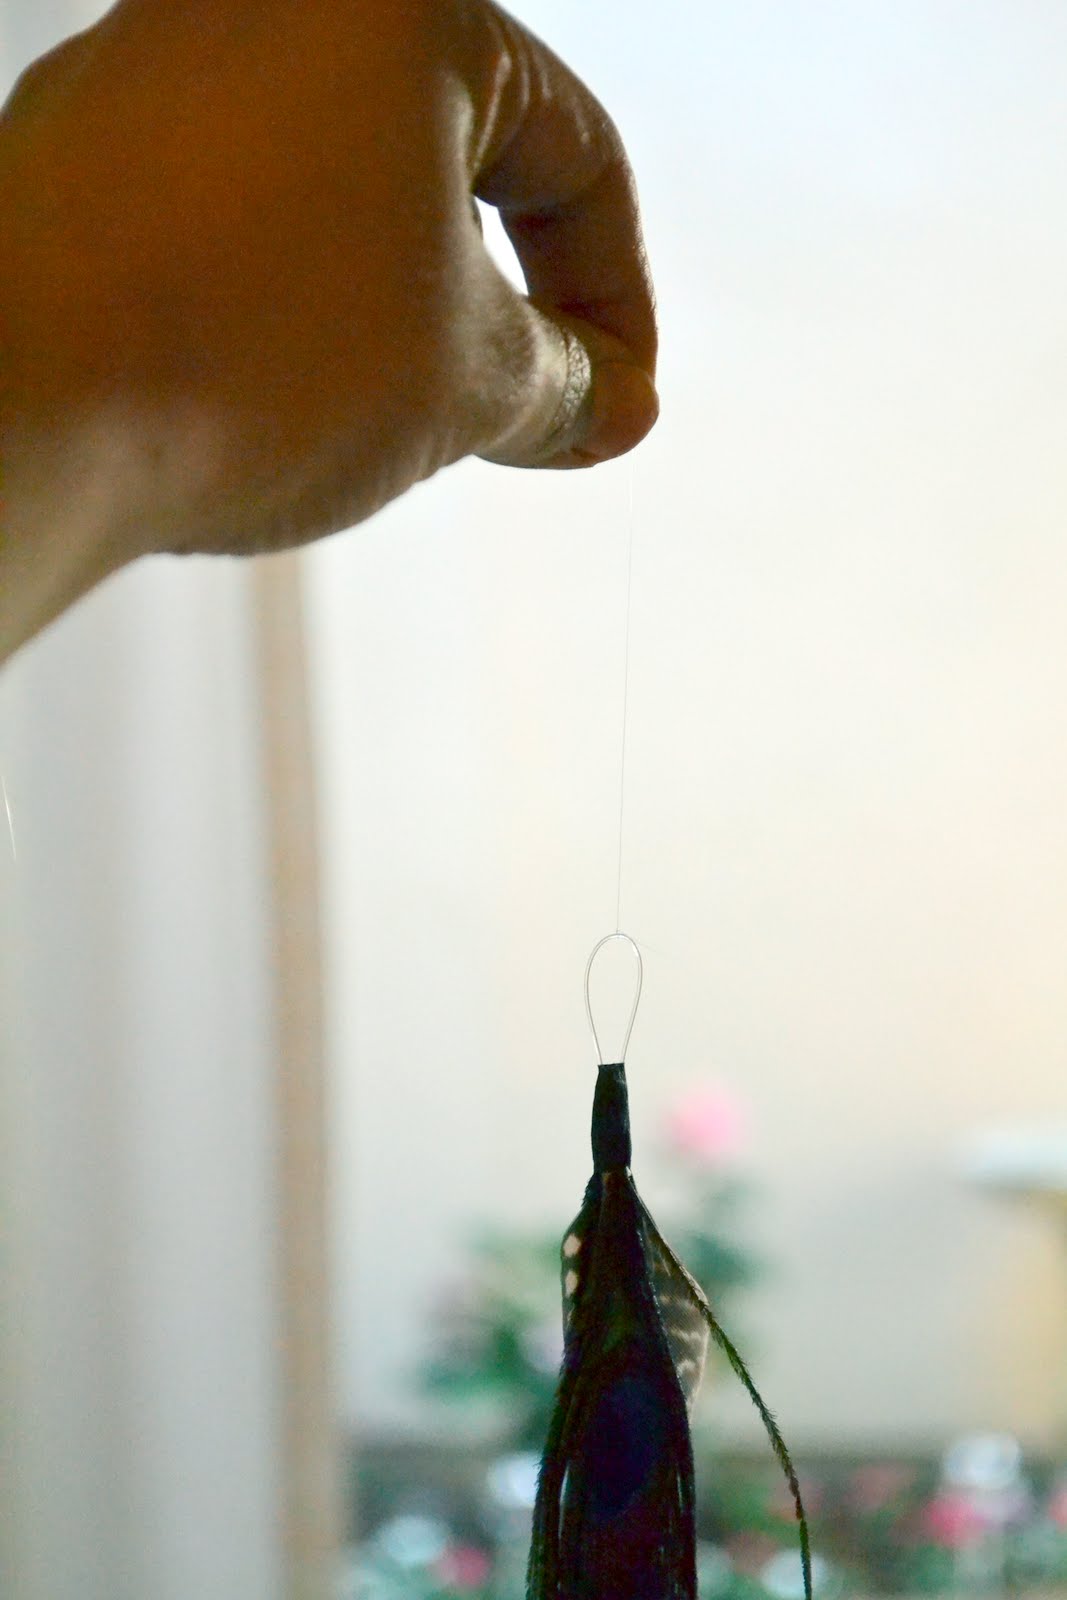
See how the thread is basically invisible and it looks like the feather is suspended in mid-air. This way it will blend in with your hair without any bulky strings or rope.
Take some fabric scrap and cut two strips about 1.5 inches long {no need to be exact here because you can always trim the excess later}.

Now for the sorta tricky part.

1. Lay down your fabric scrap and place a drop of hot glue as shown in step one. Then the other end of your clear thread right in the drop of glue. Then lay the end of your headband in the glue on top of the clear thread.
2. Wrap the end of the fabric over the hot glue so that it holds in place.
3. Continue wrapping the fabric around the headband.
4. Put a drop of glue on the end of the fabric and secure in place. Trim any excess string. *Repeat these steps with the other feather on the other side of the headband.

It should look something like this when you hold it up.
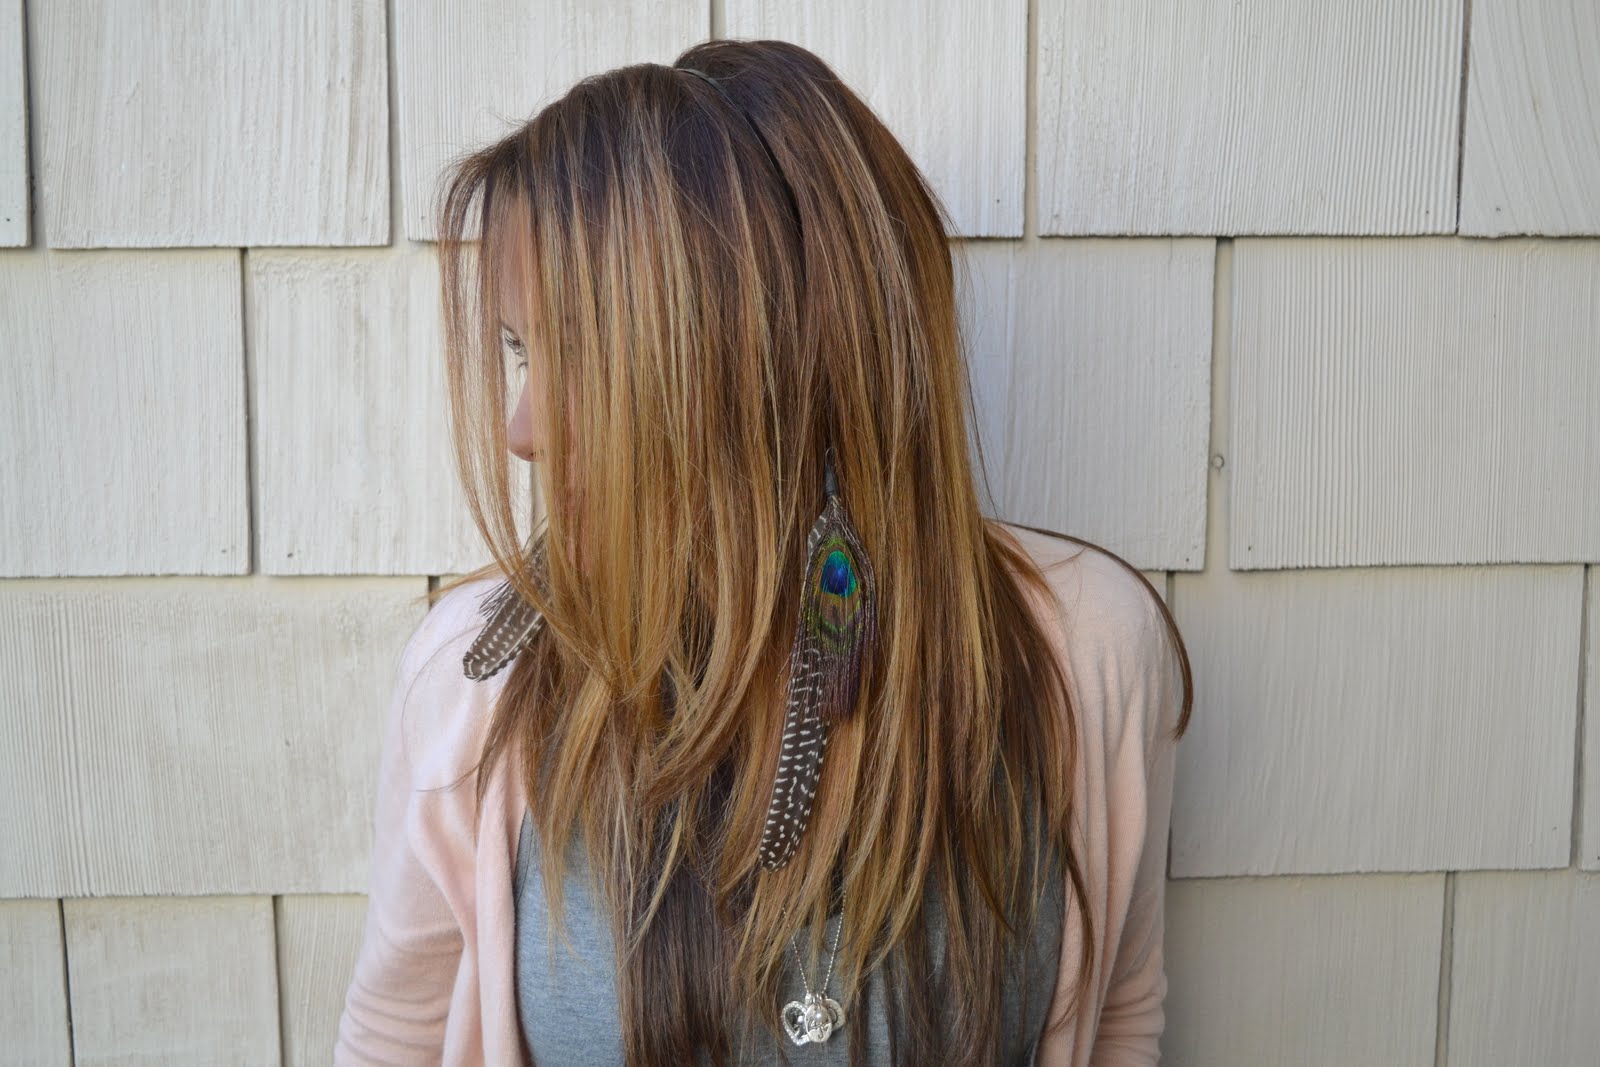
I love how it blends in with hair, almost like it was a feather extension.

My Mom just got a Brazillion Blow Out on her hair, so I made her model my headband on her blonde hair below:


So that’s it.
Kinda neat, huh.
Happy Crafting!
_______________________________________________________
I am sharing my Life List over at A Happy Girl today.
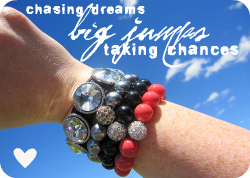
Tahnie is having a blogger series about taking chances and making “big jumps” in life. Please stop by and say hi–Tahnie is the sweetest gal and momma ever!