


DIY Stencil Tote
How to stencil on your favorite tote or purse.
Perfect for canvas, burlap and cotton market bags.


Materials:
Canvas, cotton or burlap tote {I got mine from the sale section at Cost Plus}
Queen Bee Stencilfrom Your Memories Captured
Fabric paint
Sponge brush
Scotch Tape {not pictured}


First, securely tape your stencil in place.
Be sure you have smoothed the stencil out as much as possible, and that there are no wrinkles in the fabric.
It may be best to iron your fabric first.
Now, always remember that “less is more” when painting the stencil.
Apply a small amount of the fabric paint to your sponge brush and then dab the brush on a paper towel to remove any extra paint.

I like to hold down the part of the stencil that I will be painting in.
This way I can be sure that no paint gets outside the lines.
DAB, don’t brush the paint onto the stencil.

Like I said, less is more–so start with a thin first layer of paint over the entire stencil. Then paint another coat until you have your desired coverage.

If you hold the stencil in place like I do, then your fingers will look like this after. The mark of a true crafter.

This is my stencil all painted in.
I purposely didn’t paint evenly because I wanted the more “worn out” and vintage look.


Slowly remove your stencil and allow the paint to dry.

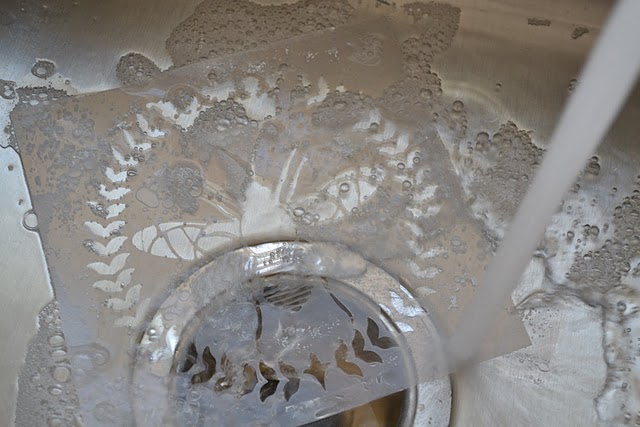
It is easiest if you wash your stencil right away.
Just place under a stream of warm/hot water with a bit of dish soap.
You won’t even need to scrub–the paint will rinse right off.

And that’s it!

I have so many fun projects planned for this stencil:
-
burlap pillow
-
framed picture
-
place mats
-
cork board
Be sure to check out all the other inspiring stencils from
____________________________________________________
And I will see you tomorrow for the
I SPY: jewelry and shoes edition