It’s time for another fun, monthly blog hop–featuring 10 of our favorite creative bloggers! This month’s theme is all things CHALKBOARD, and we just know you’ll have a blast with these projects. We’d love for you to pin our collage below, check out my JUMBO Chalkboard tutorial below and then go see all the other fabulous projects created by some of our friends!
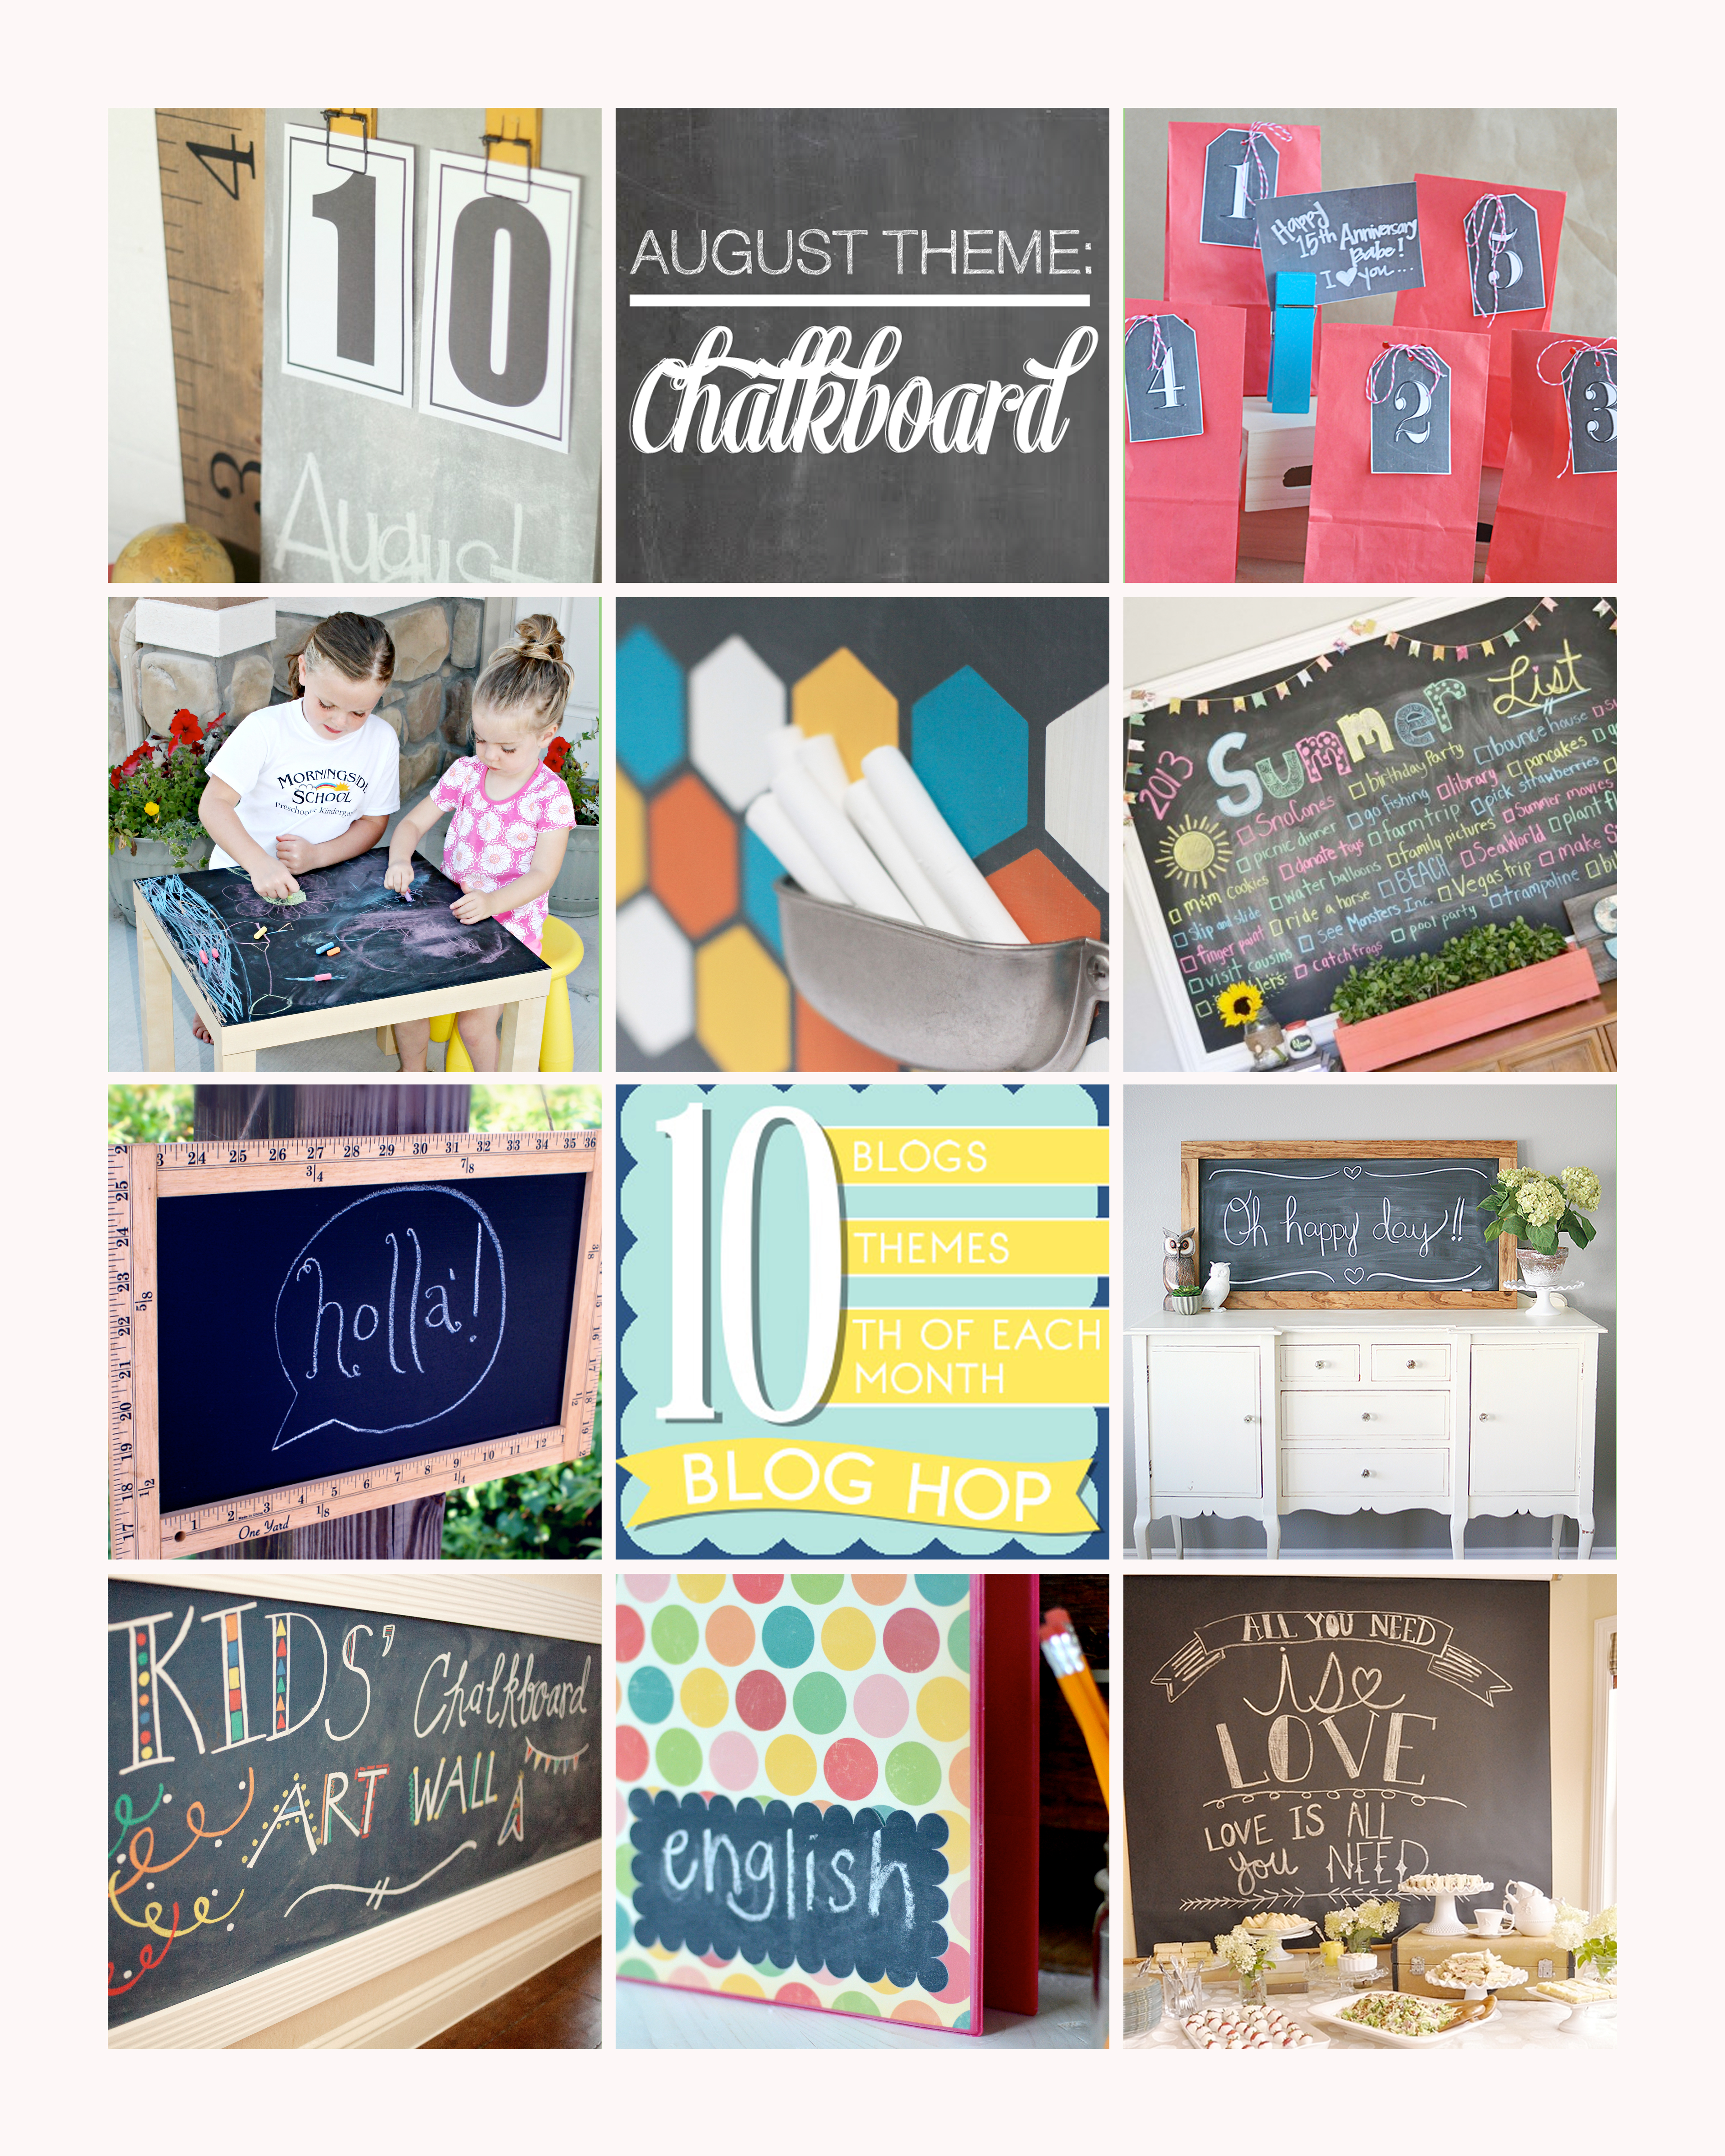
To see each fantastic Chalkboard Project up close, join the Blog Hop!
1 • Lolly Jane sharing a Chalkboard Calender
2 • Thirty Handmade Days with an Anniversary Idea + Collection of Printable Chalkboard Tags
3 • Six Sisters Stuff sharing a Cheap and Easy Kids Chalkboard Table
4 • Landee See Landee Do sharing a Hexagon Chalkboard
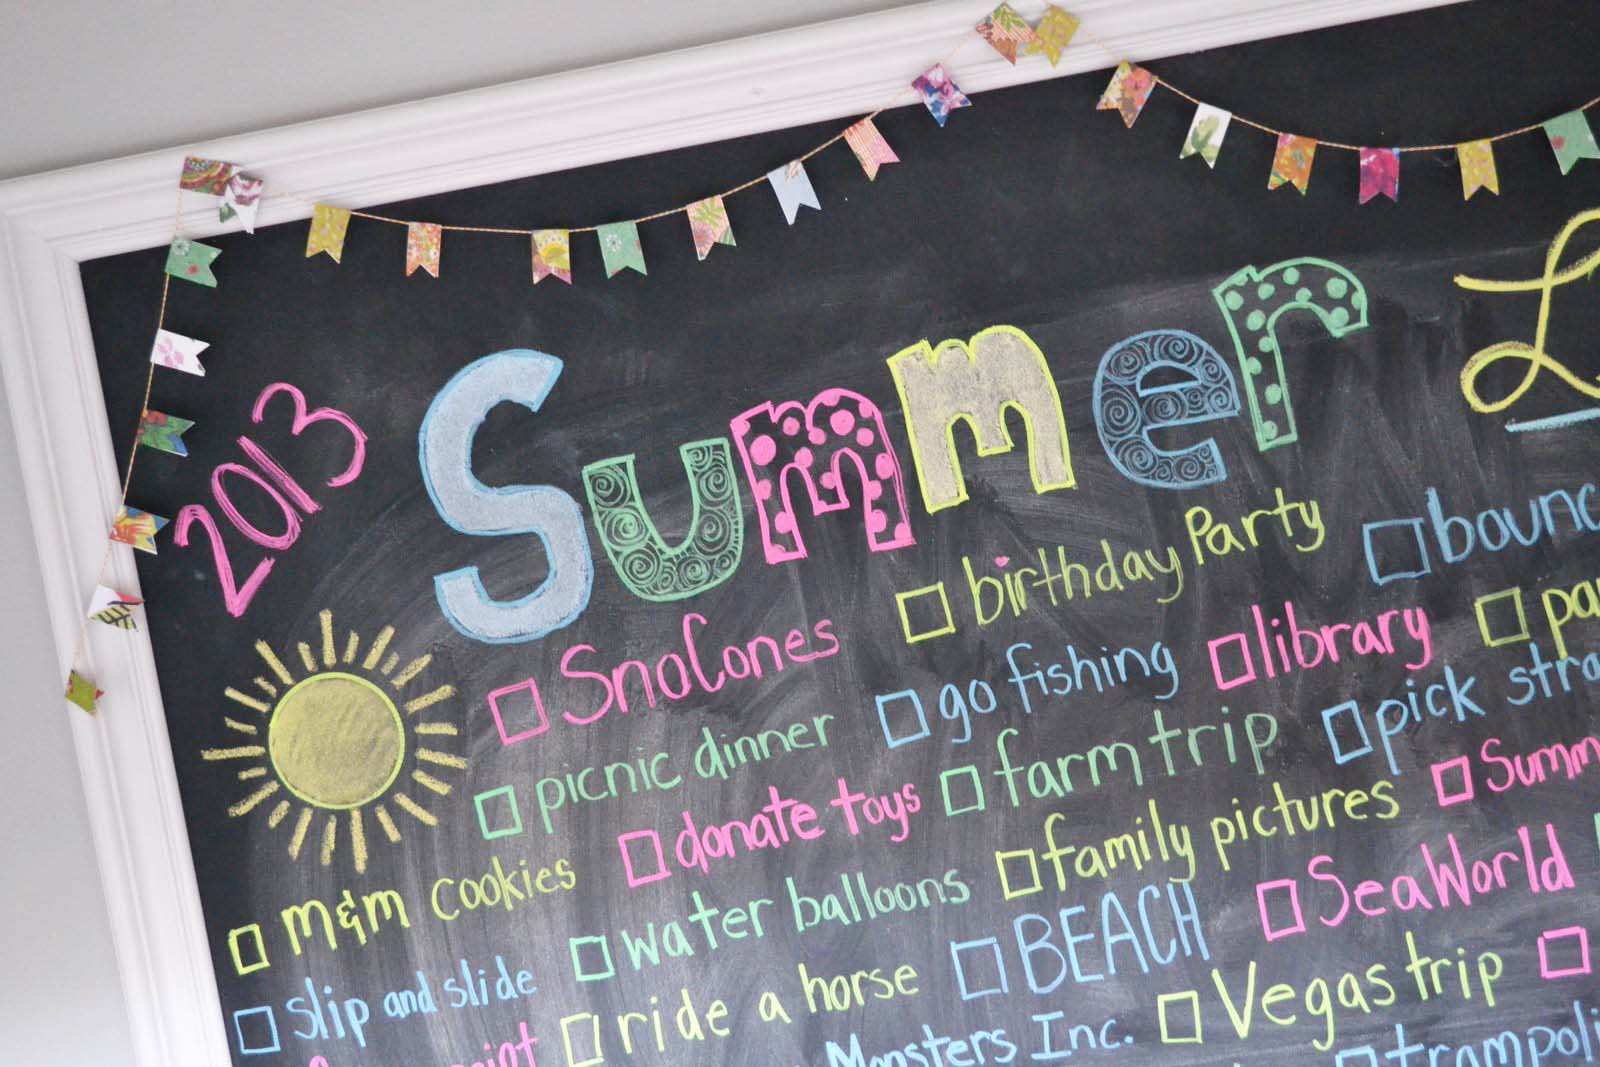
5 • Little Miss Momma sharing a Jumbo Chalkboard Tutorial
6 • Or So She Says sharing a Vintage Ruler-Framed Chalkboard Sign
7 • Eighteen25 sharing a Super Simple XL Chalkboard
8 • Capturing Joy sharing a Kids Chalkboard Wall Art
9 • Simply Kierste sharing her Chalkboard Binder Labels
10 • Your Homebased Mom sharing a Chalkboard Party Backdrop

You can click the button above to check out our past projects.
And now, this is how I built my jumbo chalkboard:
Ever since I stepped foot in this friends home, I knew that I had to have a jumbo chalkboard of my own for our first home. After we moved in I began searching online and I was blown away at how expensive they all were–and the remotely affordable ones weren’t cute at all. So even though I’m far from handy and I own hardly any tools, I decided this was a project I would tackle myself. NOTE: This is a very simple and easy project. BUT, it was not easy for me. I made a ton of mistakes. But good news for you–I learned from my mistakes and I can warn you so you won’t make them too!
Supplies:
4×6 MDF board from Home Depot
Moulding/Baseboard measured to frame your board
1 quart of chalkboard paint
primer
high quality paint brush for a smooth finish
Gorilla wood glue
Caulk for wood and caulking gun
White paint
chalk
Hangman 200 lb. French Cleat Picture Hanger to mount on the wall
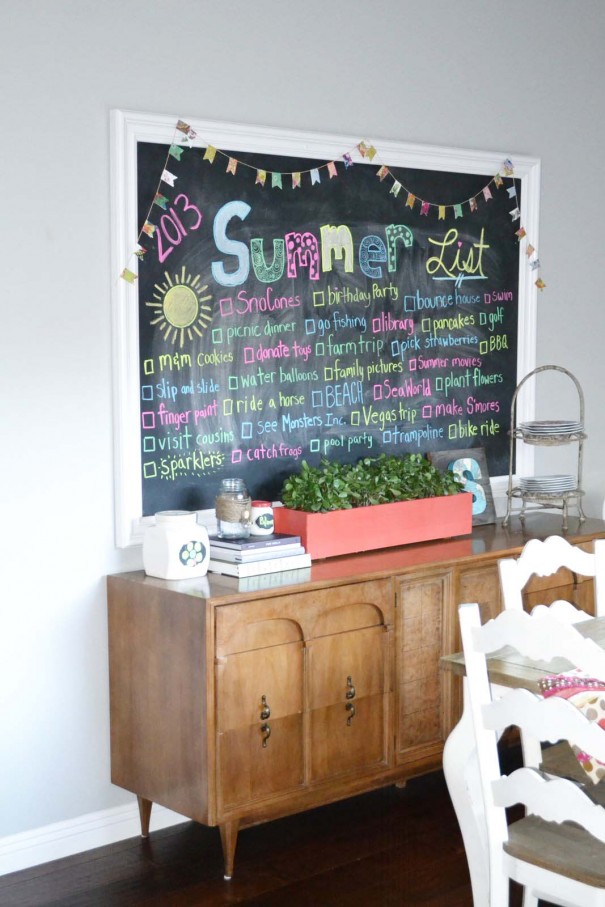
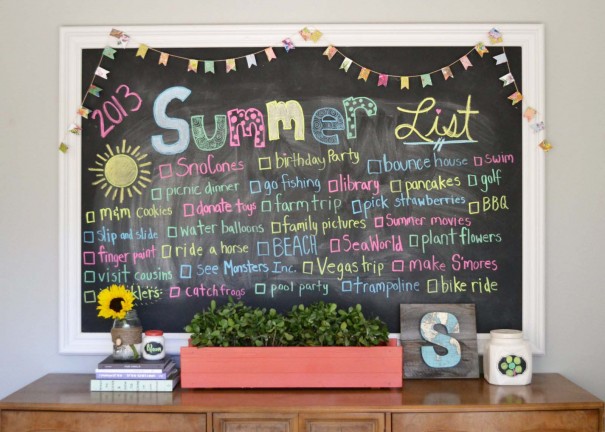
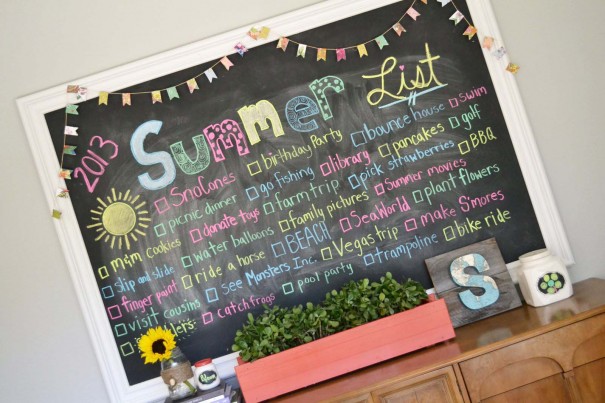
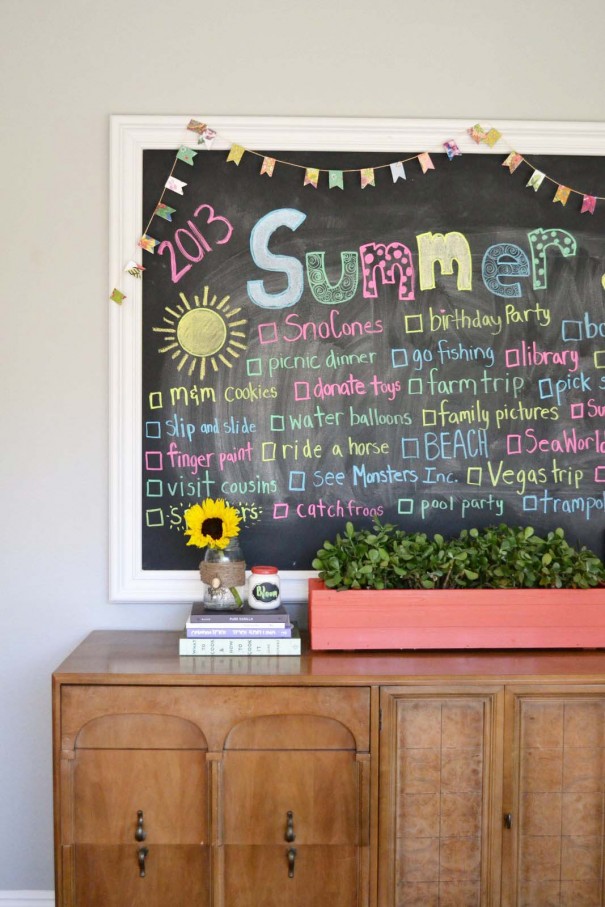
First things first. My chalkboard is massive. As in 4 feet by 6 feet kind of massive. You may not want one quite as big. But I wanted a statement piece. Something large that I could customize through the seasons, or for parties, family gatherings, you name it. It’s hung just above our buffet in the dining room.
I went to Home Depot to collect my supplies. I didn’t go with an exact plan because to be honest, I had no idea what I was doing. So I made sure to find a nice guy working in the wood section to help me out. I purchased a 4 x 6 MDF board–which won’t fit in the back of a standard SUV in case you wondered–so you’ll find yourself stuck in the Home Depot parking lot at 10:00pm while you wait for your friends brother to show up with his truck to take you home. If you want your board cut down, they can do that in the store for a minimal charge. BUT, they will only cut straight lines–no angles.
I don’t have a saw at home, so I planned on using the “in-store” miter saw to cut the angles for the framing of my board. I headed to the crown moulding section and picked out a piece I liked. Not too ornate and just enough character. Home Depot won’t cut angles for you, so I was prepared to use the hand saw myself. But when I got up to the handsaw I freaked out, certain I would ruin at least a dozen boards before getting a decent cut. So, because the store wasn’t busy that late at night, I was able to convince the guy working to make the cuts for me (even he messed up a handful of times–not as easy as it looks).
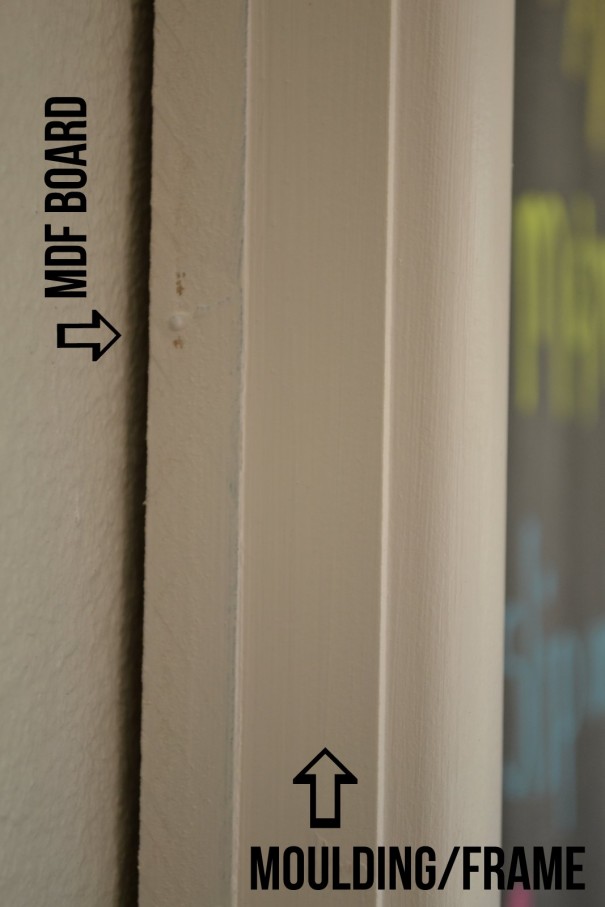
NOTE: I did not frame the outside of my MDF board, but rather I placed the moulding ON TOP of the board on the outer edges. So my moulding measured the same as my MDF board.
After I brought my supplies home, I first painted my MDF board with the chalkboard paint. Now here was the first and biggest mistake I made. I DID NOT prime the wood first. BIG MISTAKE, because I ended up having to do 6 coats of chalkboard paint because it kept soaking up into the MDF board. So, be sure to do a coat of primer before you start painting, then you will likely only need two coats of chalkboard paint.
Allow the paint to dry completely before the next step. I didn’t use any nails or staples to attach my frame to the MDF board. Instead I used gorilla wood glue and then I clamped the boards securely together until the glue dried.
Because the moulding was cut by hand, the cuts weren’t perfect. which meant that when I put them all together there were some small gaps. So I filled the gaps with the caulk and smoothed it out with my finger.
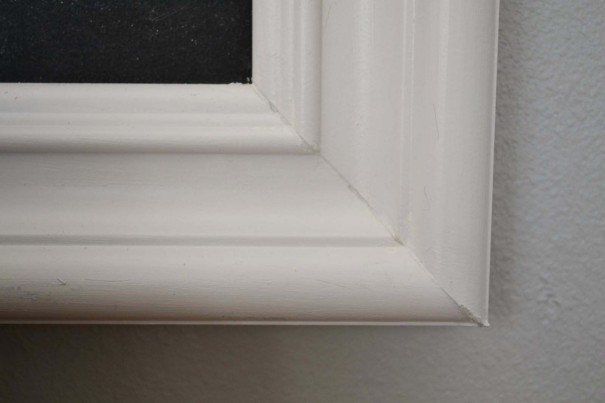
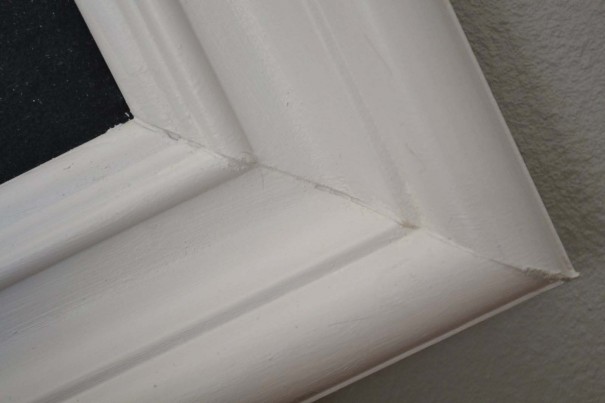
I continued this with all four corners. And then I filled in any gaps there were around the edges between the moulding and the MDF board. Once all the glue and caulk had dried I painted the frame and the edge of the MDF board white to give it a fresh coat. Next, I installed the wall mount. Since the chalkboard is extremely heavy, you need this heavy duty wall mount.
And then I put it up and jumped for joy!