It’s the 10th of January and I am so excited to have our group of talented bloggers back for another blog hop! This month the theme is HEARTS and I just know you are going to love (no pun intended!) these projects– they are sure to get your creativity flowing for Valentine’s Day… which is just around the corner! I’d love for you to pin our collage below, check out my Easy Heart Pillow Tutorial and then go see all the other fabulous projects by my friends!

1. Landeelu sharing an Easy Valentine’s Day Wire Heart Garland
2. Little Miss Momma sharing an Easy Heart Envelope Pillow
3. Lolly Jane sharing Glitter Heart Valentine Decor
4. Or So She Says shares Origami Heart Love Notes
5. Simply Kierste sharing Heart Bunting Countdown
6. Six Sisters Stuff sharing Peanut Butter Chocolate Hearts
7. Thirty Handmade Days sharing Printable Valentine’s Day Bookmarks
8. Your Homebased Mom sharing DIY Valentine’s Sharpie Mugs
9. Capturing Joy sharing a Heart Carved Tree Stump
10. eighteen25 sharing Heart Gift Tags
 Heart Bunting c/o: Aidie’s Hideaway
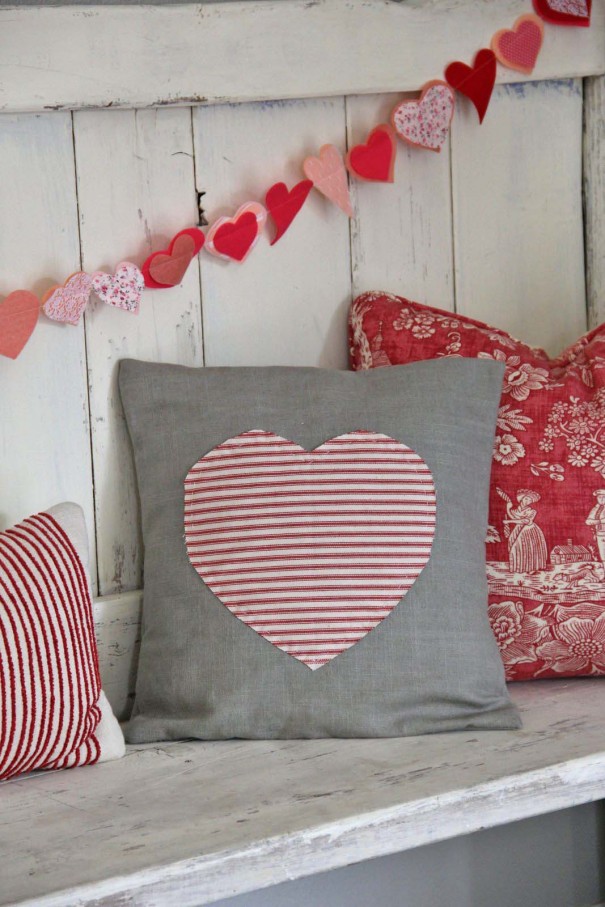
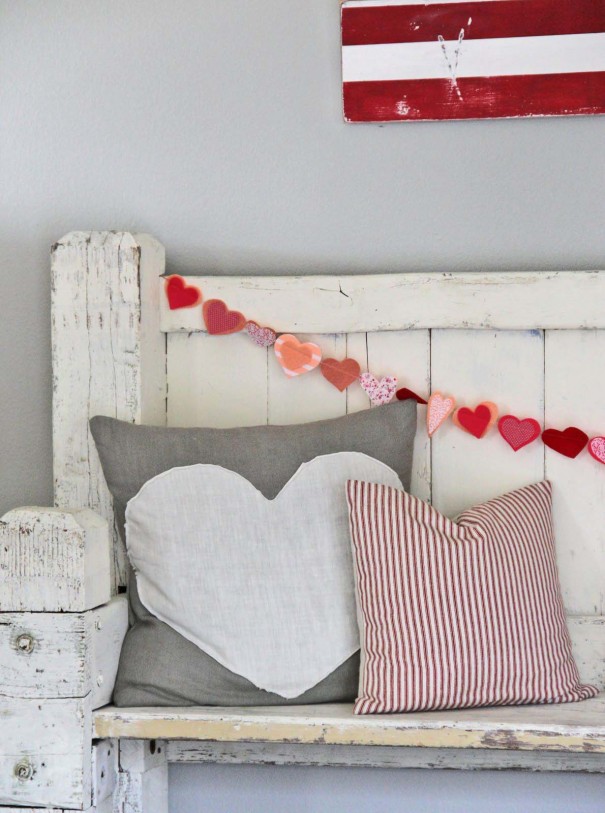
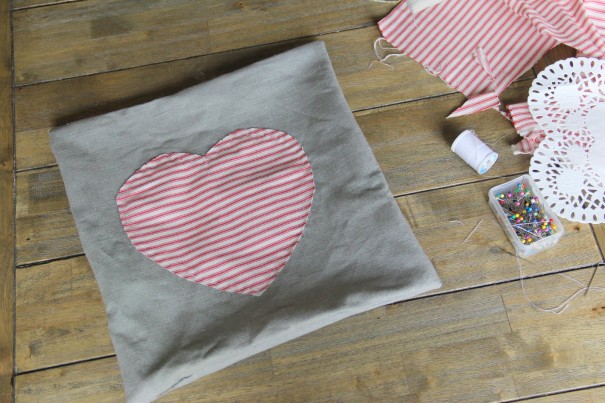
This is a tutorial for a simple envelope pillow cover. The red and white heart pillow is 14 x 14 and the white heart pillow is 20 x 20.
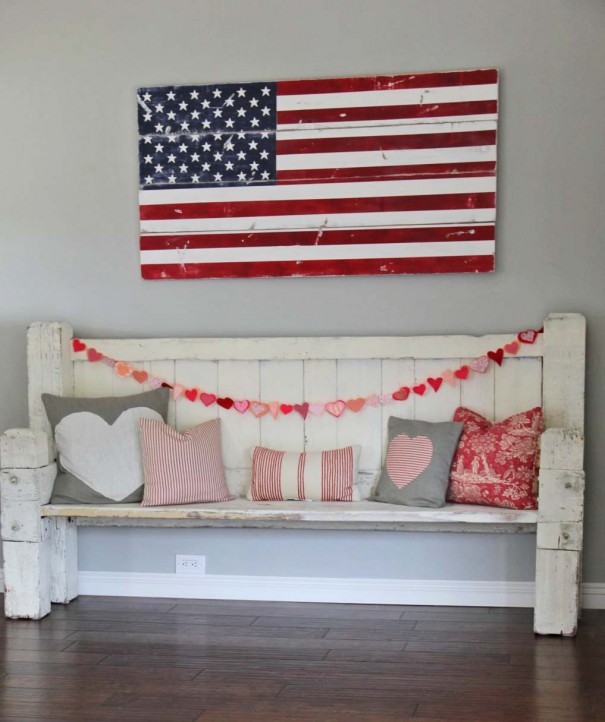 American Flag c/o: Barn Owl Primitives
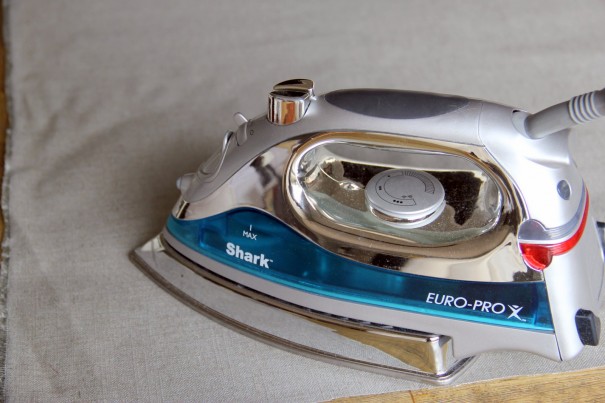
First, never hurts to iron the fabric before getting started. Usually I’m too lazy for this step, but it does make a difference in the finished product.
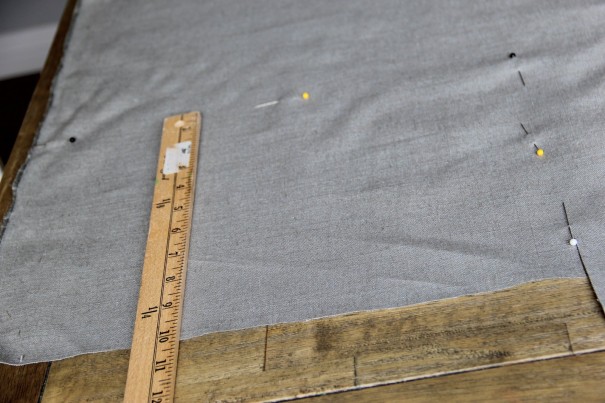
 This pillow cover will require a 14 x 14 pillow insert. The pillow cover will measure 14 x 14 but I measured out 15 x 15 inches–leaving an extra inch to allow for sewing. I used the pins as a guide for cutting the fabric.
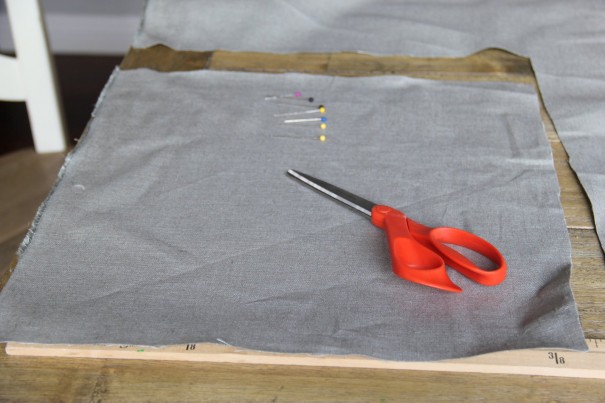 Yes, these are left handed scissors. No, I am not left handed. It’s a long story involving “mom brain”.
 Next, I cut out the two back panels that will make up the envelope opening. I cut both panels 10 x 15.
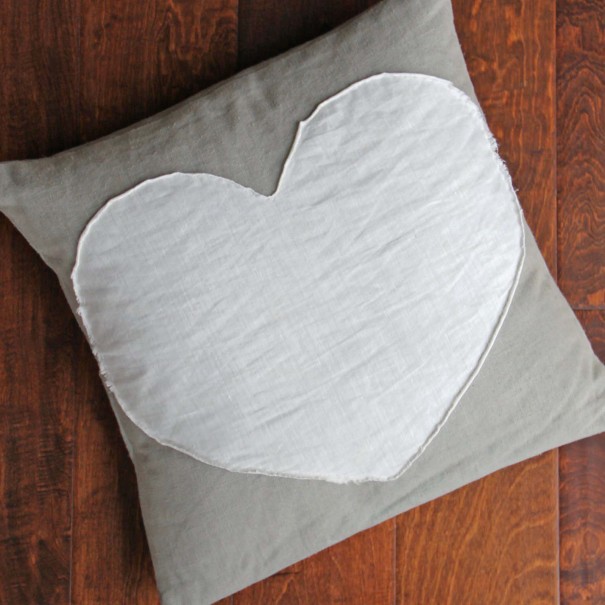
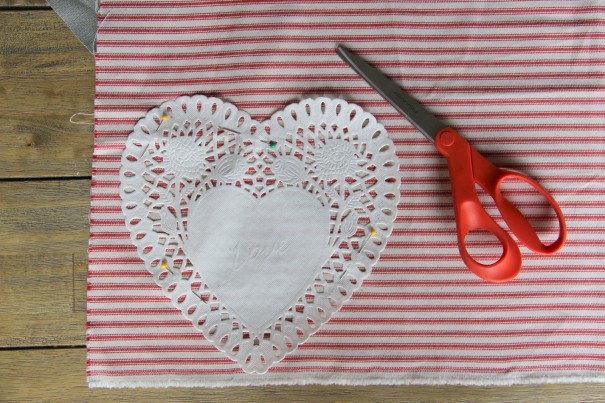 I am about the worst free-hand drawer in the world, so I had to find a heart shape template that would work. This doily worked perfectly. I pinned it to the fabric and then I ONLY cut one side of the heart out.
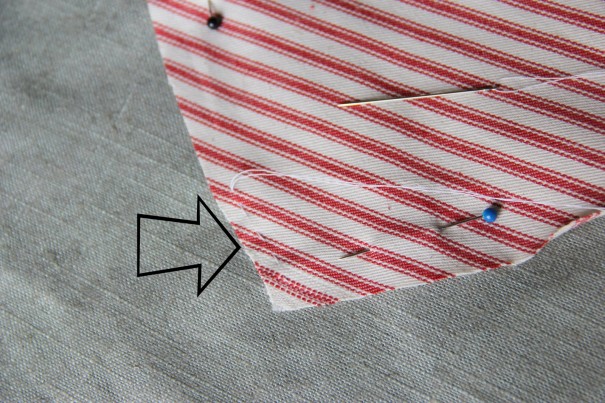
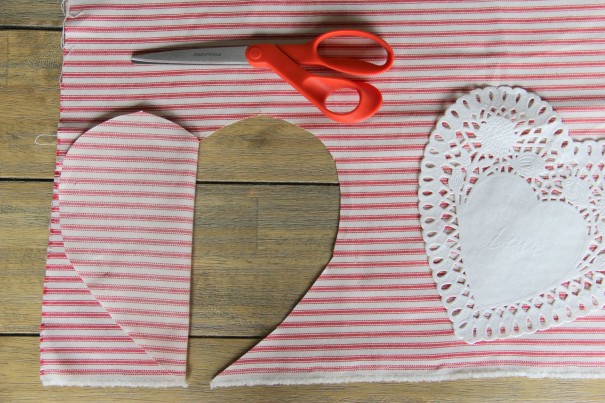 To be sure the heart was symmetrical, I folded over the cut out half and used it as a template to cut out the rest.
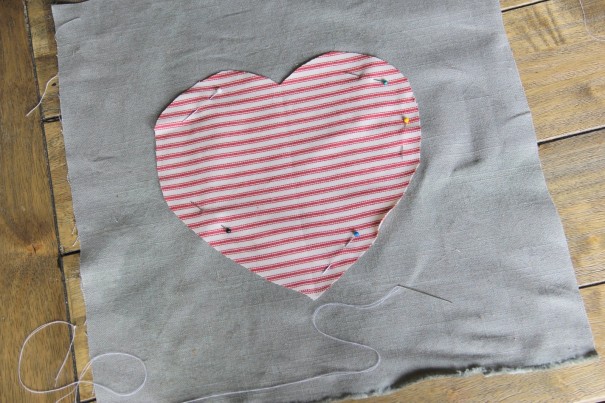 Once cut out, I pinned the heart in place on the large panel.
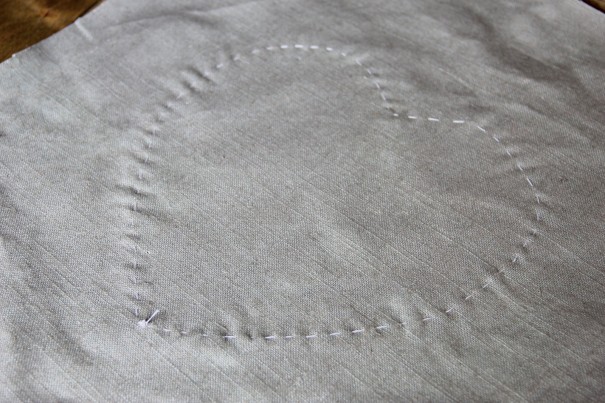
 I threaded a needle with white thread and did a running stitch around the perimeter of the heart.
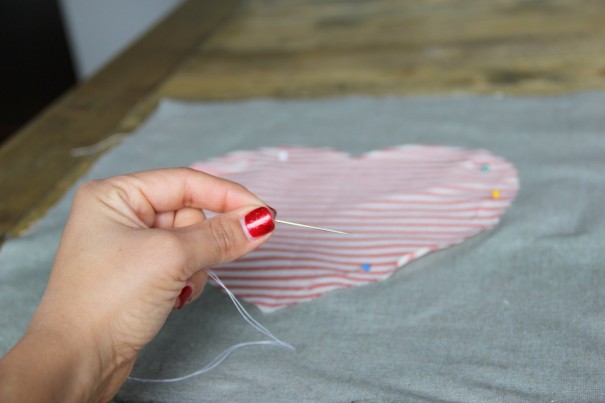
 I didn’t go too close to the edge of the heart because I wanted to give it the look of a “heart patch”.
 The backside of the panel should look like this.
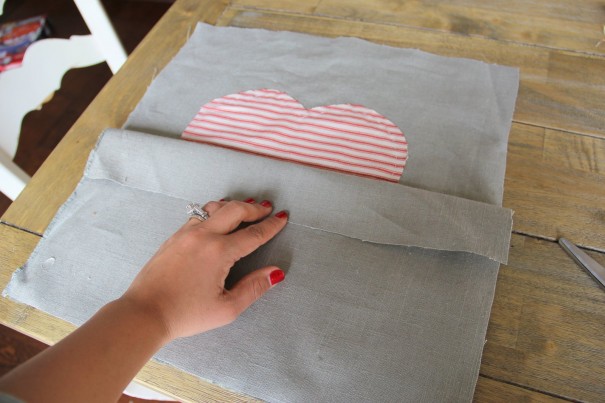
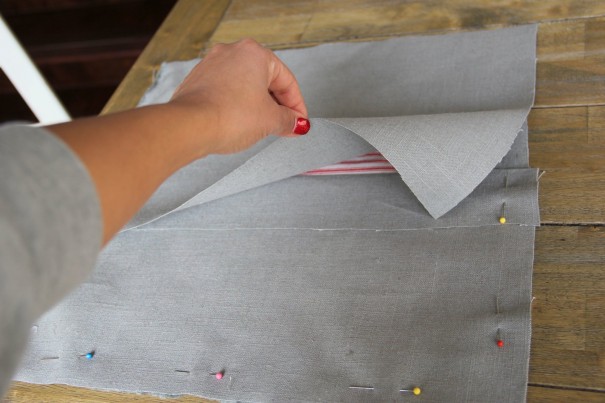
Keep the 15 x 15 heart side face up. Place one of the 10 x 15 panels on top and fold down about 1.5 inches. I do this so that there will be a clean edge that won’t fray when placing the pillow in the cover.
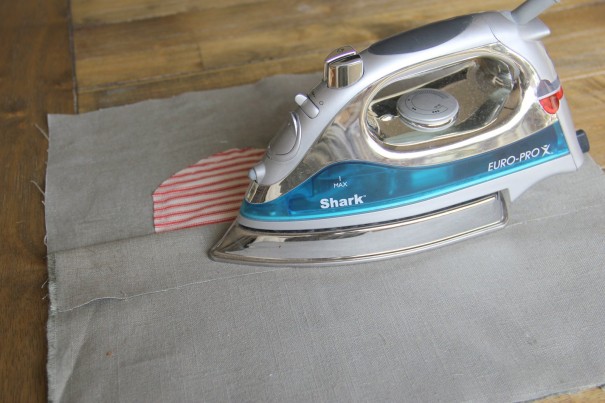 Iron down the flap to help it stay in place and then pin the two panels together. Place the second 10 x 15 panel on top like in the photo below.
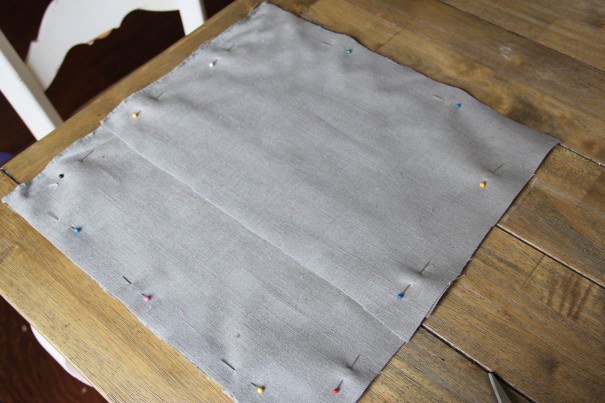
Pin everything together.
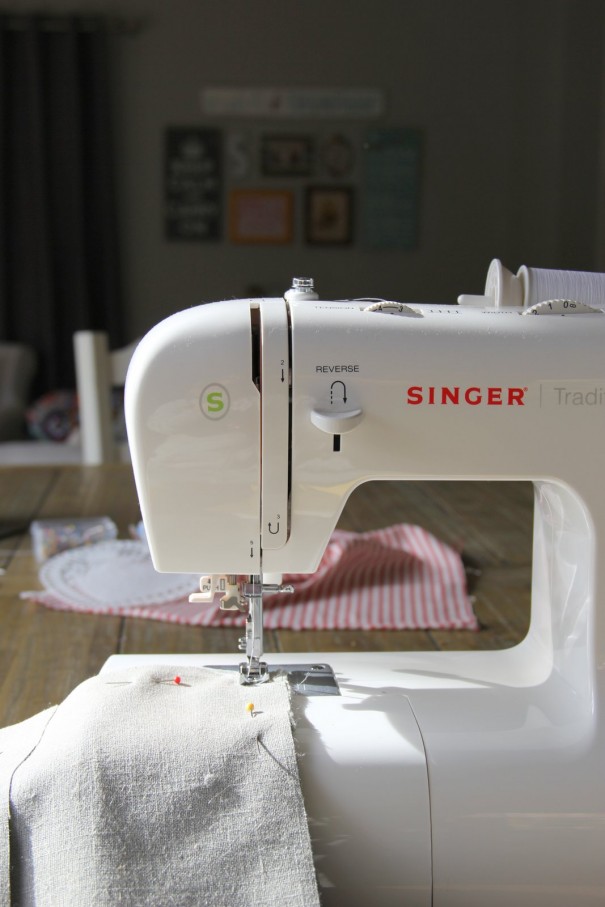 Now, it’s time to sew the panels together. I sewed just outside my pins along the perimeter of the square.
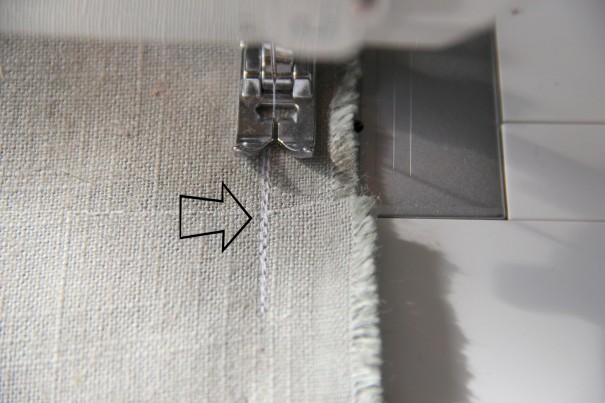 I did several back stitches over the part where the envelope meets to keep it more sturdy.
 Once all sewn, I turned the cover to the right side. Then I put the pillow insert in the cover.
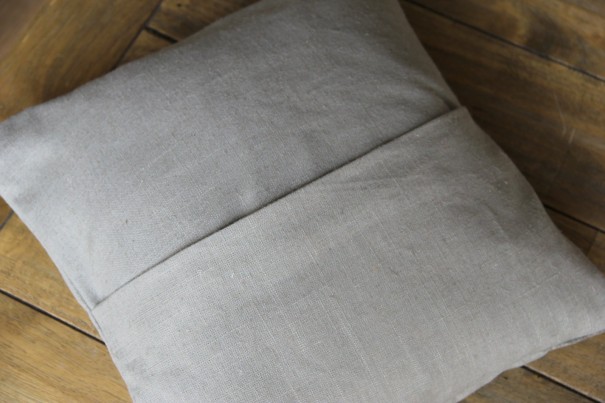
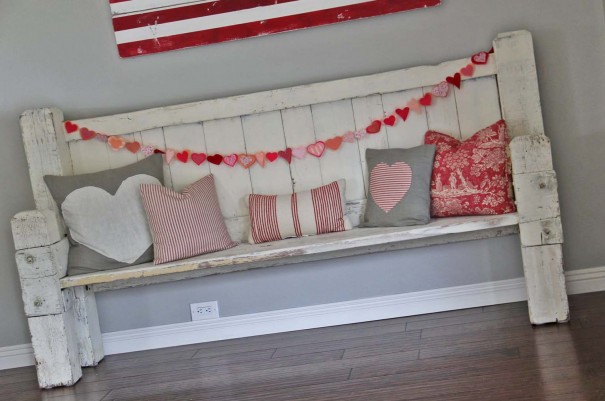
This is what the envelope opening should look like. And that’s it! These are my favorite pillows–I’m thinking I just might keep them out all year.